Printer Friendly (PDF)
pdf
Factory Installation
(1.93 MB)
pdf
Field Assembly
(2.78 MB)
| Factory Membrane Installation |
|
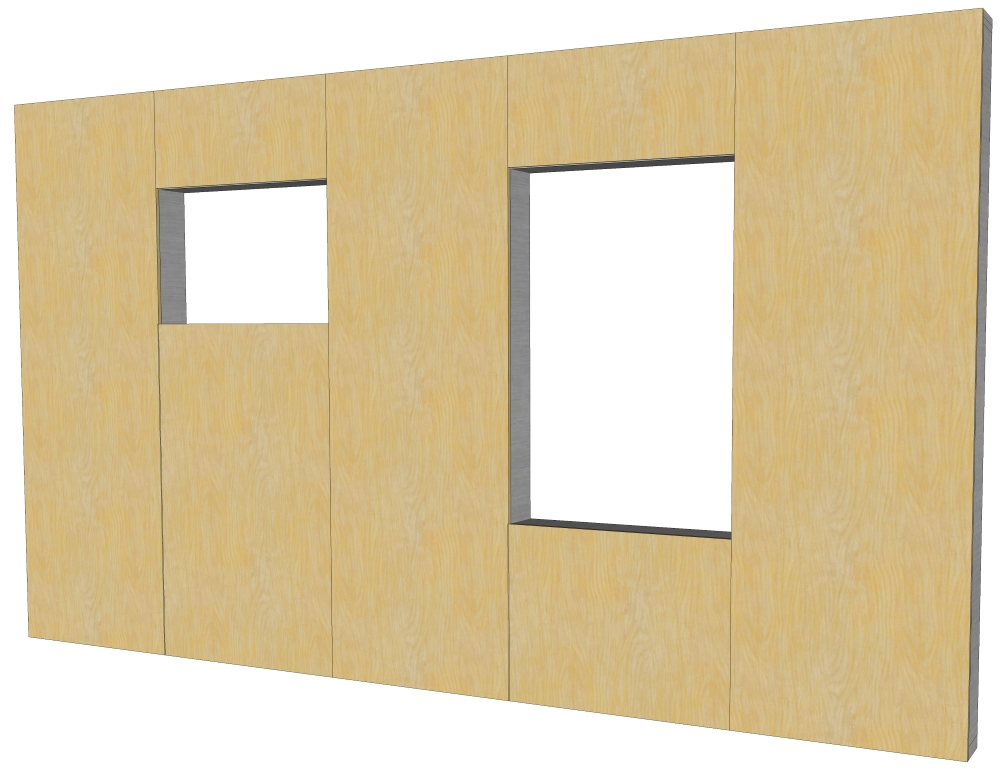
1. Before beginning, make sure all sheathing materials are clean, free of dust, and trimmed flush with framing members at rough openings |
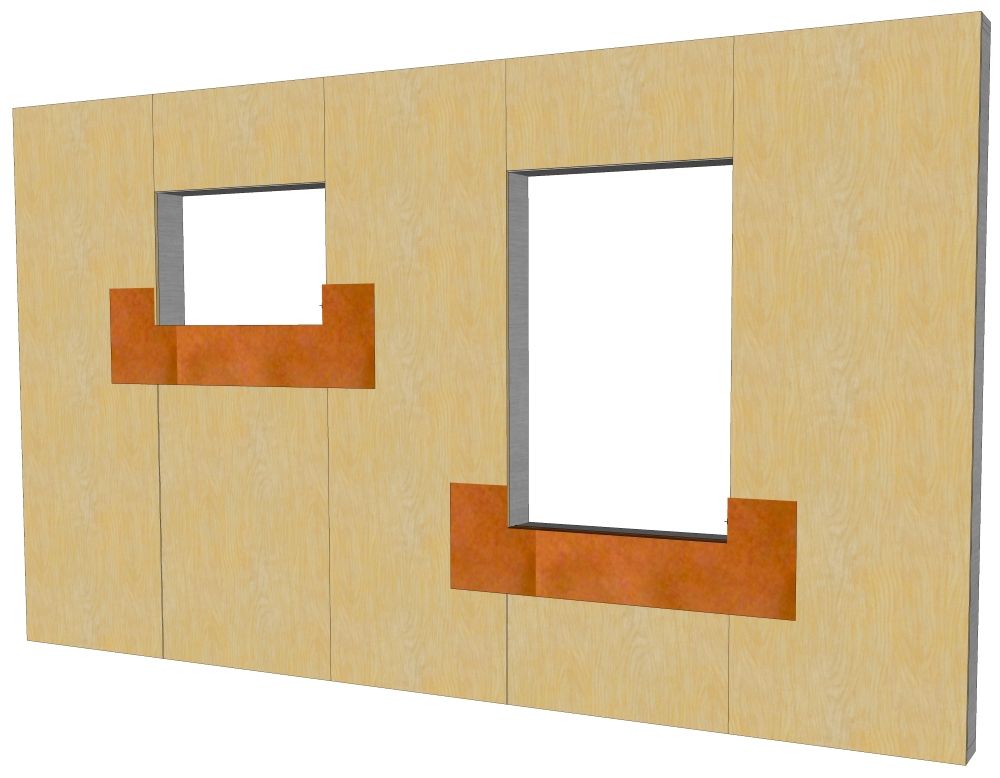
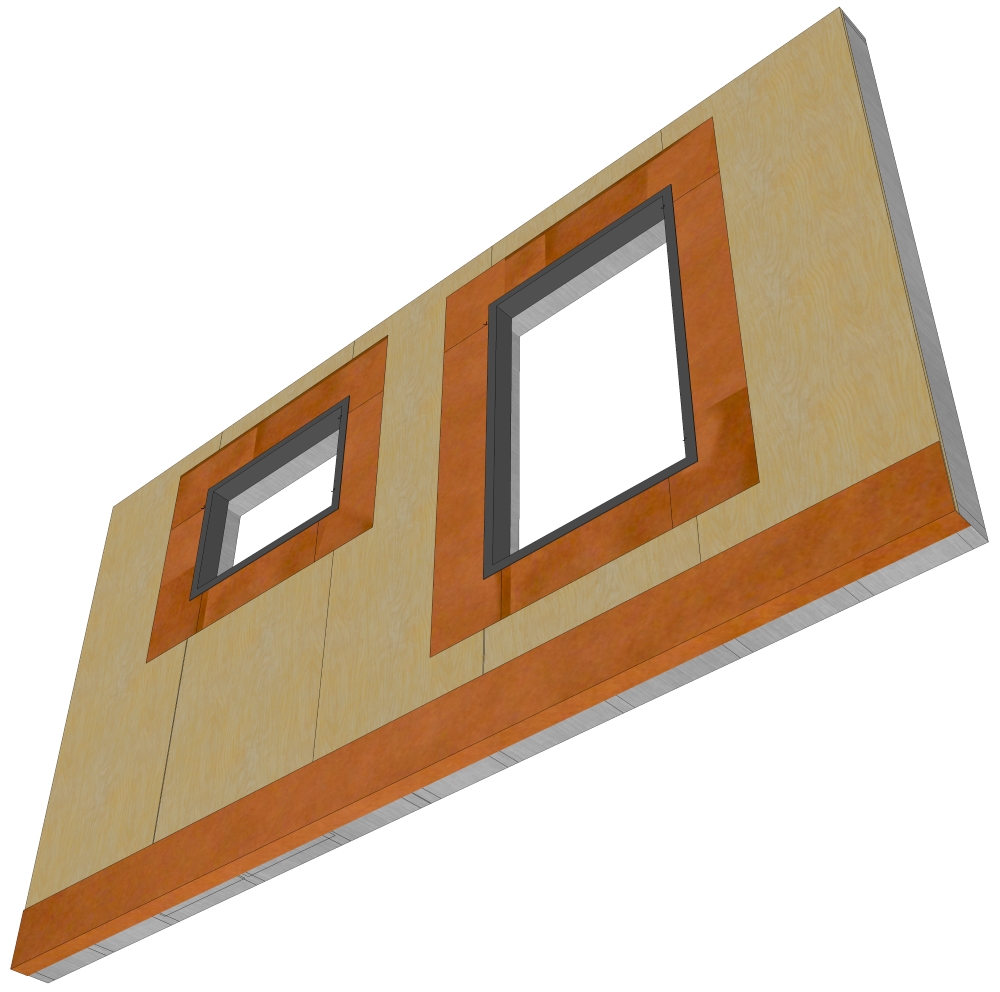
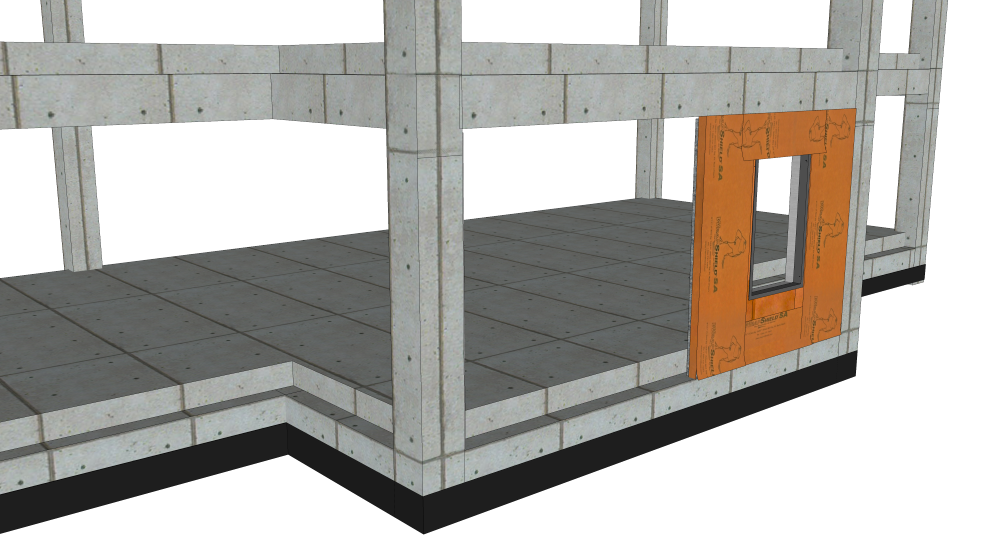
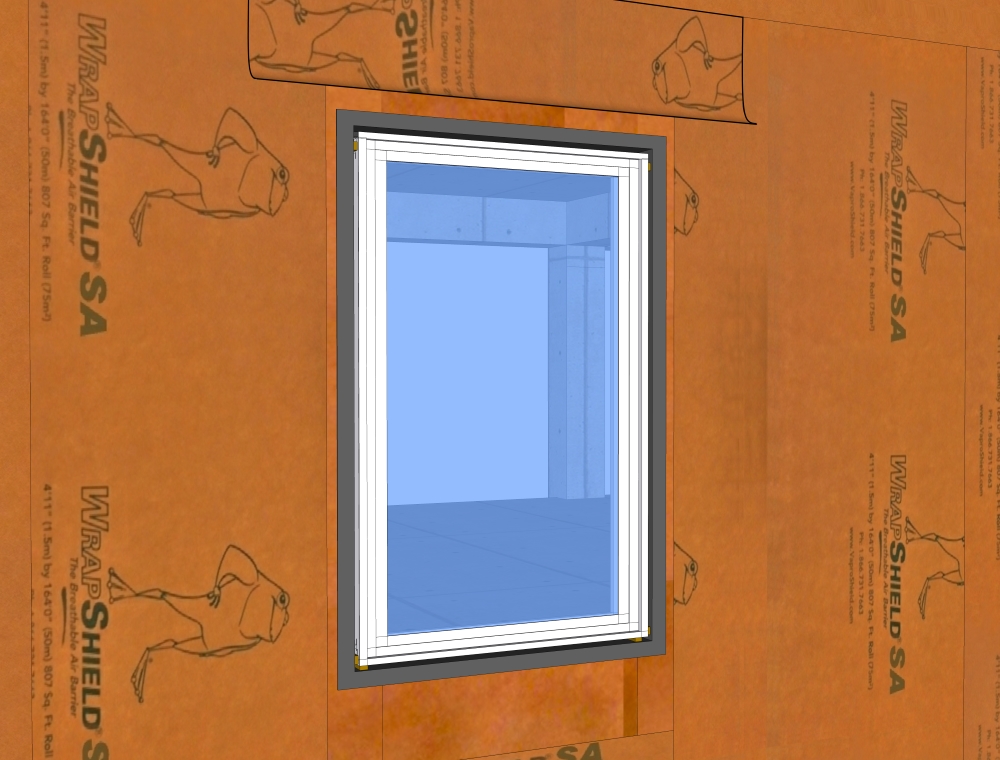
2. Install WrapFlashing SA at bottom of sill by removing release paper from top 6” of flashing material and sticking it in place, leaving 6” of release paper on the lower half of the material for shingling over membrane. Slit material at corners and fold into the opening. |
|
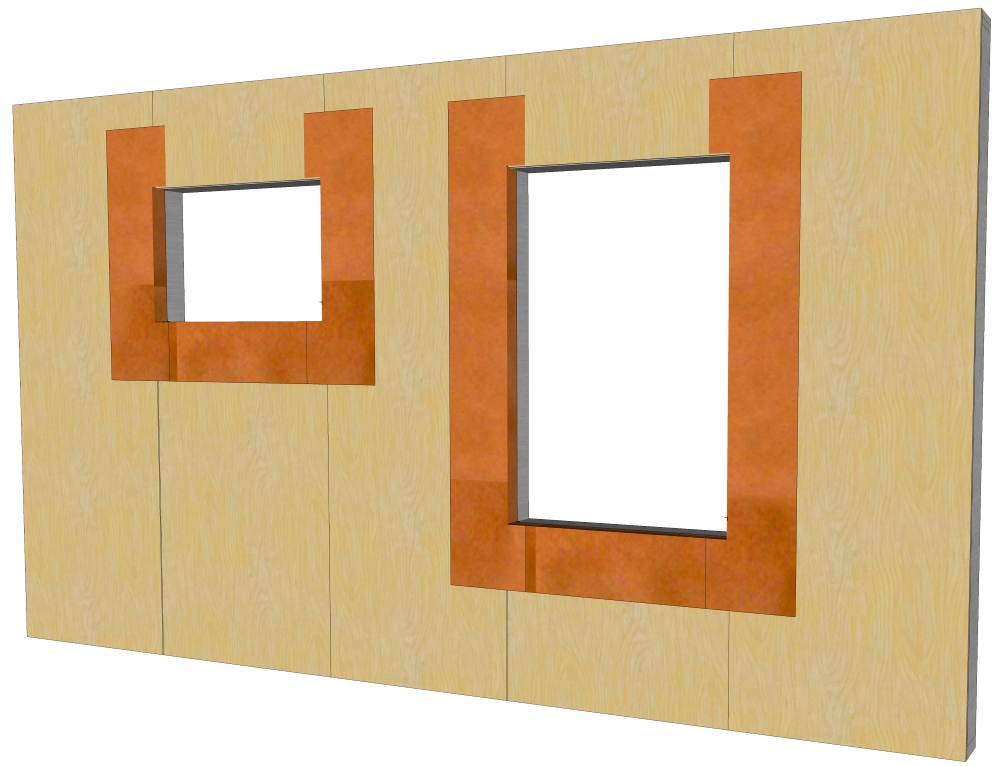
3. Install left & right jamb flashing, adhering the entire flashing to the left and right of the jamb by removing the release paper starting at the top and slowly pulling down, smoothing with your other hand as you remove the release paper. |
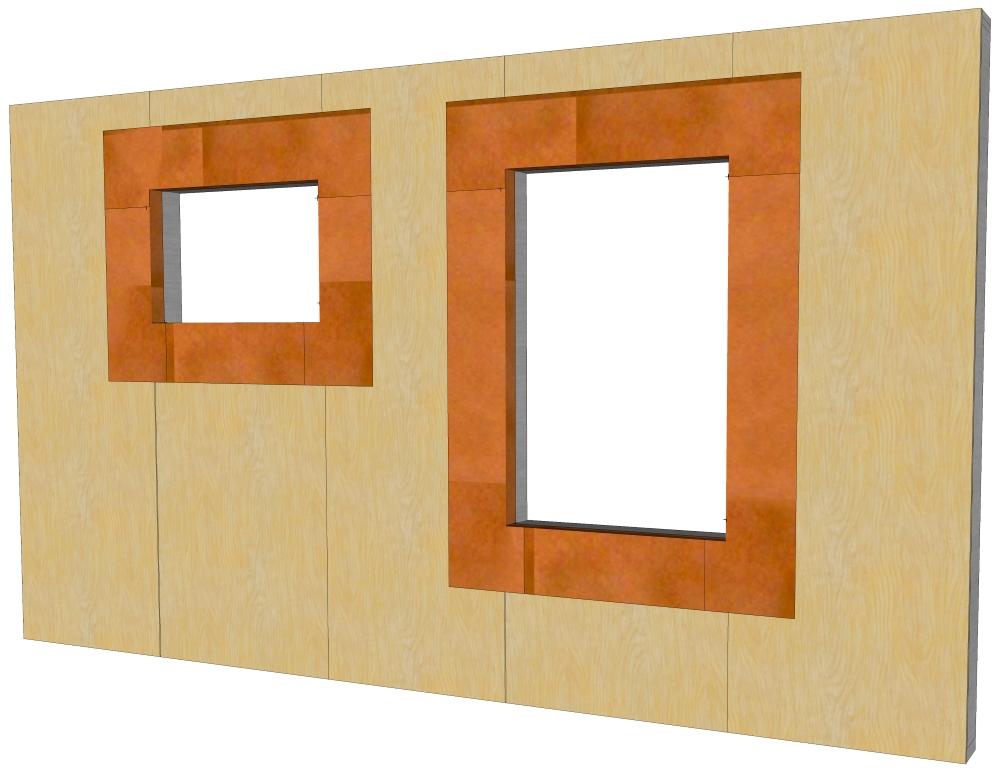
4. Install head flashing, adhering the entire flashing to the top of the rough opening by removing the release paper starting at the top and slowly pulling down, smoothing with your other hand as you remove the release paper. |
|
5. Flash rough opening with VaproLiqui-Flash, Vapro-SS Flashing, or VaproBond. Install WrapFlashing SA Self-Adhered to bottom of panel. Apply 9" to face of panel, remaining 3" wrapped around, applied to bottom of panel. |
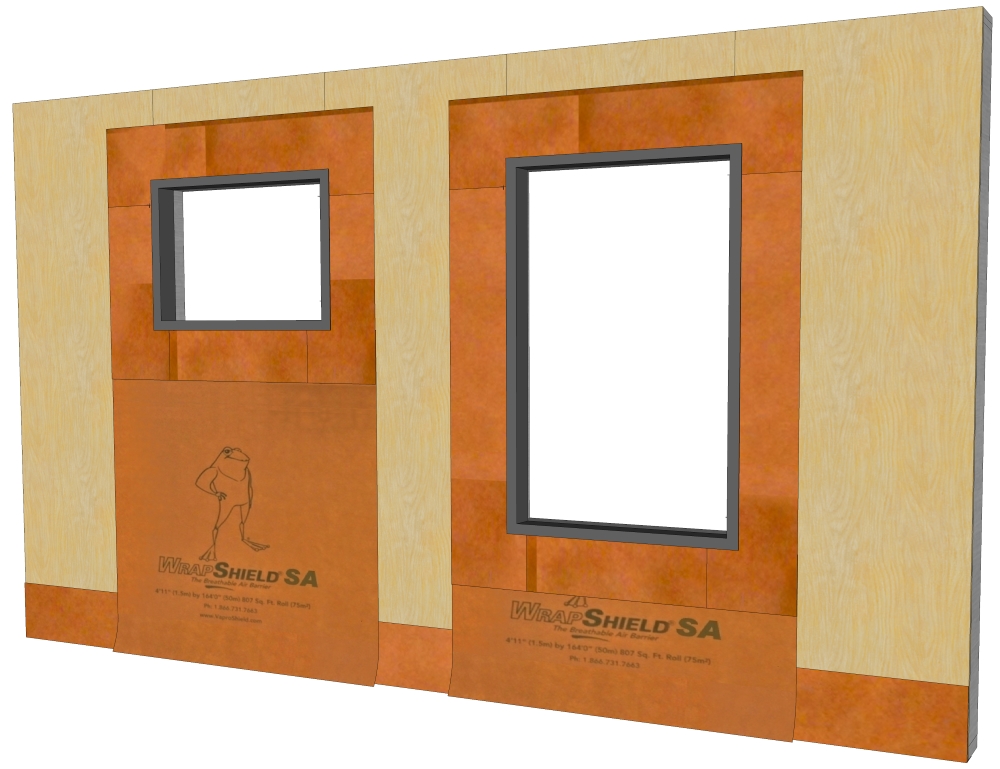
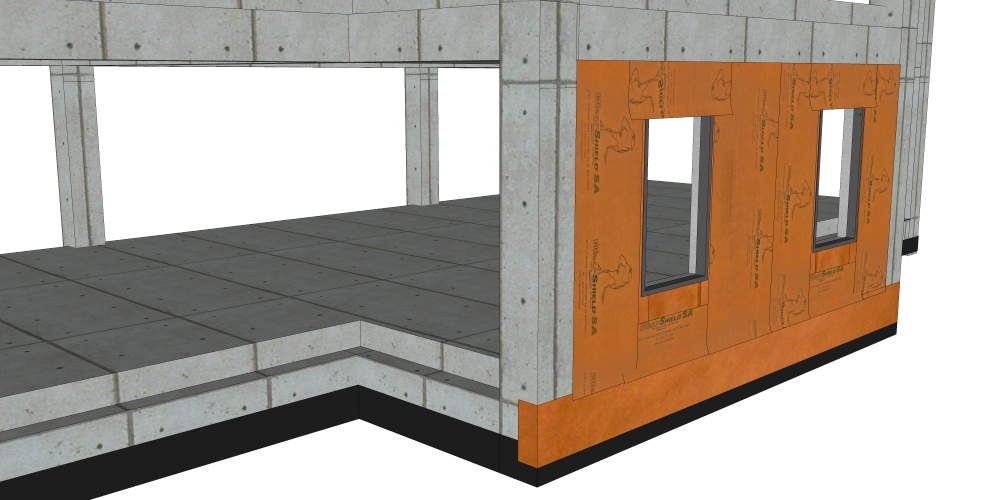
6. Install WrapShield SA Self-Adhered field membrane underneath 6” flap of WrapFlashing SA to create shingle effect |
|
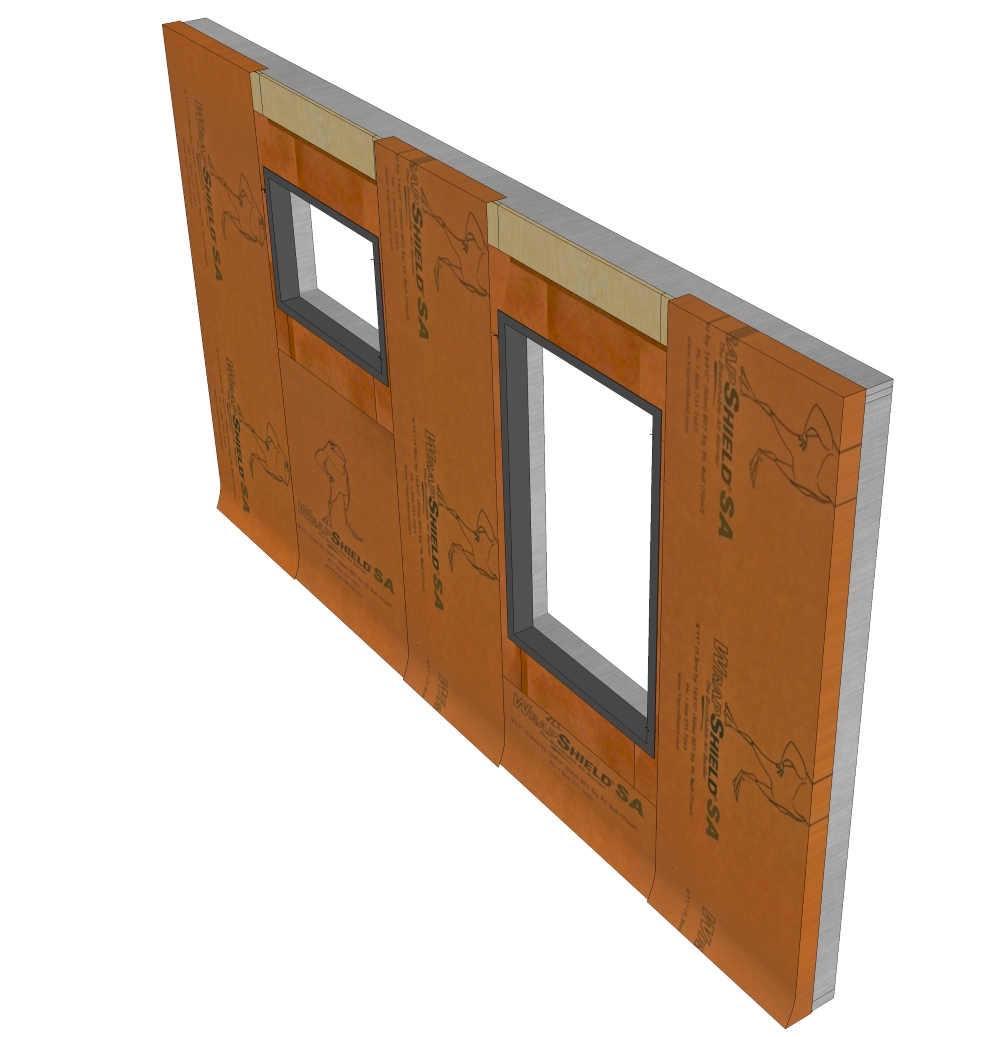
7. Install WrapShield SA Self-Adhered, maintaining minimum 3" vertical overlap at seams, extending onto top and sides of panel 3". |
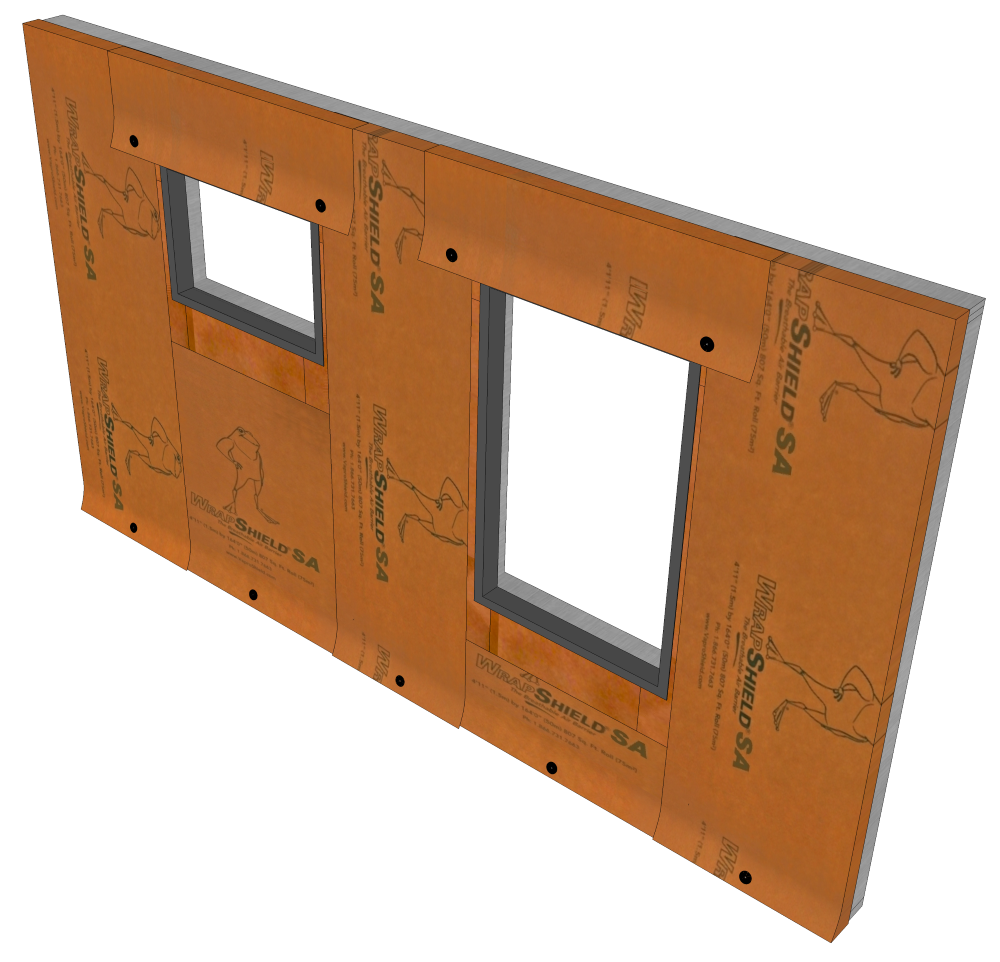
8. Install WrapShield SA Self-Adhered field membrane above rough openings and fold 3" (76.2 mm) over the top of panel. Leave bottom 6" (152.4 mm) of field membrane unattached with release film intact. Secure uninstalled membrane with VaproCaps for transport. |
| Field Assembly of Panels |
|
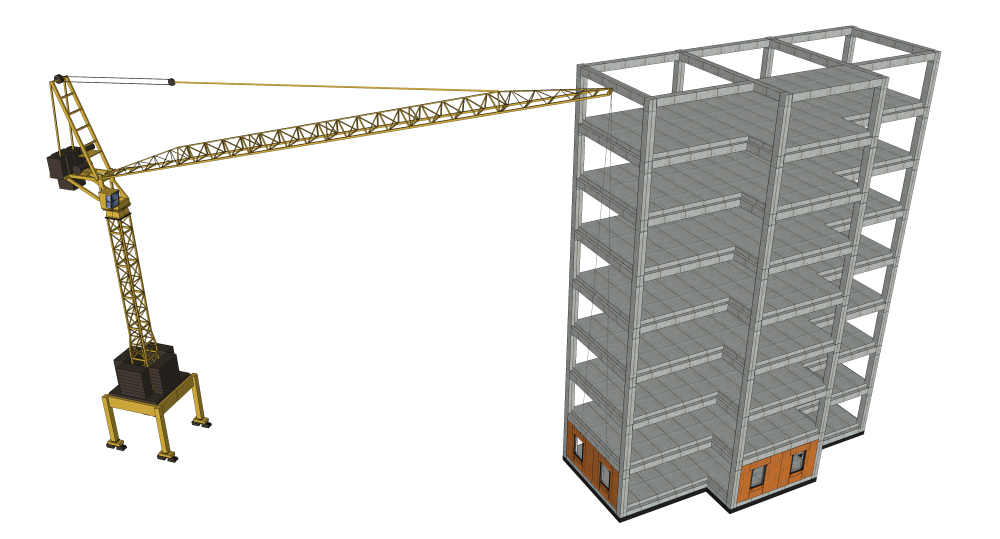
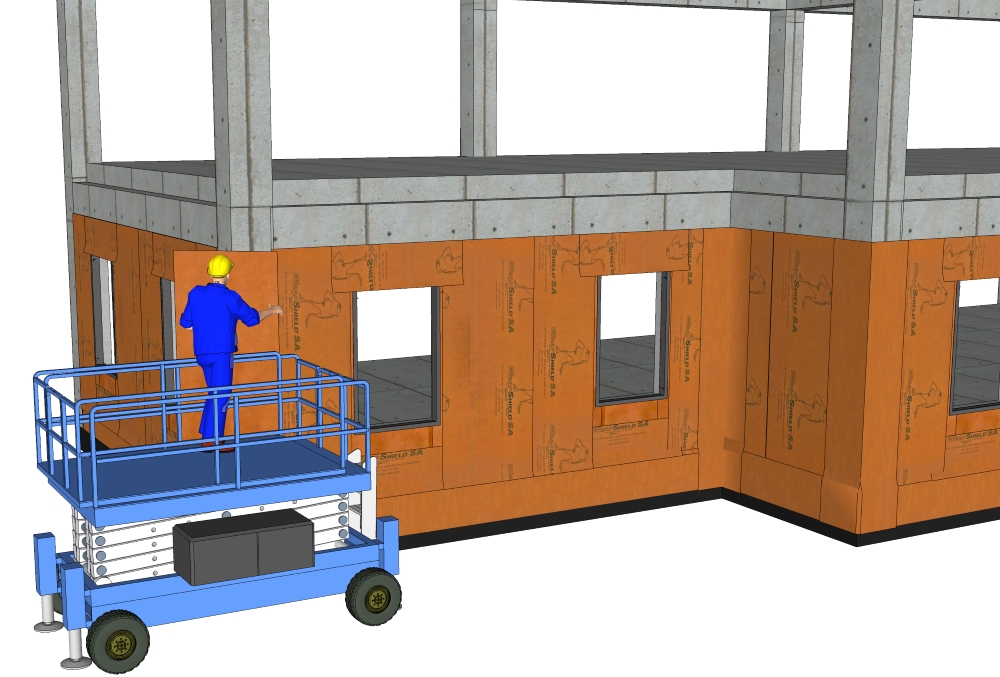
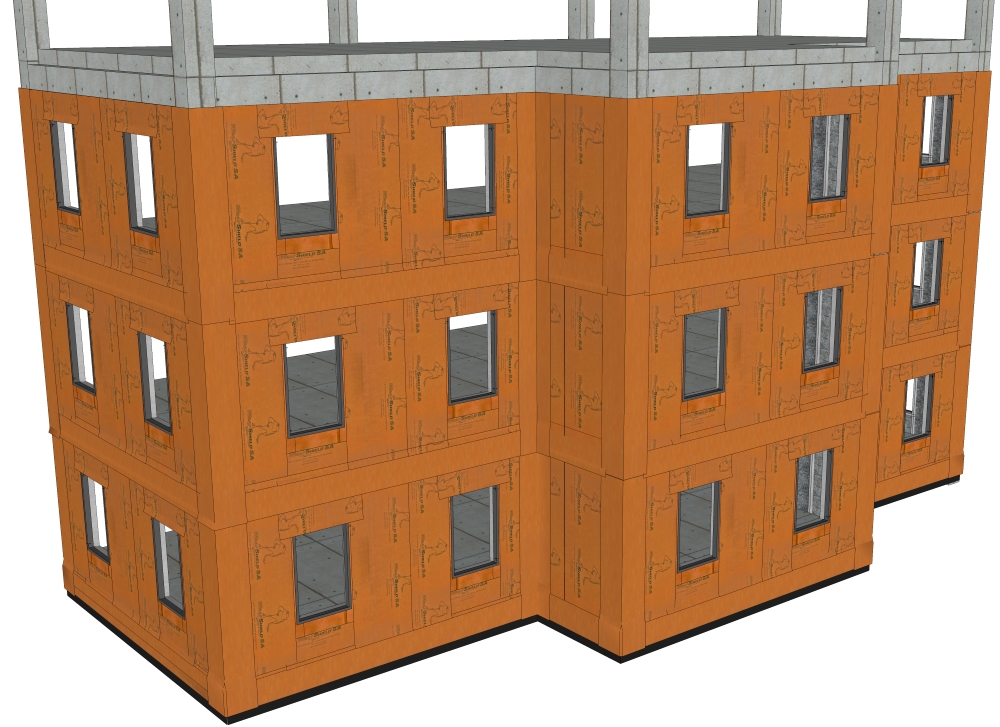
1. Install properly wrapped panel onto building |
2. Install additional panels, properly wrapped, onto building |
|
3. WrapFlashing SA is installed beneath detached field membrane, properly shingled (release film left attached on bottom 6” of field membrane, as per Factory Installation best practices) |
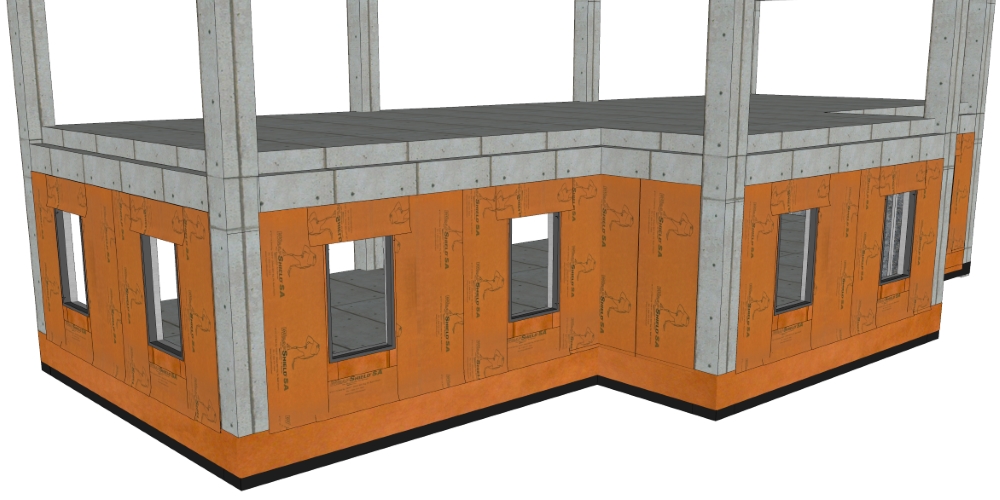
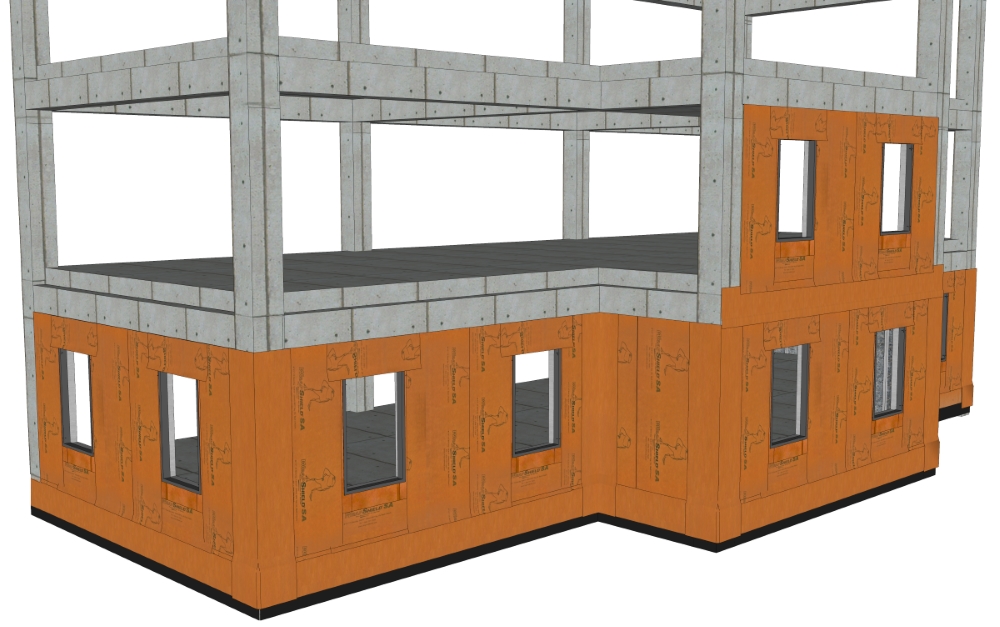
4. Fill in 1st floor of building with panels, install WrapFlashing SA beneath bottom flap of field membrane with bottom 6” of release film attached. WrapFlashing SA installed at all vertical seams. |
|
5. VaproShield membranes are designed to be installed with minimal labor and no special tools |
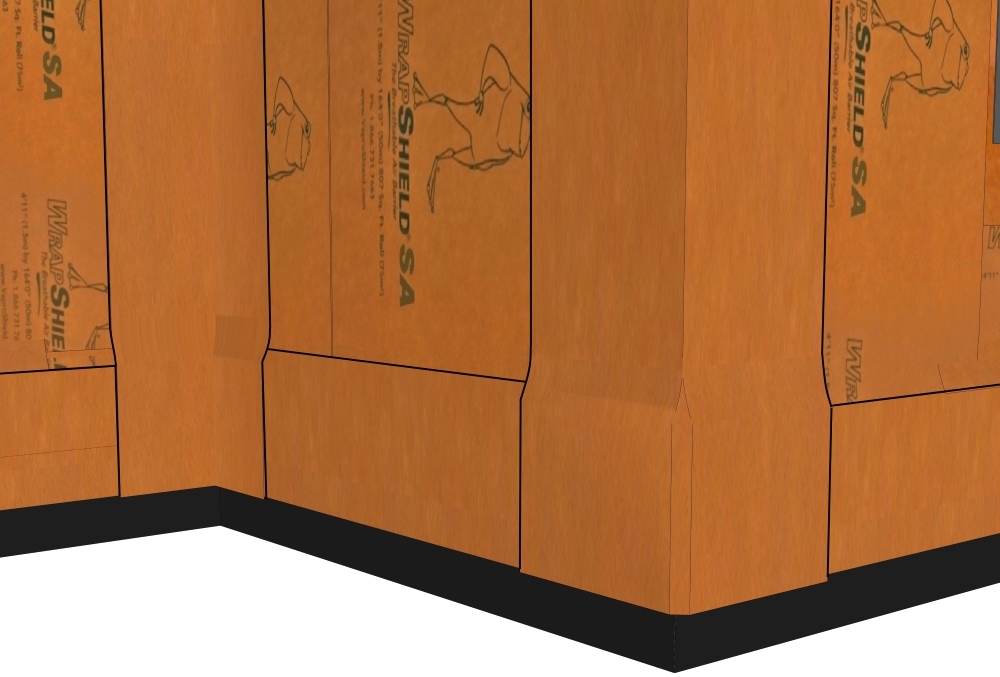
6. WrapFlashing SA is installed on inside and outside corners, with minimum 6” overlap onto panel |
|
7. Install 2nd floor panels |
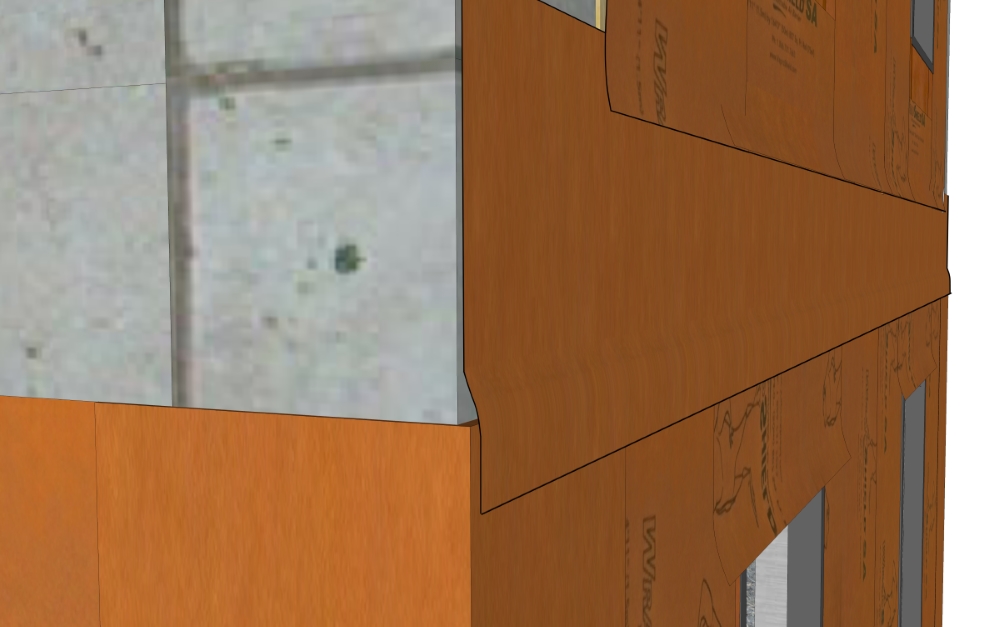
8. Install WrapFlashing SA underneath the unattached field membrane on bottom of 2nd story panel WrapFlashing SA overlaps the top 6” of first floor panel |
|
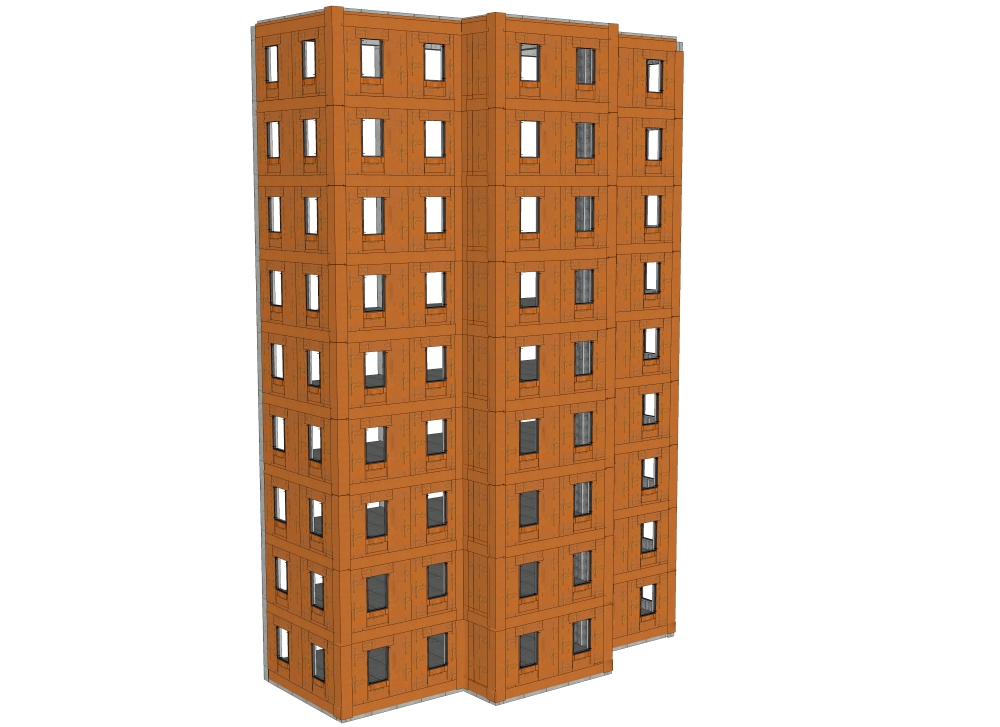
9. Layers overlap between floors to ensure no reverse laps and minimal need for sealant or second pass around the building |
10. Panelized construction has no height constraints and saves time and labor |
| Window Integration |
|
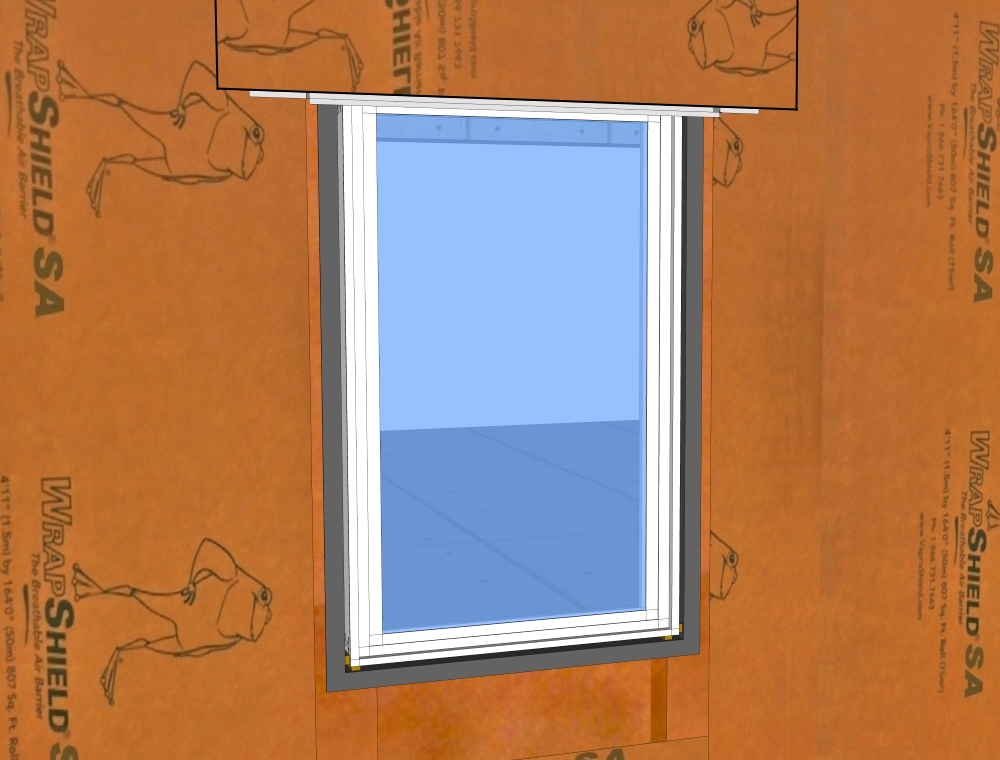
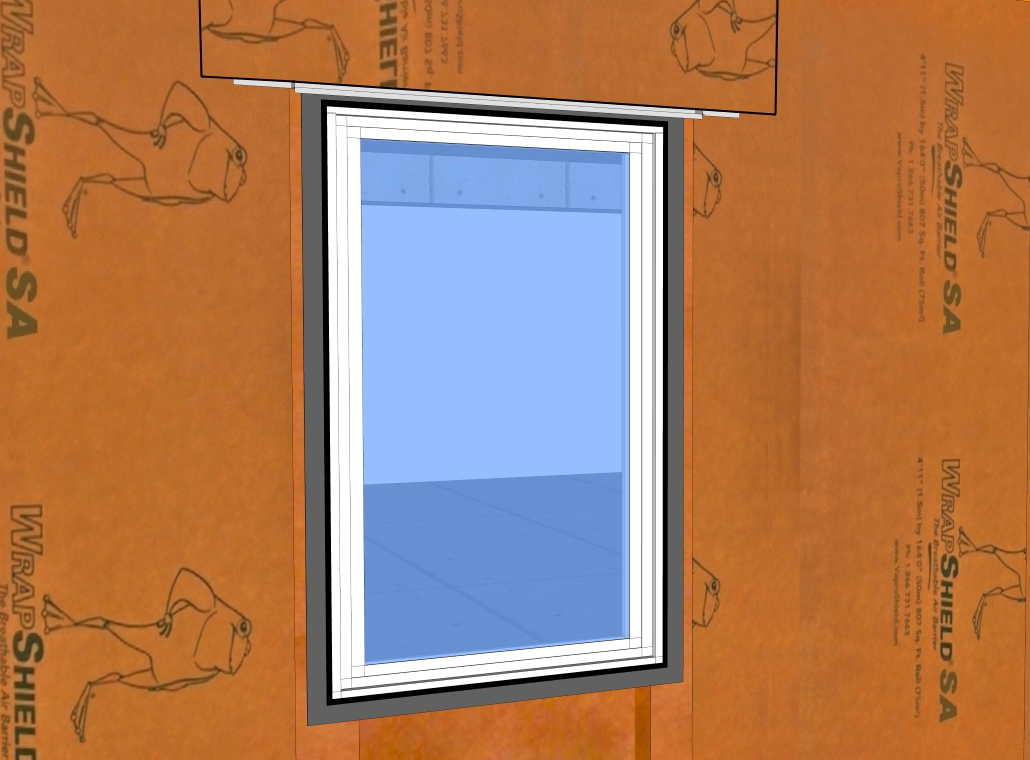
1. Install window into fully flashed rough opening. Field membrane above rough opening is left detached at bottom 6" |
2. Install head flashing and adhere bottom 6" of field membrane over head flashing to create desired shingle effect |
|
3. Seal gaps around window with an appoved compatible sealant |
|


