

pdf Printer Friendly (PDF) (2.85 MB)
Overview
![]()
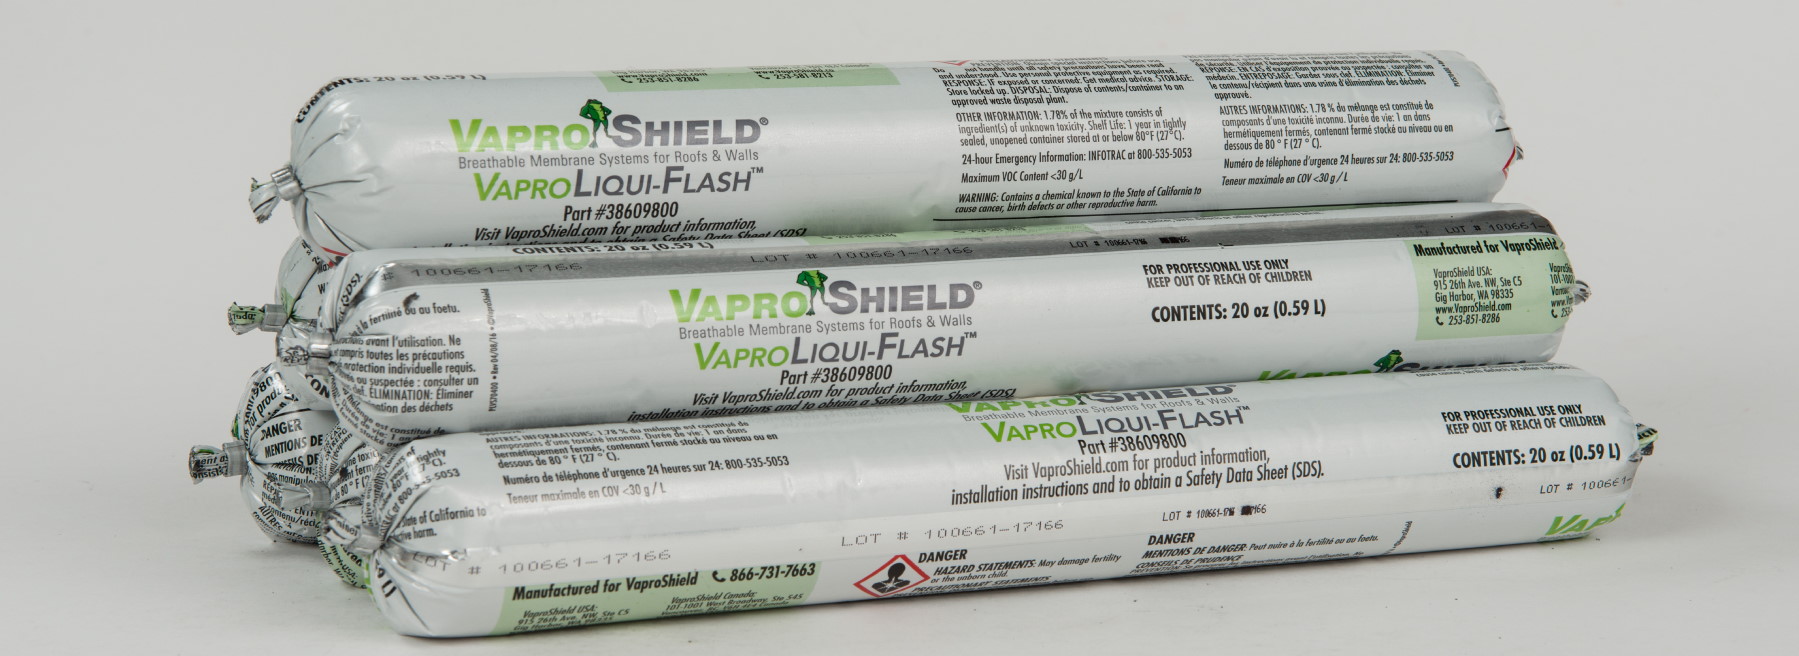
VaproLiqui-Flash is a liquid applied Waterproof Flashing material for window and door rough opening interfaces. It is designed for use with VaproShield Sheet Membranes in Air Barrier and Weather Resistive Barrier applications.
VaproLiqui-Flash is a unique material formulated to bond to VaproShield membranes and most common wall substrates without primers, forming a monolithic, waterproof surface while remaining permeable to water vapor. It allows underlying moisture to escape to the exterior, reducing the potential for mold and decay that can be associated with non-permeable flashings.
Technical Data
- VaproLiqui-Flash comes in gun-able 20 oz. (567 g) sausages.
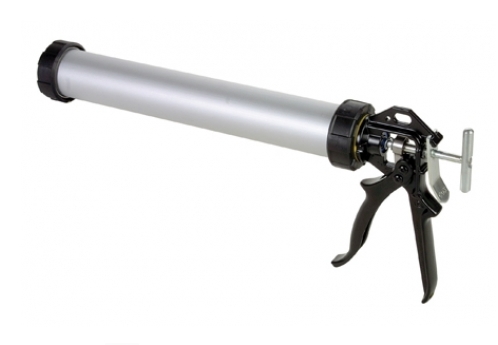
- Easily spreads with a putty knife, professional sausage gun, DRY joint knife, trowel, spatula, roller or brush to a thickness of 12 to 15 wet mils.
- Bonds and cures on damp or wet substrates.
- May be exposed for up to 6 months prior to covering with primary exterior cladding.
- Non-corrosive and adds self-sealing properties to fastener penetrations.
- Surface and ambient temperatures must be above 35°F (2°C) and below 110°F (43°C) for application.
-
If air or surface temperatures exceed 95ºF (35ºC), apply VaproLiqui-Flash to shady side of structure.
- Misting hot surfaces with fresh water can cool surface temperature and accelerate drying.
- At 70°F (21°C)/50% RH, skins in 50 minutes; dries in 4 hours. Low temperatures/ relative humidity slow dry time; high temperatures/relative humidity accelerate dry time.
- Compatible with most silicone, urethane and acrylic sealants and coatings. View comprehensive ASTM C794 Standard Test Method for Adhesion-in-Peel-Elastomeric Joint Sealants at VaproShield.com
- Compatible with most building materials.
- Will not support mold growth.
Storage and Handling

- Store in a cool, dry place.
- Keep tightly closed when not dispensing.
- Do not open until preparation work has been completed.
- Do not alter or mix with other chemicals.
Cleanup
Clean tools and equipment with mineral spirits immediately after use. Follow all safety precautions. Mechanically remove cured VaproLiqui-Flash using a sharp-edged tool.
BEST PRACTICE INSTALLATION SEQUENCE WITH WRAPFLASHING SA SELF-ADHERED
 |
 |
|
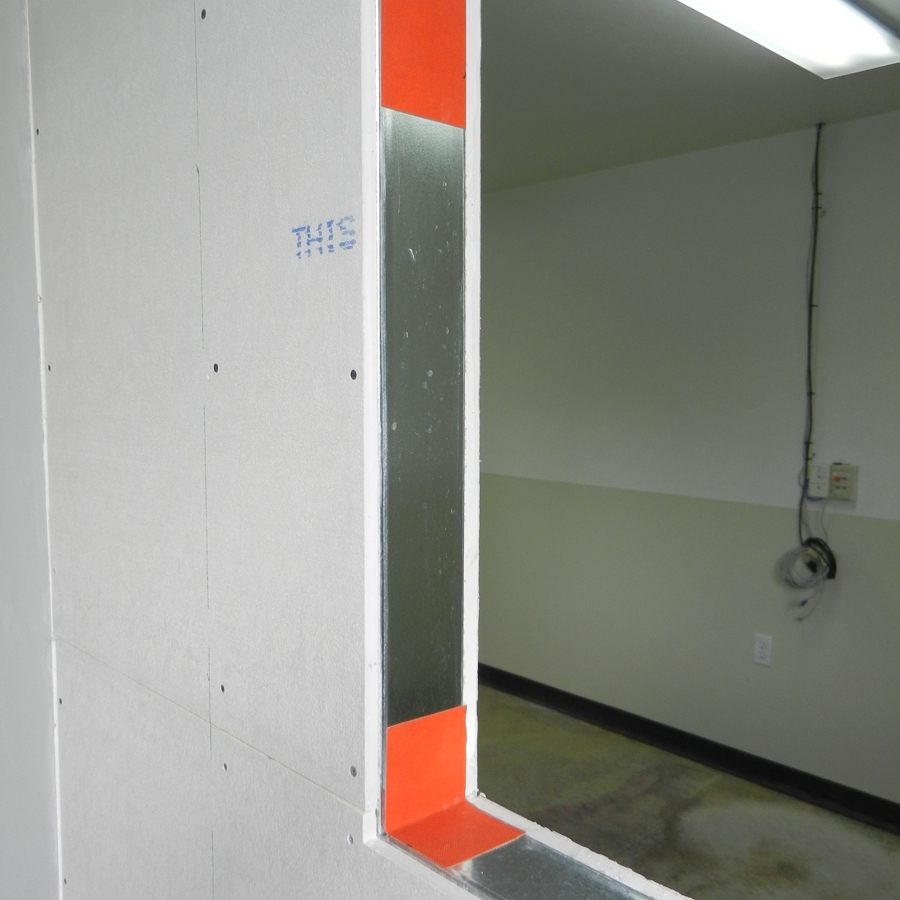
Note: Before beginning, make sure all sheathing materials are clean, free of dust, and trimmed flush with framing members at rough openings and that all materials, sausage gun, and putty knife are on site. |
|
 |
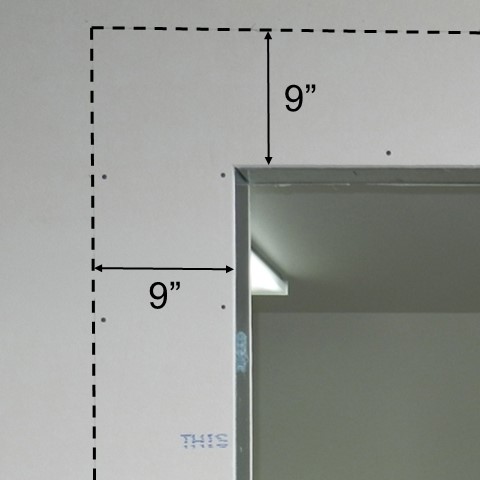 |
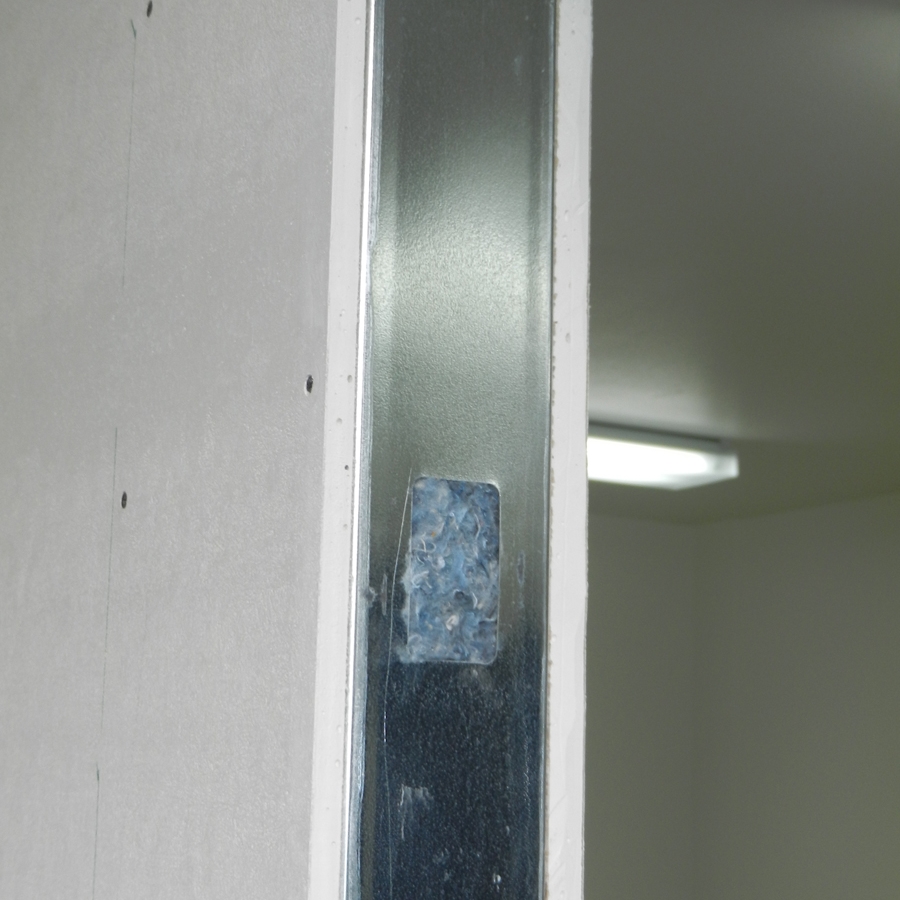
| 1. Cut and install WrapFlashing SA patches over pre-punched holes in metal studs, if present. | 2. Measure and cut WrapFlashing SA sill, left & right jambs, and head flashing so that each piece extends 9” past edges of opening for each side (= R.O. + 18”). |
 |
 |
| 3. Install WrapFlashing SA at bottom of sill by removing release paper from top 6” of flashing material and sticking it in place, leaving 6” of release paper on the lower half of the material for shingling over membrane. | 4. Slit material at corners to allow it to fold into the opening. |
 |
|
| 5. Fold flap into opening and adhere to inside surface, being sure to keep the lower 6” of release paper intact. | |
 |
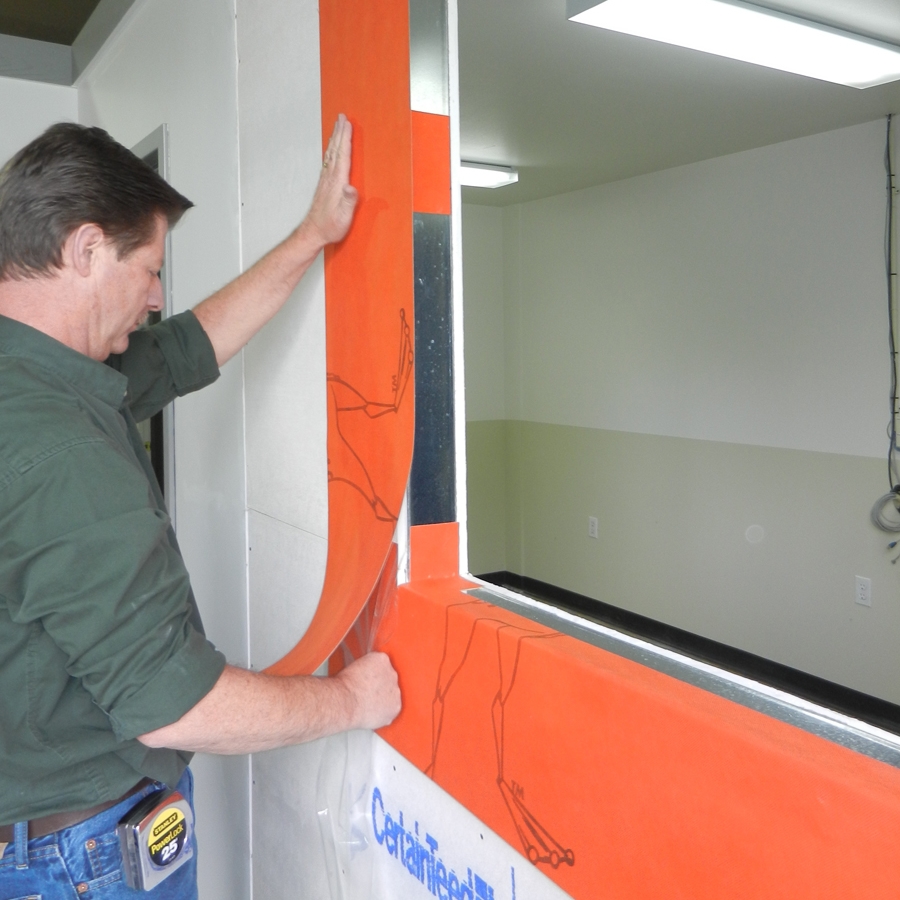 |
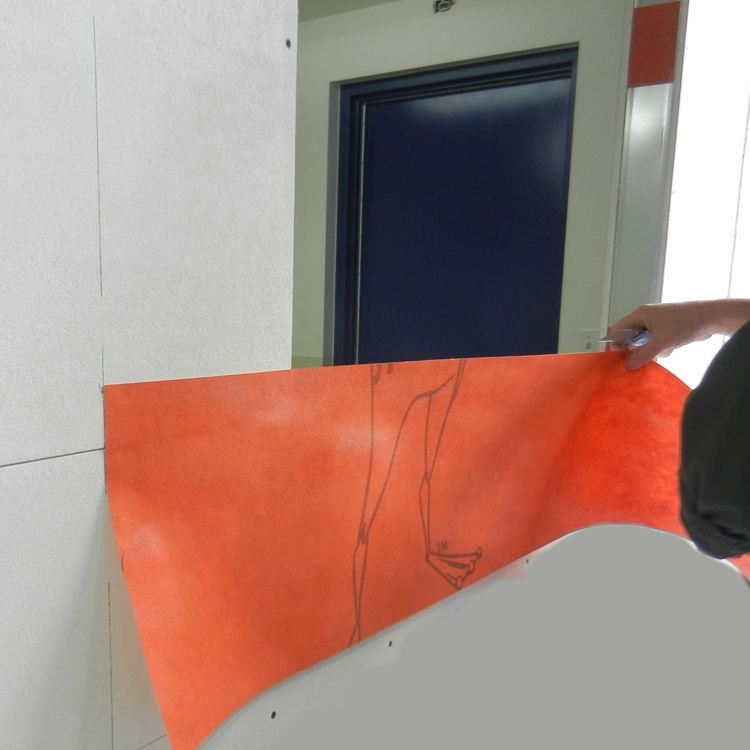
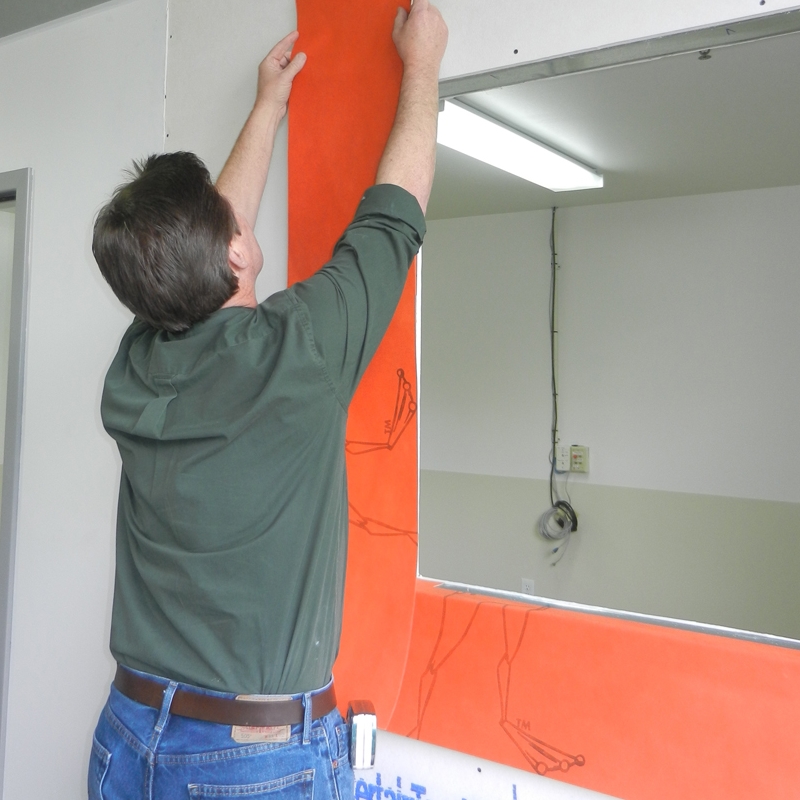
| 6. Install left & right jamb flashing, adhering the entire flashing to the left and right of the jamb by removing the release paper starting at the top and slowly pulling down, smoothing with your other hand as you remove the release paper. | |
 |
 |
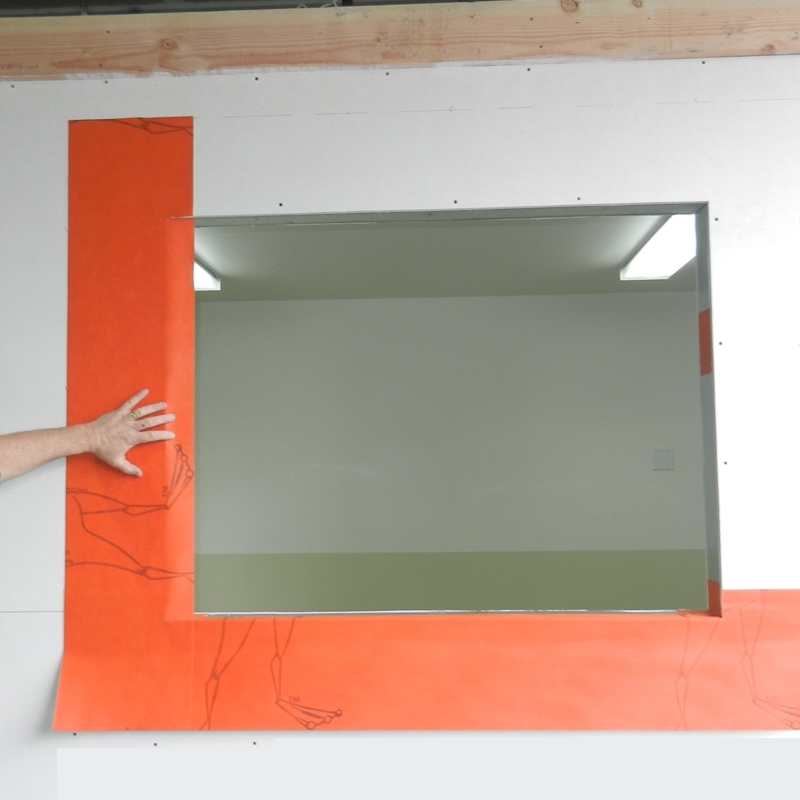
| 7. Repeat steps 4 and 5 for the left & right jamb flashing. | 8. Install head flashing only after both left & right jamb pieces are fully adhered. |
 |
|
| 9. Repeat steps 4 and 5 for the head flashing. | |
 |
 |
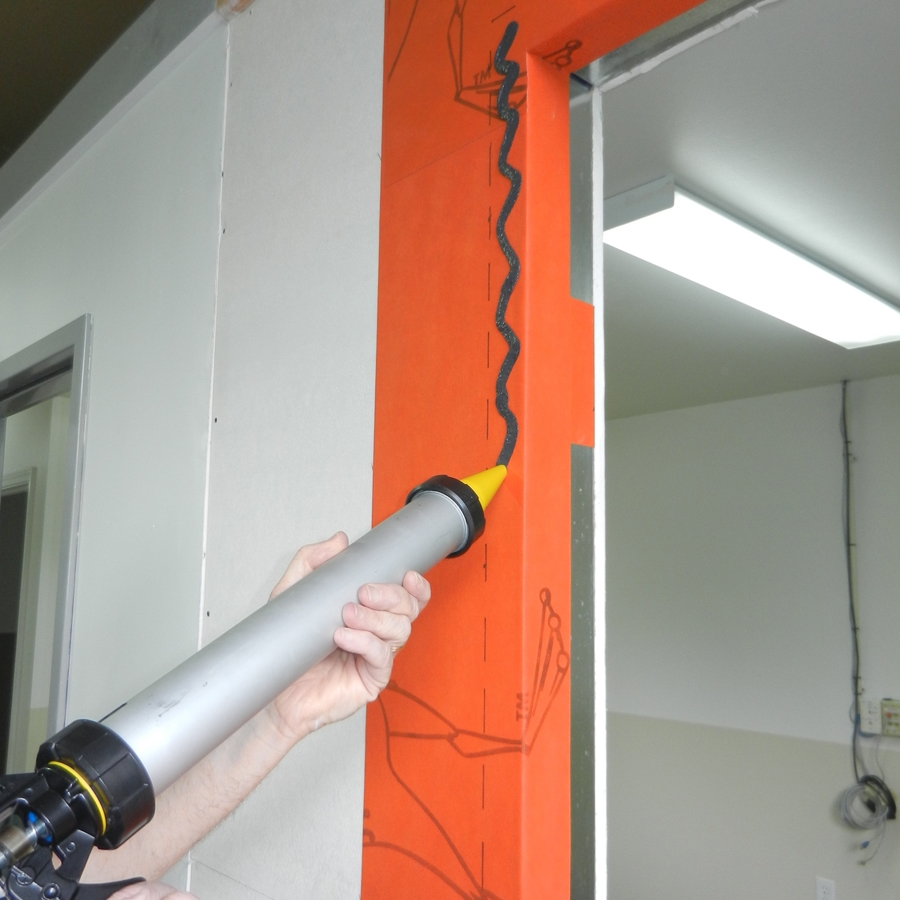
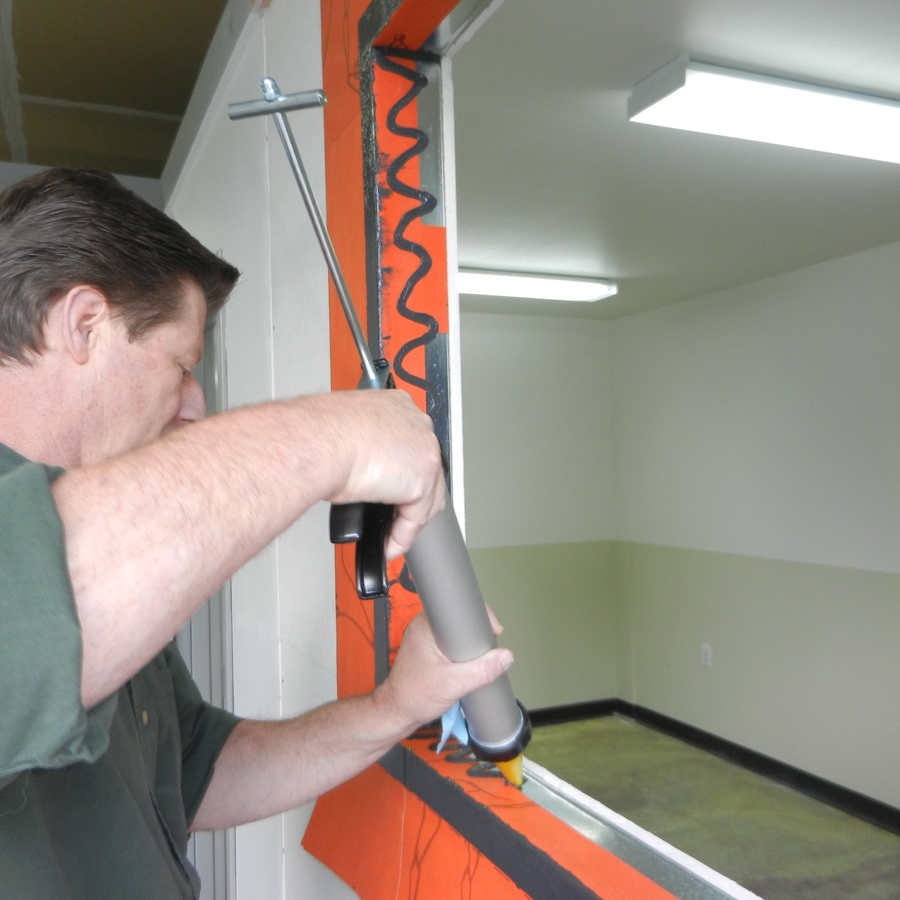
| 10. Using the sausage gun or DRY joint knife, apply VaproLiqui-Flash in a zigzag pattern on the wall face surrounding the rough opening. | |
 |
 |
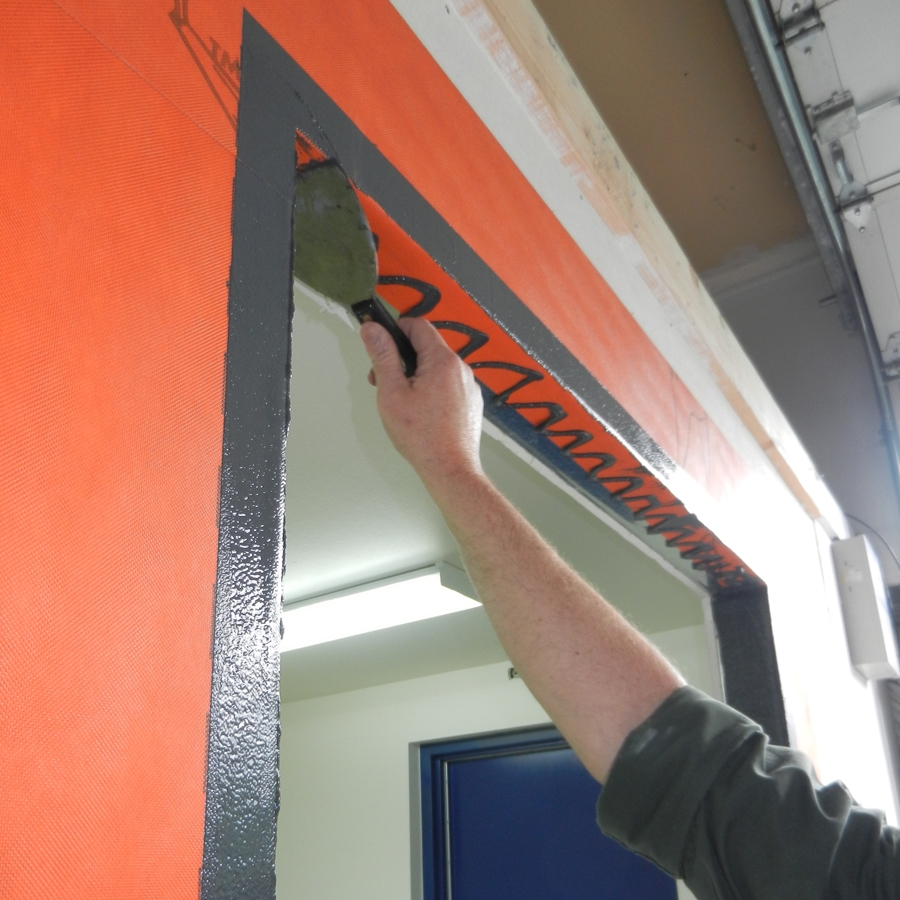
| 11. Immediately spread the applied material with a putty knife creating a 1” border around the rough opening. | 12. Apply additional VaproLiqui-Flash in zigzag pattern on all inner surfaces of the rough opening. |
 |
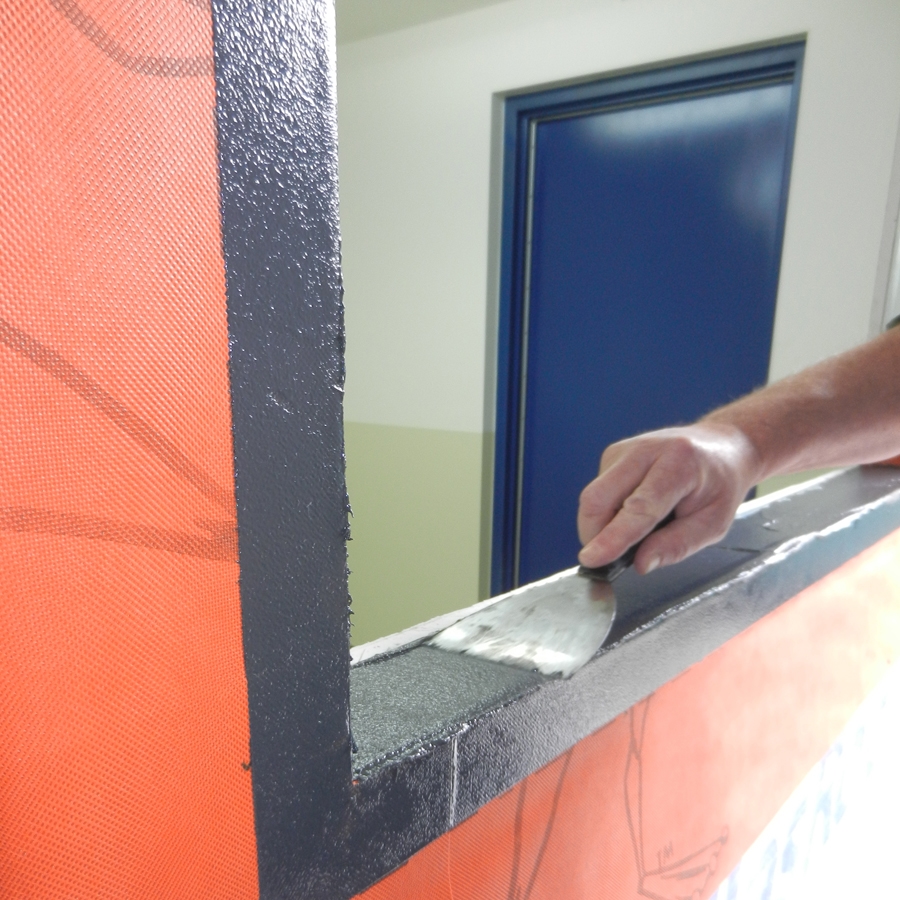 |
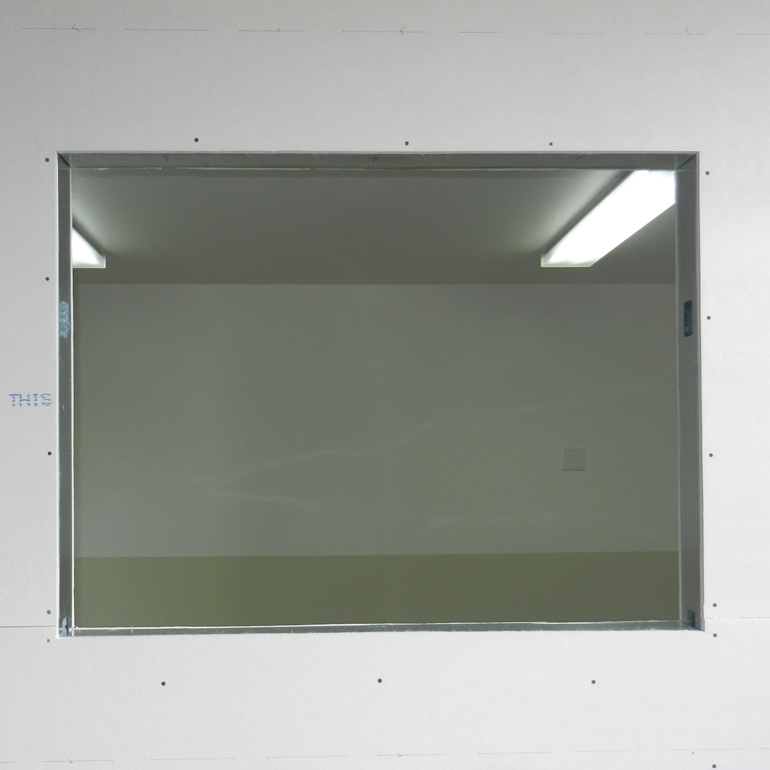
| 13. Immediately spread until all surfaces are completely covered and substrate below is no longer visible (approximately 12 to 15 wet mils). | 14. Allow VaproLiqui-Flash to set up until dry to the touch, then inspect for voids and apply additional VaproLiqui-Flash as needed to achieve complete coverage. |
 |
|
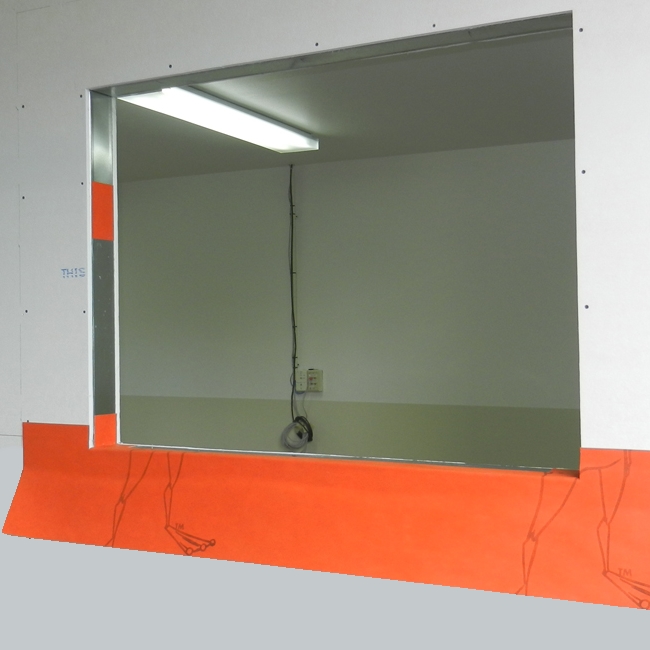
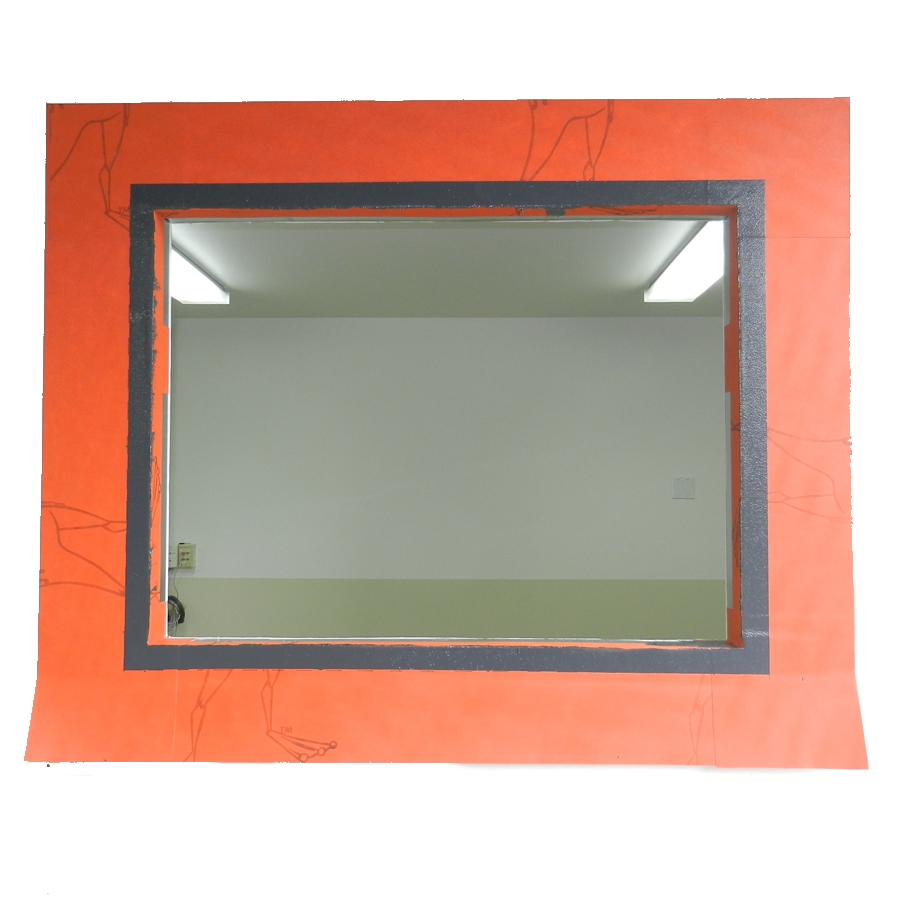
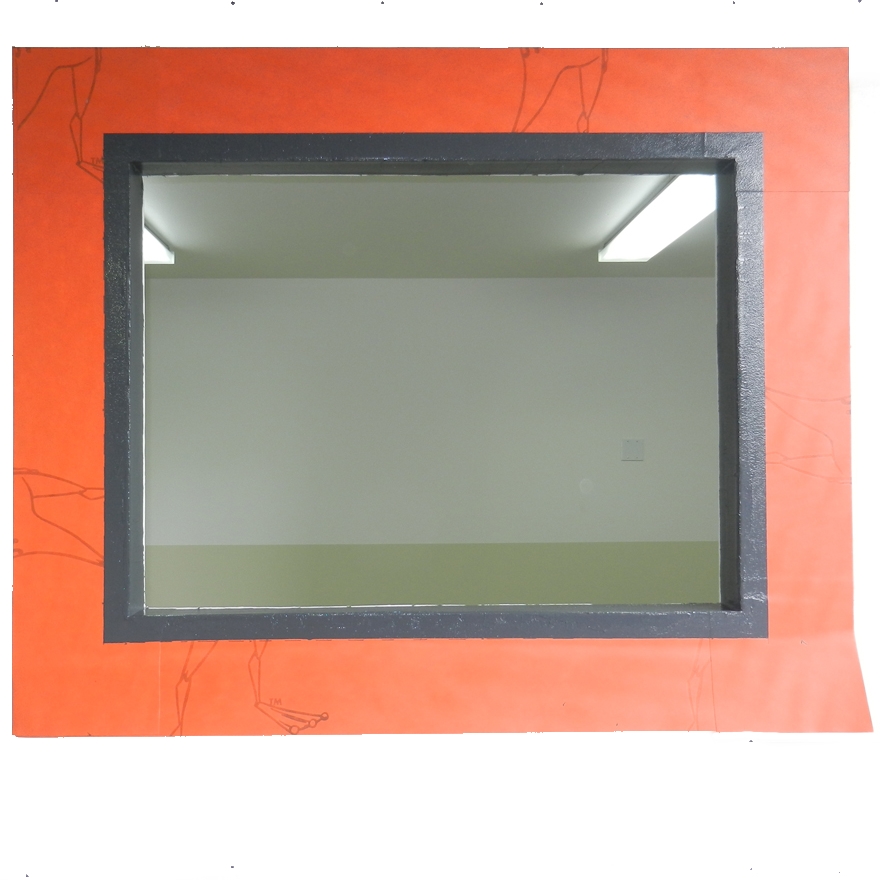
| Completed application of VaproLiqui-Flash installed around all surfaces of rough opening | |