

pdf Printer Friendly (2.40 MB) (PDF)
Overview
VaproBond is a single component 100% silicone sealant designed to adhere low surface energy materials to themselves. Use VaproBond to bind layers of VaproShield membranes and/or adhere to typical construction material surfaces and/or as a liquid-applied flashing component with metal framing systems.
VaproBond is appropriate for vertical or horizontal above-grade applications to concrete, masonry, natural stone, structural sheathing, architectural metal panels, painted metals, glass, PVC, FRP, EPDM, all VaproShield WRB/Air Barrier membranes, and most other building materials.
Sizes/Coverage
Coverage will vary based on surface texture and irregularities.
| Application | Coverage Area | Recommended Thickness |
| Sealant | 125 lin. ft. | 1/4" (6mm) |
| Flashing component | 5-8 ft2 (0.56-0.74 m2) | 30-50 wet mil (0.76-1.27mm) |
Equipment
Sausage: Apply using a professional sausage gun. Use a DRY joint knife, trowel, spatula, roller, or brush to spread the product.
Storage and Handling
- Store VaproBond unopened sausages at temperatures lower than 80 °F (27 °C).
- Do not open sausage until preparation work has been completed.
- Do not alter or mix with other chemicals.
- When stored at or below 80 °F (27 °C) VaproBond has a shelf life of 12 months after the date of manufacture.
- Do not double stack pallets.
- Dispose of unused product and container in accordance with local, state and federal regulations.
Surface and Air Temperatures
- Surface and ambient temperatures should be above 20°F to 120°F (-6.7°C to 49°C) during application and drying.
- Though VaproBond tolerates rain after installation, do not apply to surfaces that are covered with standing water or frost.
- Wind and high temperatures will accelerate drying of VaproBond.
Curing and Drying
At 77°F (25°C) and 50% relative humidity, product is tack-free 25-35 minutes. Higher temperature and/or humidity will shorten this time.
Compatibility
|
|
|
- Sealant Compatibility - view comprehensive ASTM C794 Standard Test Method for Adhesion-in-Peel-Elastomeric Joint Sealants at VaproShield.com
- Contact VaproShield Technical - if you have additional compatibility questions.
Preparation
- Best Practice: always test a small area of each surface to confirm suitability and desired results before starting overall application. Test with the same equipment, recommended
surface preparation, and applications procedures planned for general application. - To ensure best results, apply to clean surfaces free of contaminants. Chemical residues, surface coatings or films may adversely affect adhesion.
- Remove dust/debris from intended application area. Protect adjacent surfaces not intended to receive VaproBond.
- Ensure positive drainage at all rough openings.
Cleanup
- Clean tools and equipment with mineral spirits immediately after use.
- Follow all safety precautions.
- Mechanically remove cured VaproBond using a sharp-edged tool.
Safety
- Read the full label and SDS for precautionary instructions before use.
- Use with adequate ventilation, safety equipment, and jobsite controls during application and handling.
Limitations
VaproBond should not be used in the following:
- As a substitute for appropriate through-wall flashing.
- Water immersion or below grade or in locations designed to be continuously immersed in water.
- On surfaces requiring painting with traditional organic based coatings.
- As a structural glazing sealant.
Best Practice Installation Rough Opening Sequence for VaproBond
 |
 |
|
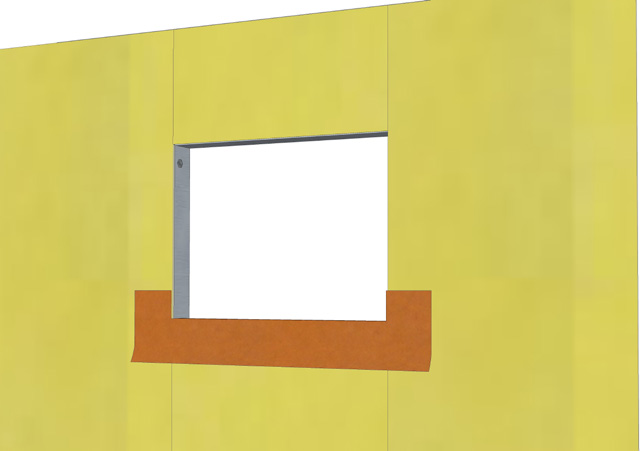
1. Install WrapFlashing SA SelfAdhered (orange) or RevealFlashing SA (black) into sill with 2.75” (70 mm) folded into Rough Opening (R.O.) 9” (229 mm) left on face, with bottom 6” (152 mm) of release film to remain |
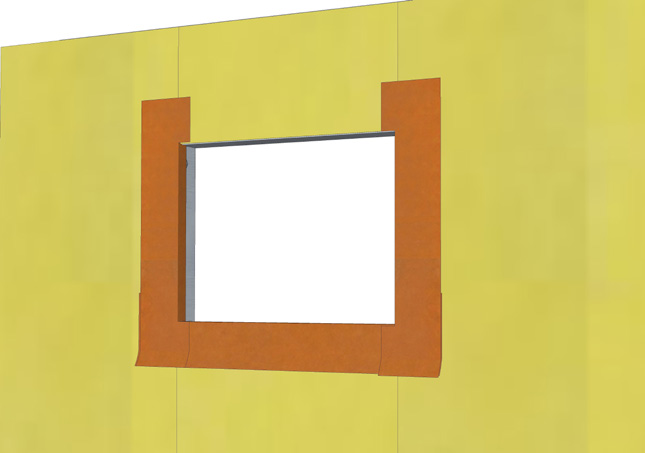
2. Install jamb pieces with 2.75” (70 mm) folded into R.O. 9” (229 mm) to be left on face. |
 |
 |
|
3. Install head piece with 2.75” (70 mm) folded into R.O. 9” (229 mm) to be left on face. Roll all WrapFlashing |
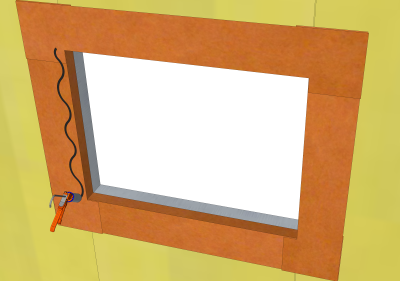
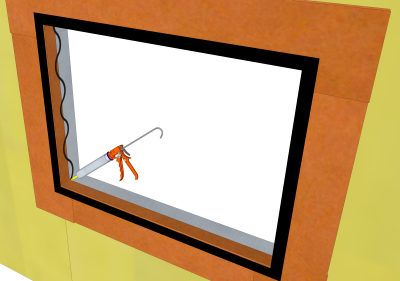
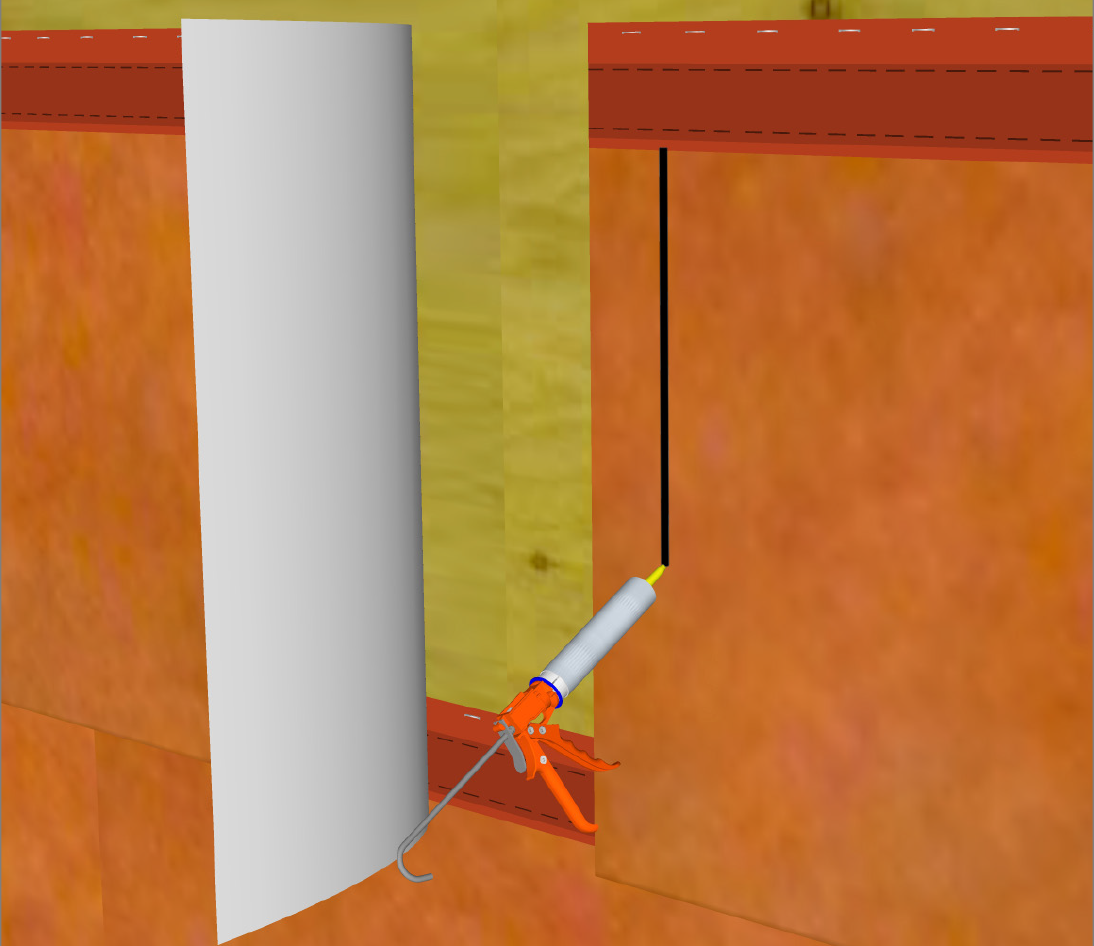
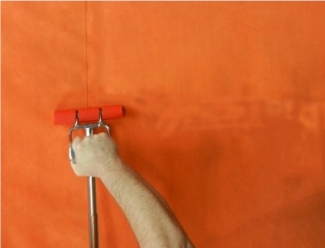
4. Using the sausage gun, apply VaproBond in a zigzag pattern on the wall face surrounding the rough opening. |
 |
 |
|
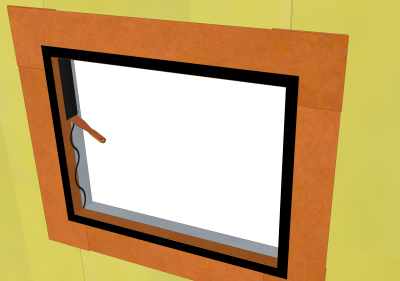
5. Immediately spread the applied material with a putty knife creating a 1” (25 mm) border around the rough opening. |
6. Apply additional VaproBond in zigzag pattern on all inner surfaces of the rough opening. |
 |
 |
|
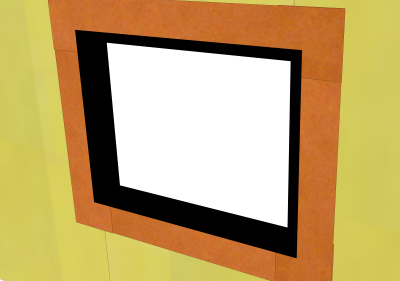
7. Immediately spread until all surfaces are completely covered and substrate below is no longer visible (approximately 30-45 wet mils (0.76- 1.14mm). |
8. Allow VaproBond to set, then inspect for voids and apply additional VaproBond as needed to achieve |
|
*Roll all WrapFlashing SA (orange) sections with weighted roller to ensure full contact. |
|
Sealant Between Membrane
 |
 |
|
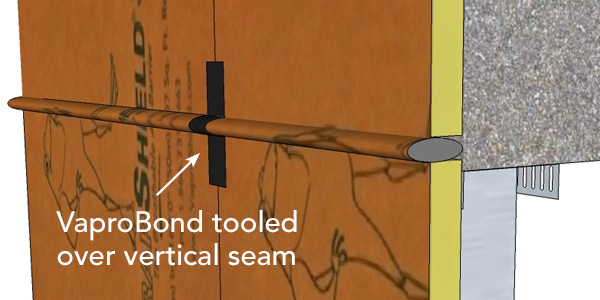
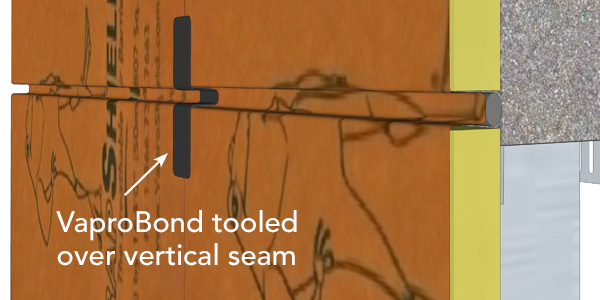
Overlap vertical seams by 12” (305 mm) minimum. Apply VaproBond adhesive sealant bead just below Integrated Tape line at the vertical seam joint. |
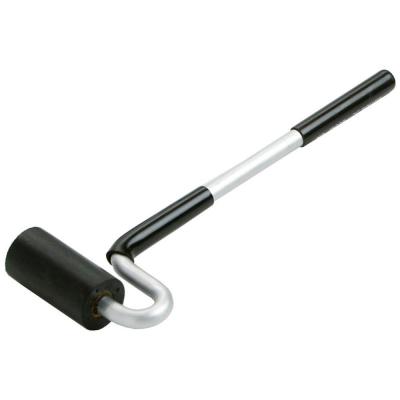
Use hand roller to seal the seam for an air and water tight seal. |
Tear and Abrasion Repair
 |
 |
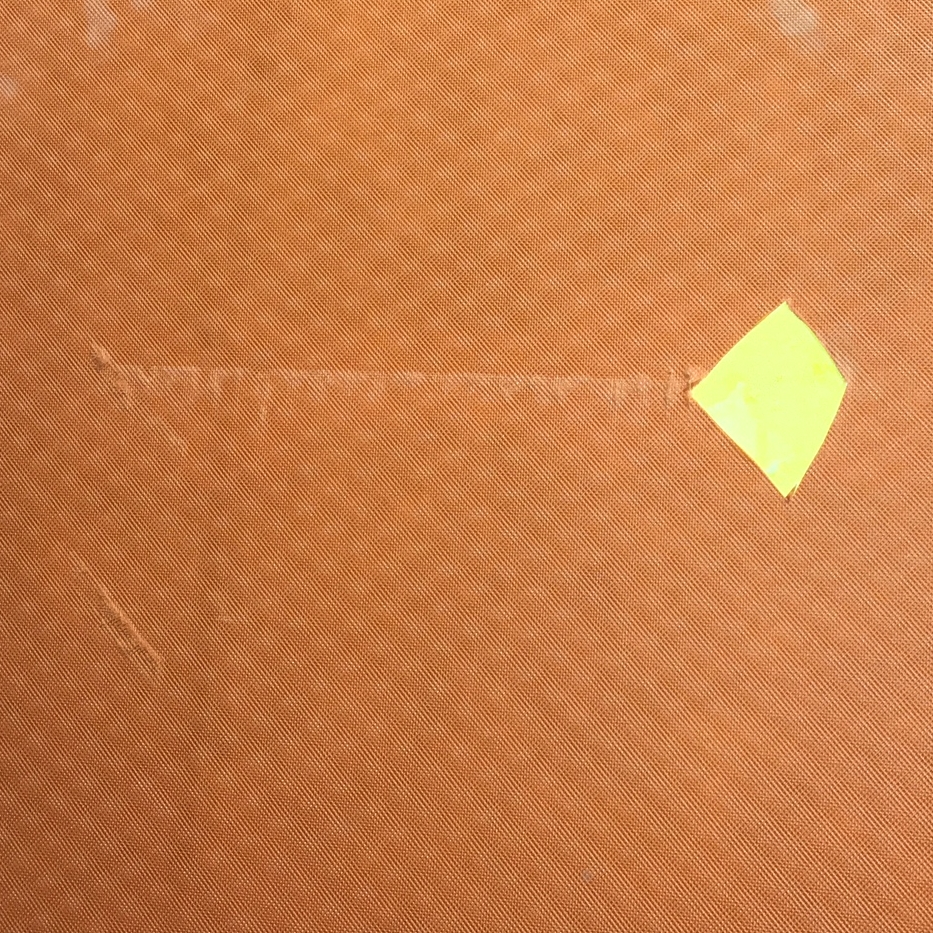 |
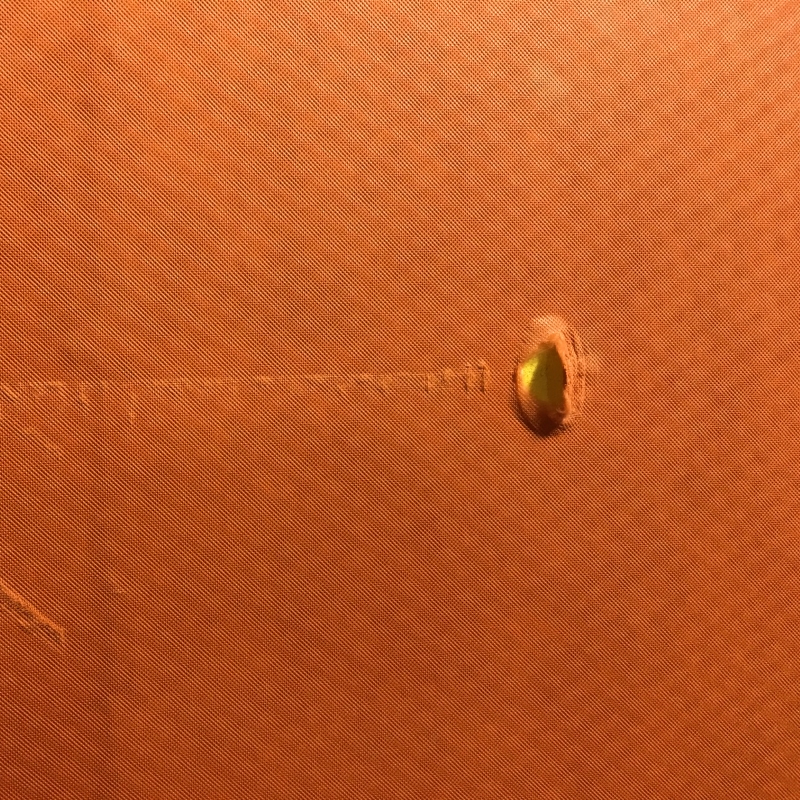
| Typical installation tears or abrasions |
Remove excess membrane from tear until smooth with substrate |
|
 |
 |
 |
|
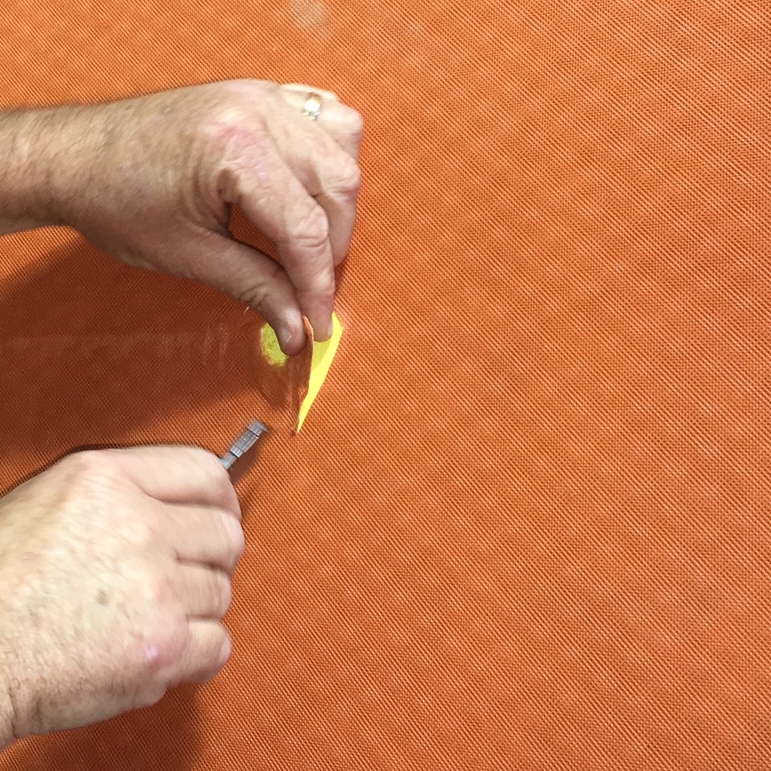
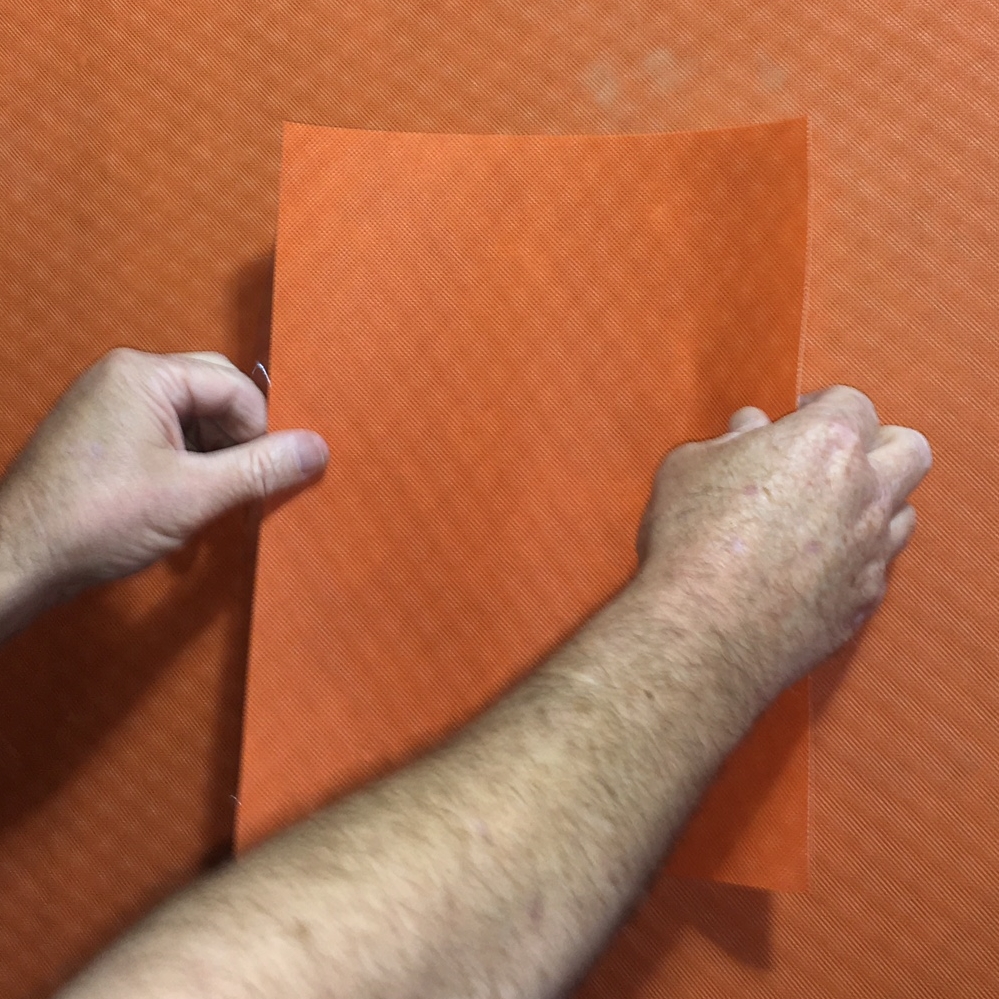
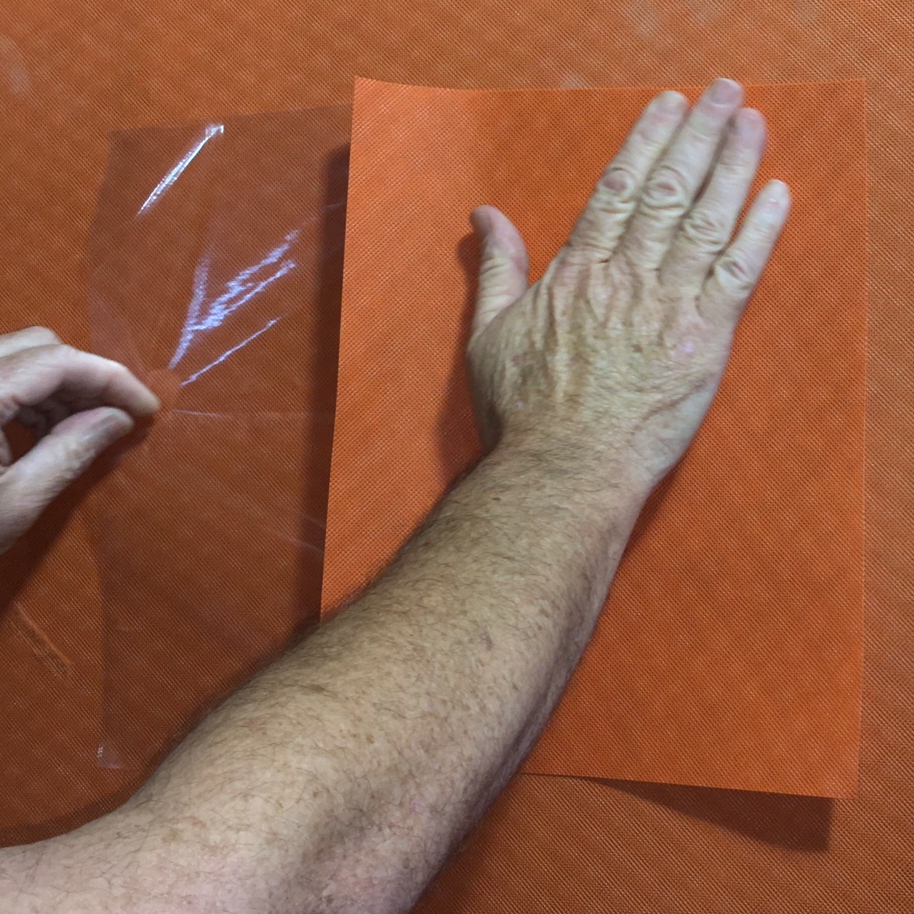
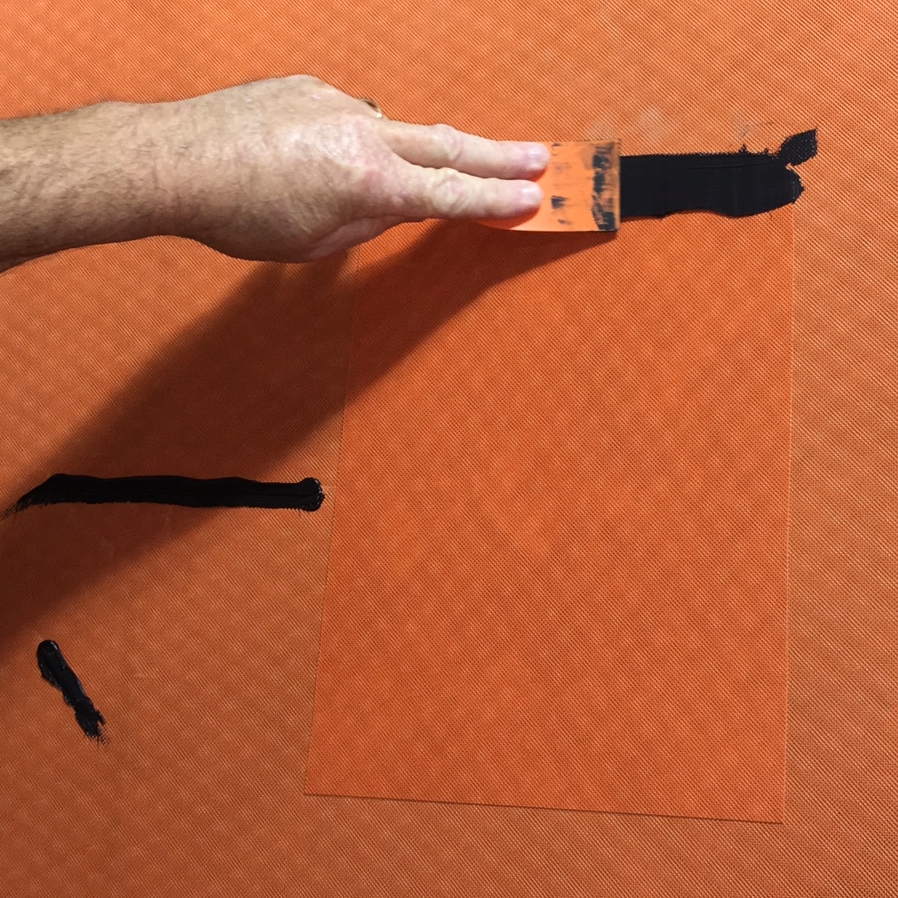
Cut and apply a patch of self-adhered field membrane or WrapFlashing SA Self-Adhered |
Remove release film, smooth over with hand pressure |
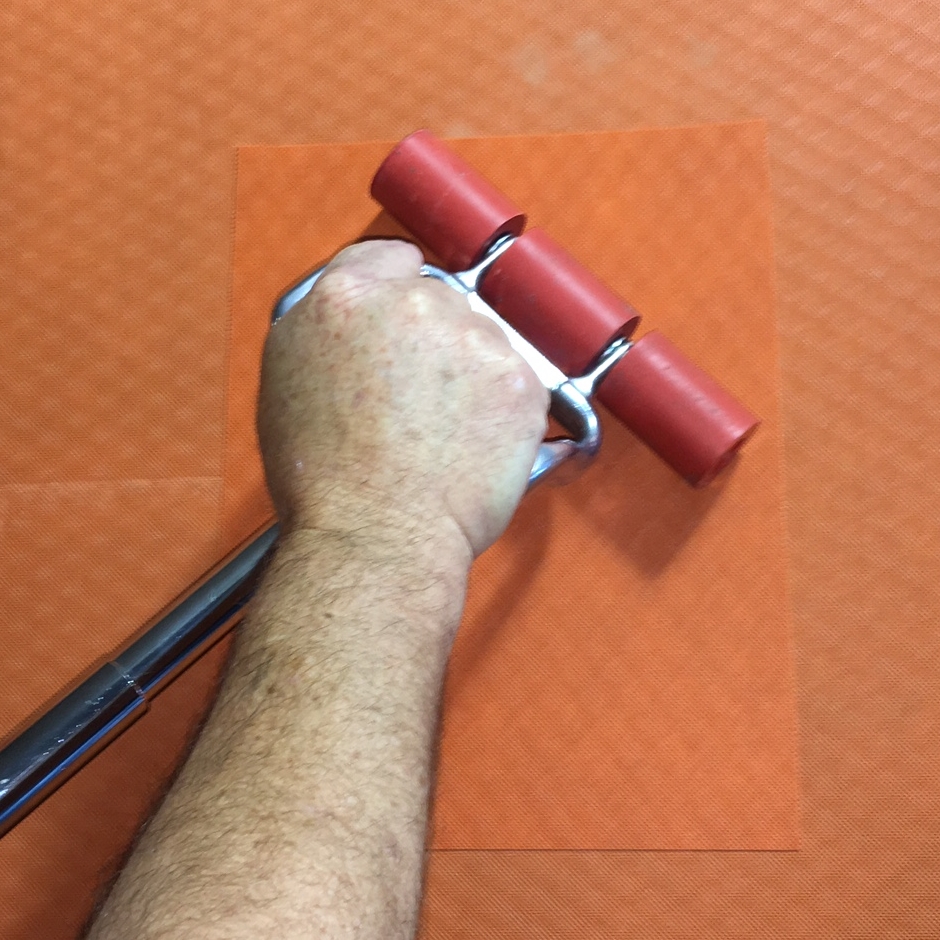
Use hand roller to ensure complete adhesion |
 |
 |
|
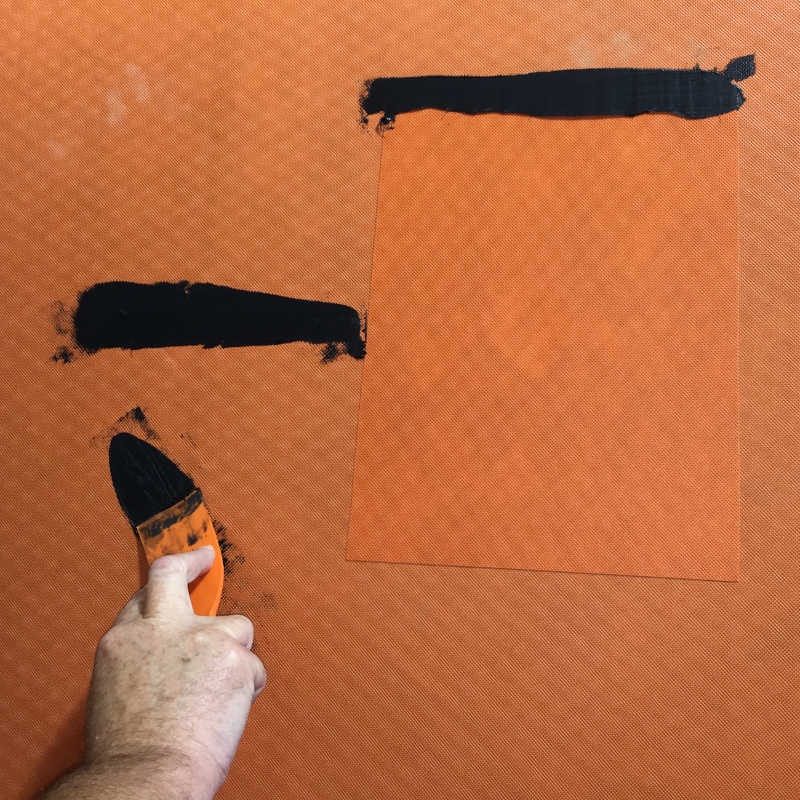
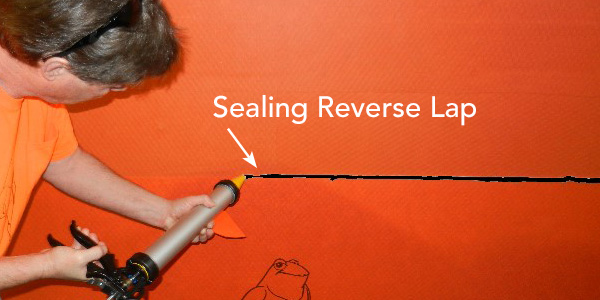
Hole Patch Repair: seal the reverse lap (at top) with VaproBond to ensure a water and air tight seal |
Abrasion Repair: apply VaproBond over abrasion and tool with a DRY joint knife, trowel or spatula |
Reverse Lap Sealant
VAPROSHIELD BEST PRACTICE IS TO AVOID REVERSE LAPS BY PROPERLY SHINGLING MEMBRANE AND ROUGH OPENING FLASHING.
 |
 |
|
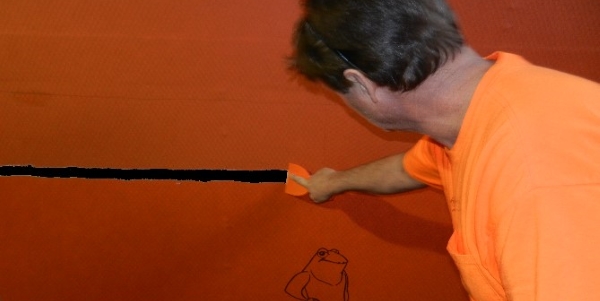
Apply 3/8” (9.5mm) minimum bead line of VaproBond to the reverse lapped membrane. |
Use a DRY joint knife or trowel to tool VaproBond to shed water. |
Other Typical Sealant Uses
 |
 |
|
Headflashing sealant
|
Sealing VaproSilicone Transition Materials
|
 |
 |
|
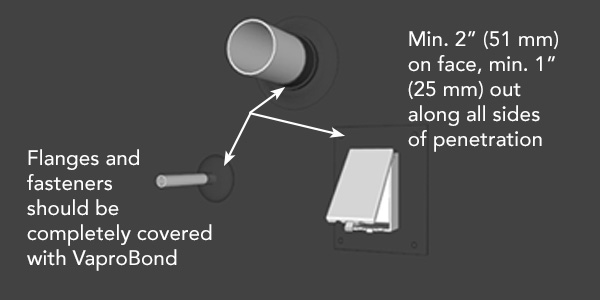
Penetration sealant
|
Interior air seal
|
 |
 |
|
Outward floor line movement joint sealant
|
Inward floor line movement joint sealant
|