Installation Instructions (PDF)
Tools and Accessories
 |
 |
 |
 |
 |
 |
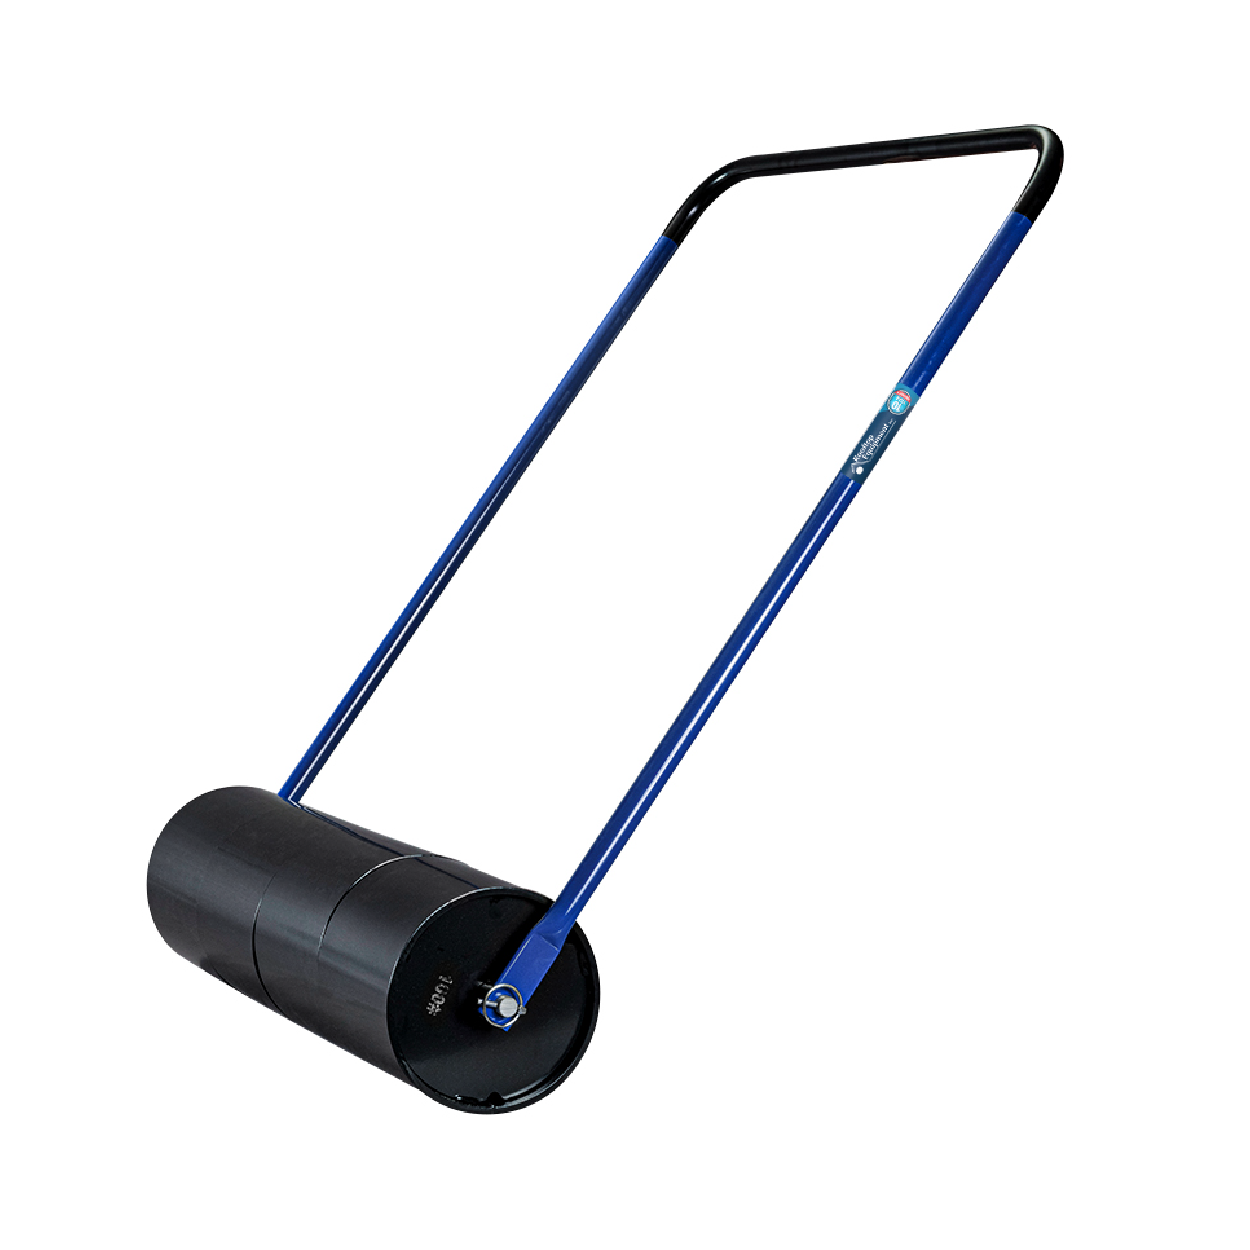
| Weighted Roller min 70lbs (linoleum or steel) |
Roofers knife |
Gloves |
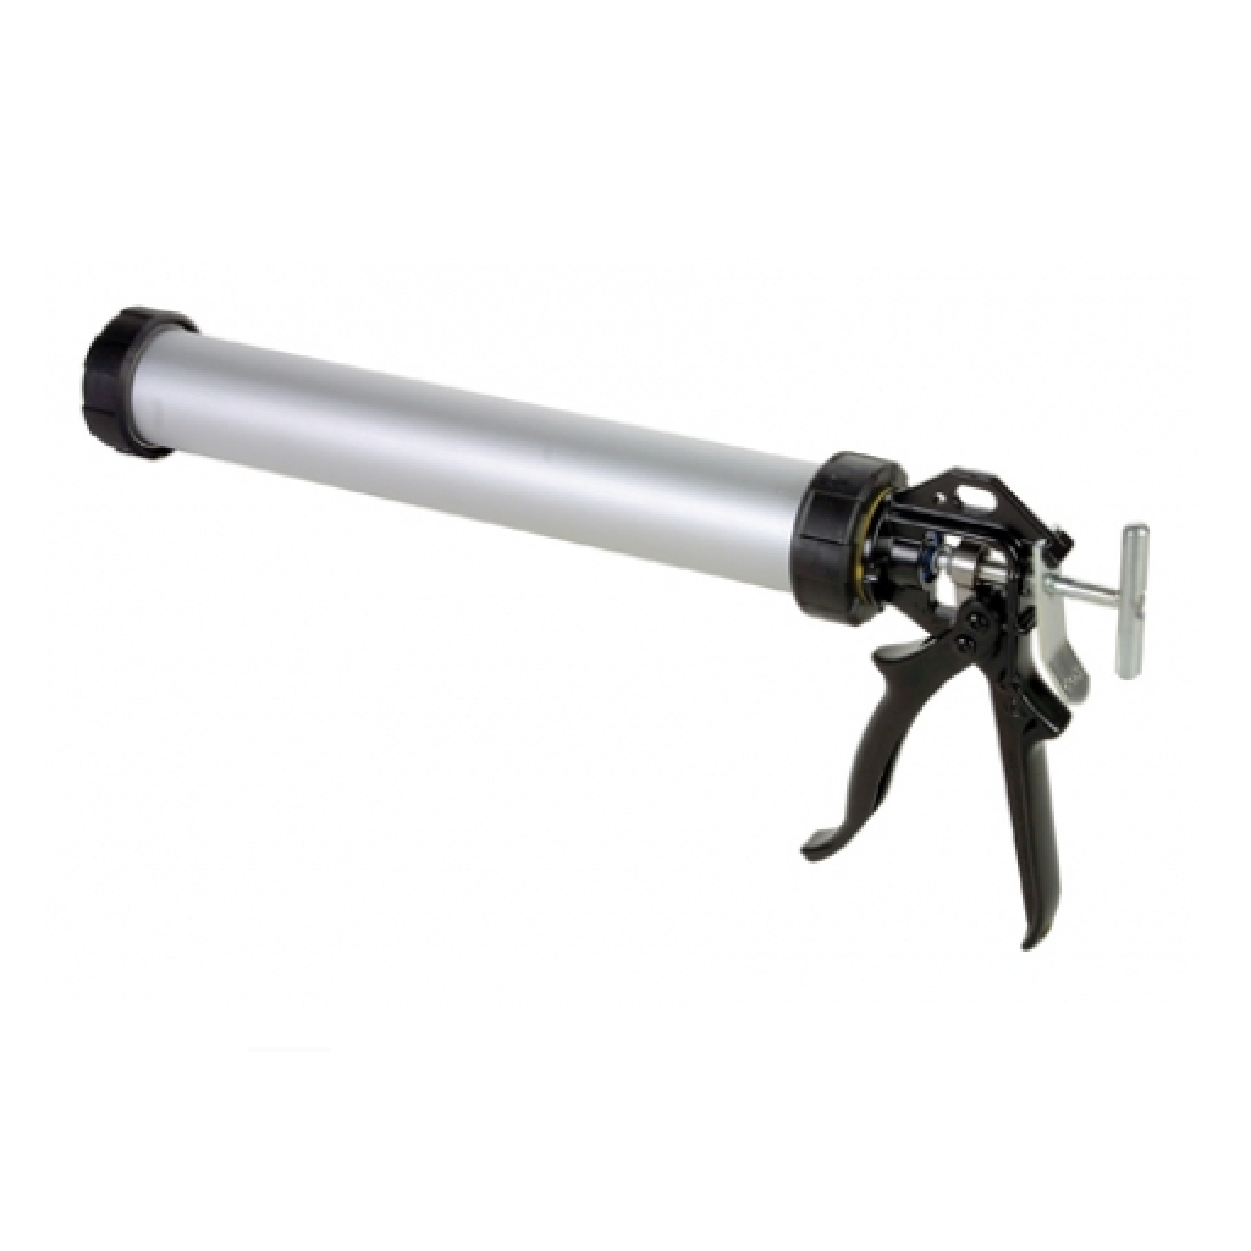
Sausage Gun |
Flashing Accessories |
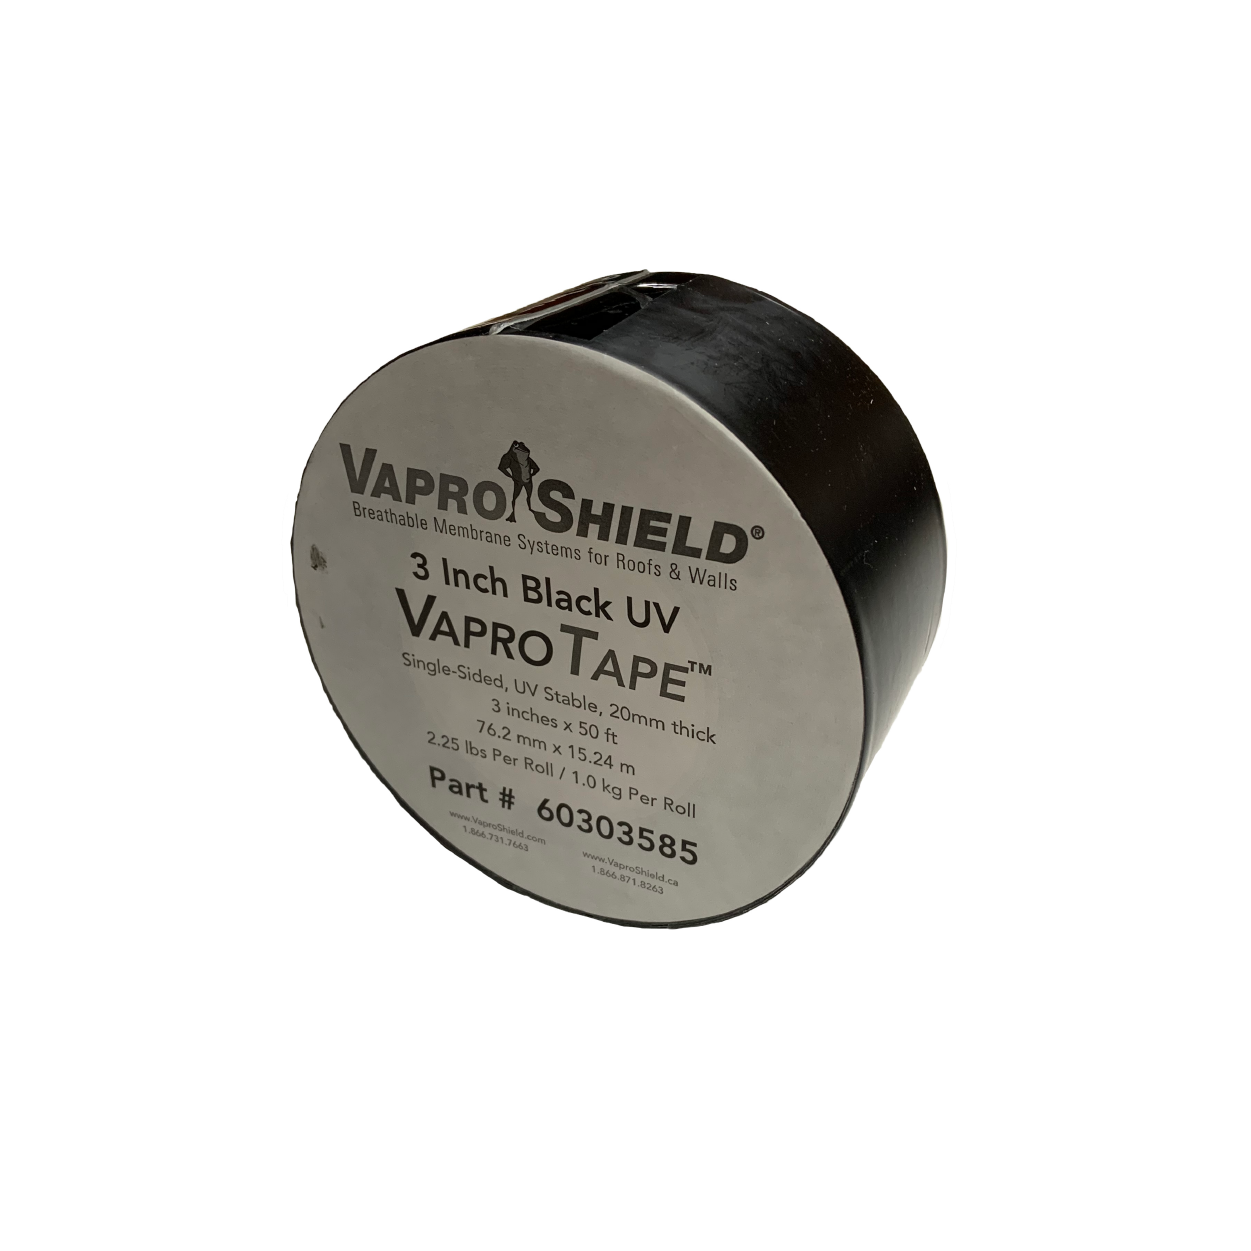
VaproTape |
Compatible Substrates
- Gypsum Roof Sheathing Board
- Rigid Insulation
- Concrete (Bull bloat finish or better)
- Plywood
|
- Mass Timber
- Steel Deck Pre-painted galvanized metal
- Aluminum Painted/Mill finish
- OSB and most OSB factory-coated products
|
Delivery, Packaging And Storage
- Store materials in original packaging at temperautres between 40°F and 120°F (4°C - 49°C).
- Protect materials from direct sunlight and inclement weather until ready for use.
Substrate Preparation
- Ensure the substrate is clean, dry and free from dust, dirt, and debris.
- Steel surfaces must be clear of any oil residue and moisture.
- Ensure substrate fasteners are flush with surface and fastened into solid backing.
- Ensure newly poured concrete surfaces must be finished by forming, wood float, steel or power trowel, or broom finished to meet a CSP of 2-4, in accordance with the IRCI Technical Guideline No. 310.2R-2013.
| Do's |
Don't's |
- DO install on roof applications with a minimum slope of 1/4:12
- DO ensure all side and head laps are a minimum of 3” (7.5 cm)
- DO roll the membrane with a weighted roller, min. 70 lbs
- DO use VaproTape on all seams when using SlopeShield Plus SA for temporary weather protection on low slope roofs
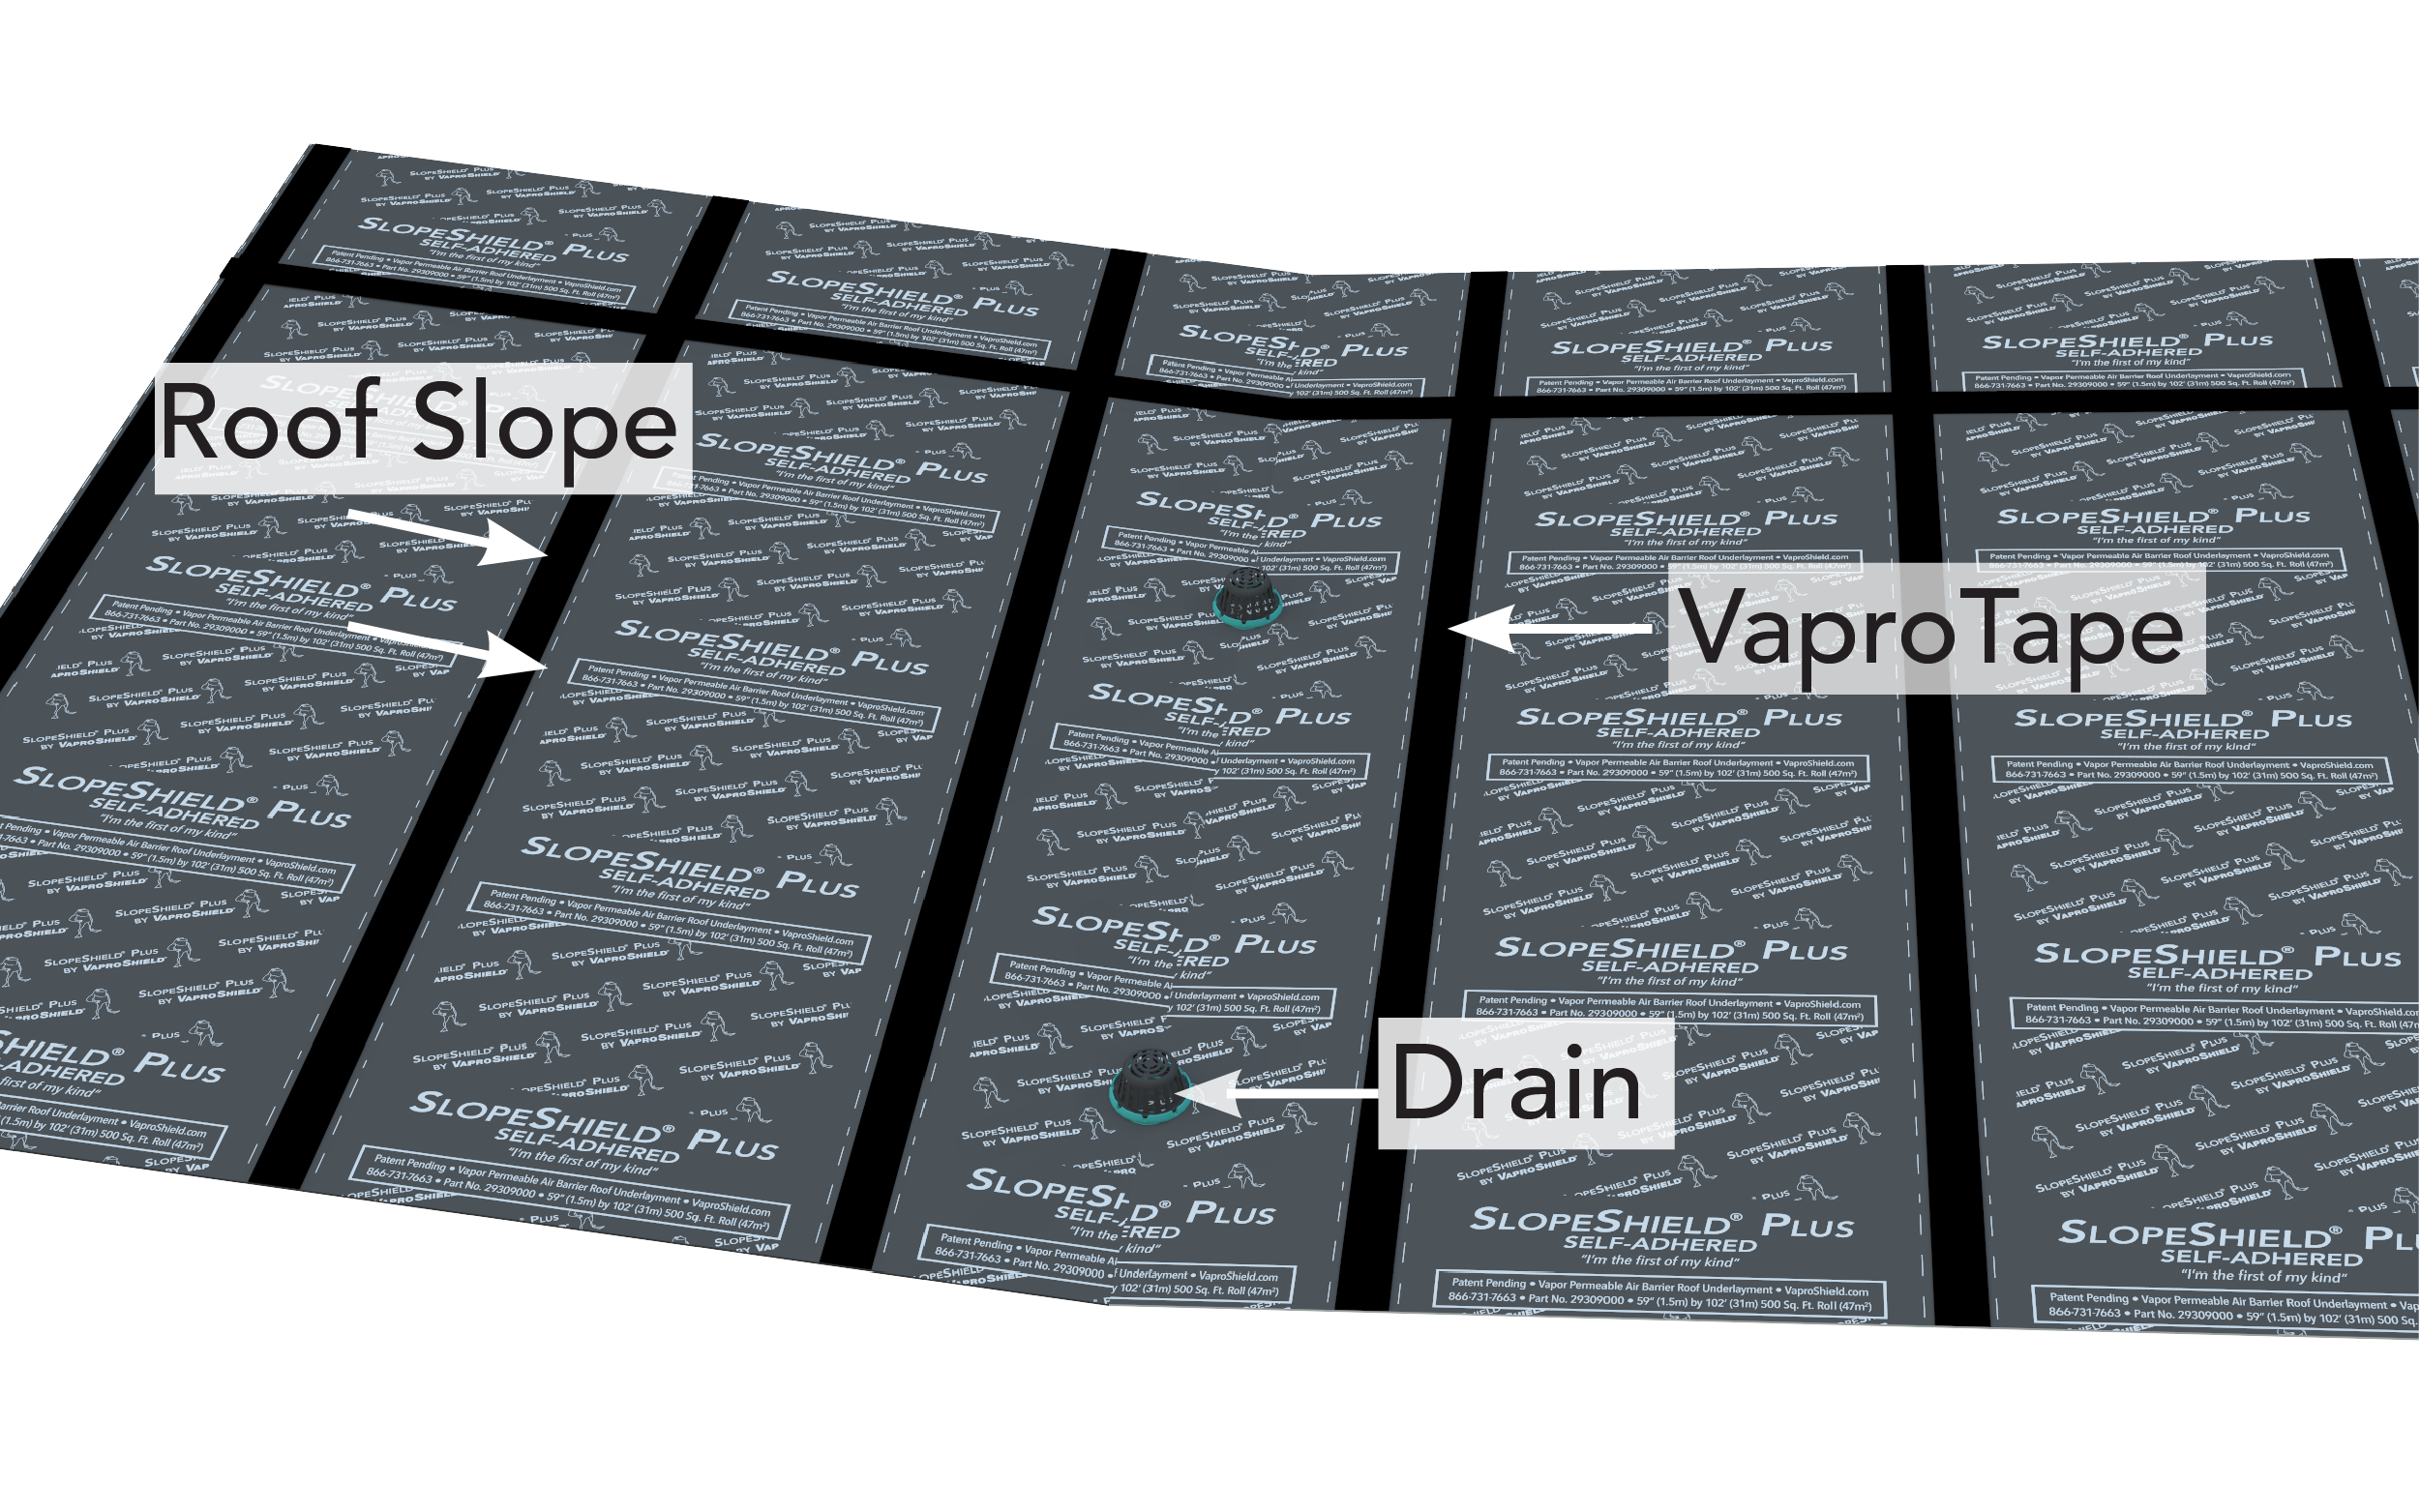
- DO install in a shingle fashion perpendicular to the roof slope with VaproTape in low lying areas, such as drains, valleys, etc
- DO install above of 20˚F (- 6.0˚C) and rising
- DO cover membrane as soon as practical, maximum exposure time is 180 days
- DO ensure surfaces are in sound, clean condition and free of oil, grease, dirt, excess mortar or other contaminants
- DO fill voids and gaps in substrate greater than ½” (12.7 mm) wide
- DO conduct on-site adhesion testing along with moisture meter testing, prior to installing new insulation and roof membrane
- DO use primer as required to meet uplift pressures*
- DO consider extra measures to secure all edges in high wind situations
|
- DON'T install reverse laps or install seams against the flow of water
- DON’T install below 20˚F (- 6.0˚C) and decreasing
- DON’T install on a roof below 1/4:12 without prior written approval from VaproShield Technical
- DON’T leave release liner underfoot, dispose immediately
- DON’T store materials in direct sunlight and inclement weather until ready for use
|
*Contact VaproShield Technical
Safety
- Persons who access any roofs, involved with roof construction, repair or maintenance shall use appropriate personal protective equipment including, but not limited to, hard hats, eye protection, and leather gloves and must be trained on safe practices relevant to their work.
- Where the use of ladders, scaffolds, platforms, or temporary floors are utilized, safety lines and safety harnesses shall be used. Please access the OSHA Web site at www.osha.gov, contact your local OSHA office, or visit the local federal bookstore to obtain the most current information on OSHA 29 CFR 1926.
- Caution: Release liners are slippery. To prevent injury, liner should be removed from under foot as soon as membrane is installed and disposed of properly.
Technical Guidelines
 |
 |
|
IMPORTANT INSTALLATION NOTE EXPOSURE TIME
When using SlopeShield Plus SA in a self-drying application or as temporary weather protection, all seams must be taped and rolled with a weighted roller to ensure proper adhesion.
|
LOW LYING AREAS, DRAINS
Under 1/4:12 or in low lying areas, such as drains and valleys, VaproTape is required on all seams 1 foot on either side of the drains.
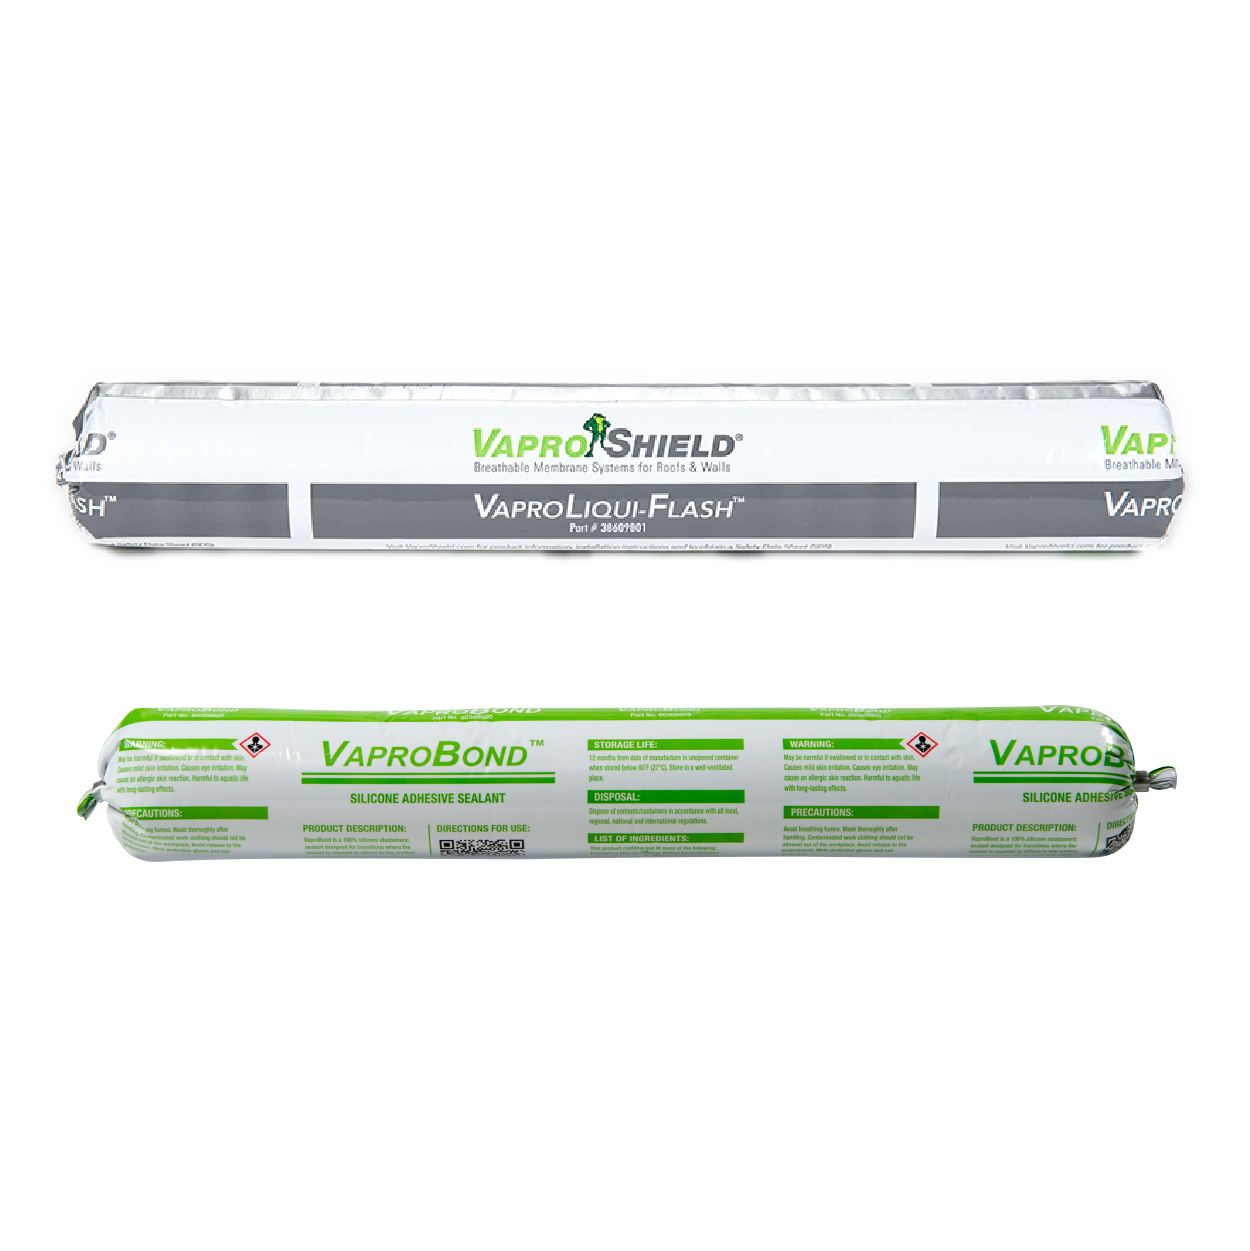
Note: VaproLiqui-Flash (min. 30 wet mil.) can be used as an alternative to VaproTape for sealing seams in damp environments. Refer to VaproLiqui-Flash installation instructions.
|
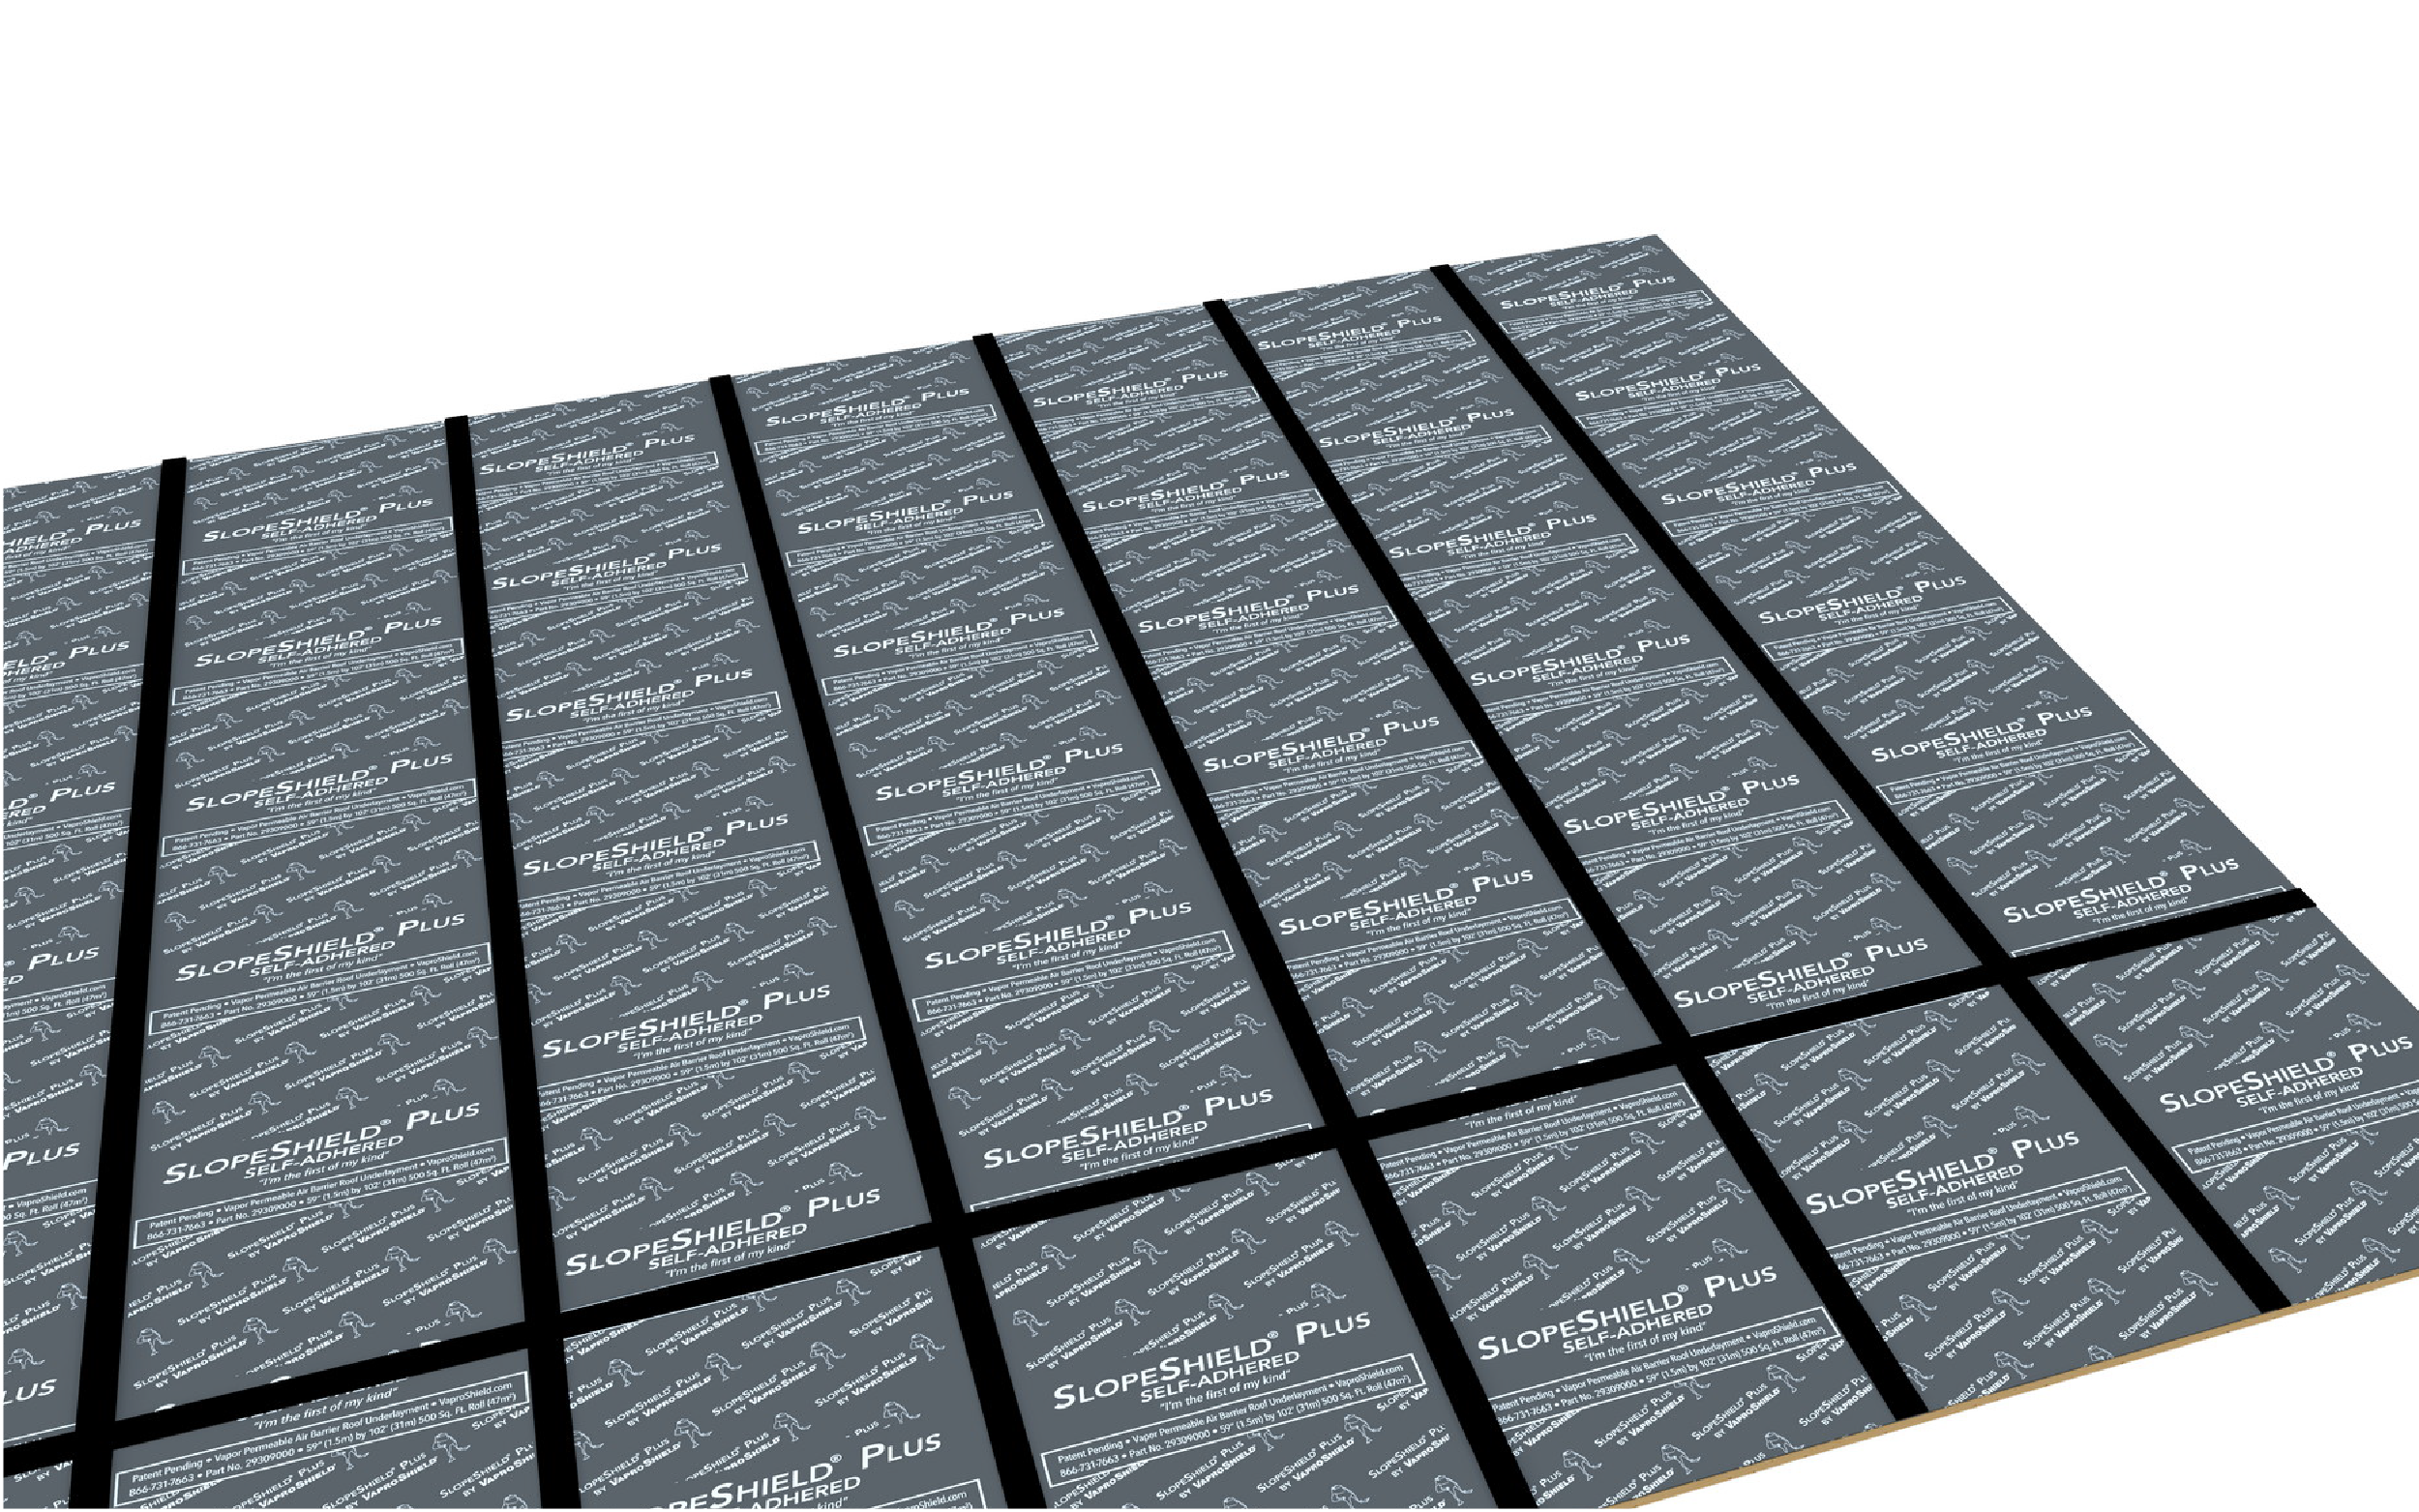
Standard Installation Instructions: Insulation and Coverboard Substrates (Wood, Gypsum, Lightweight Concrete)
 |
 |
|
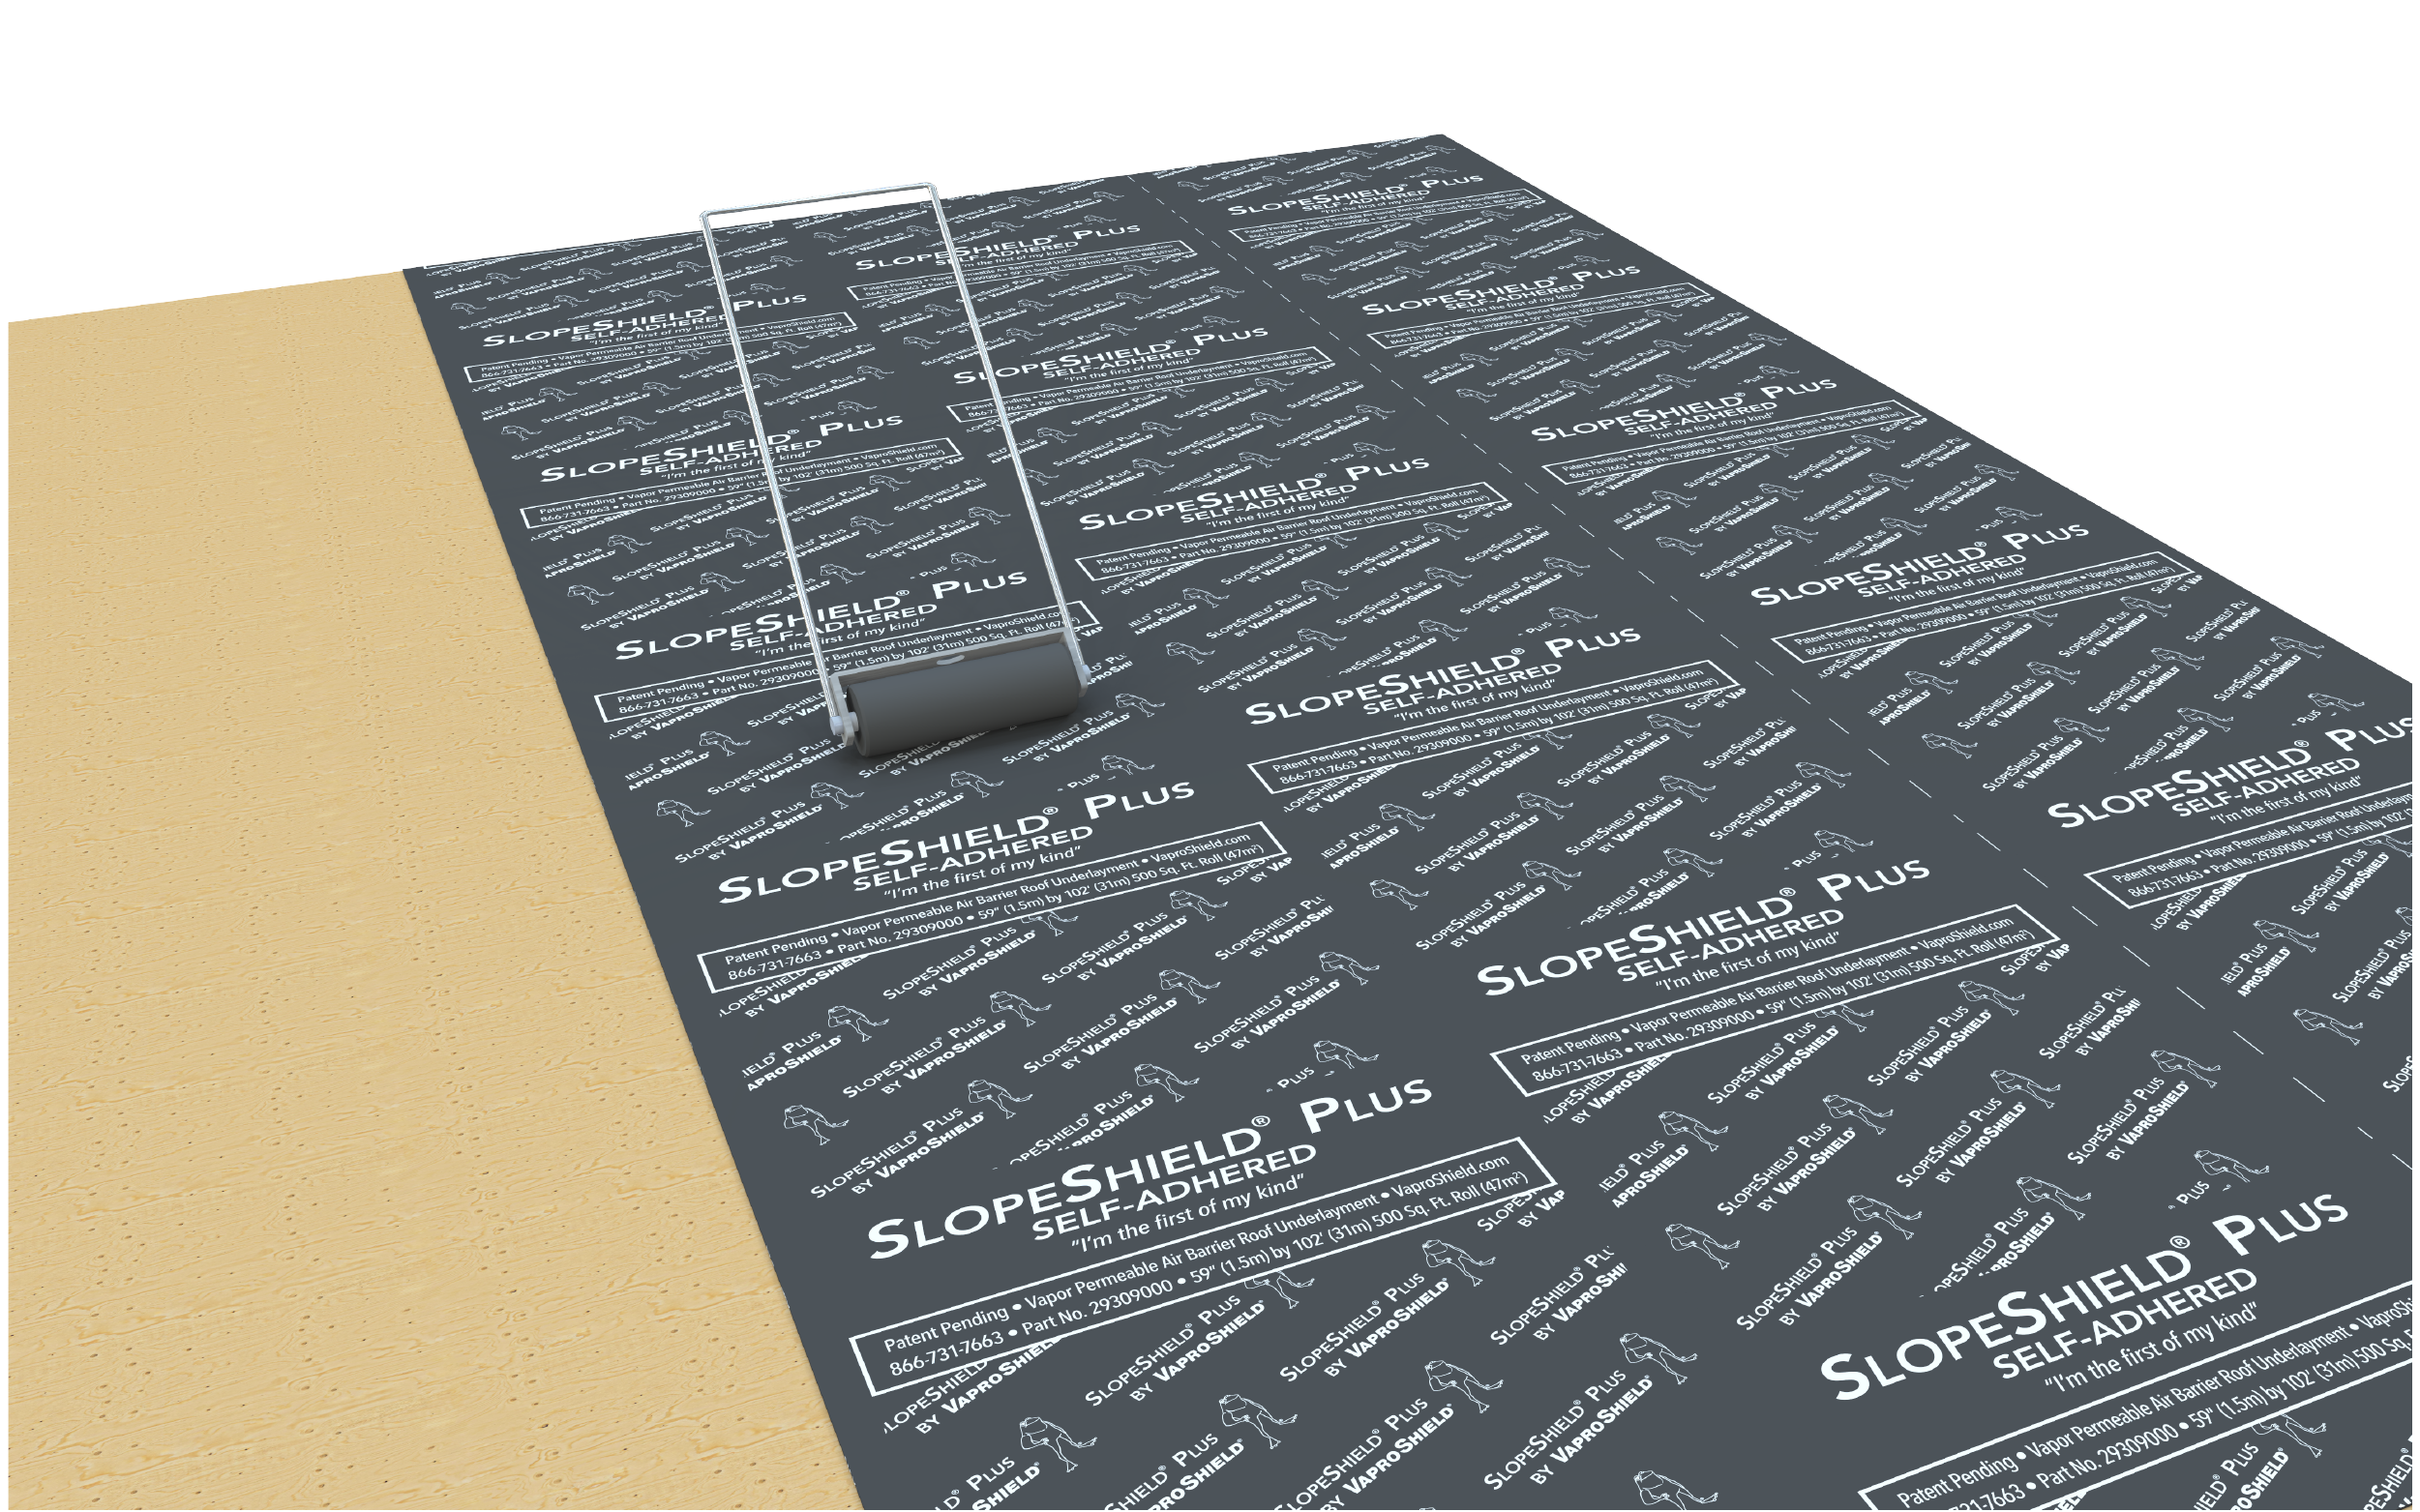
Step 1
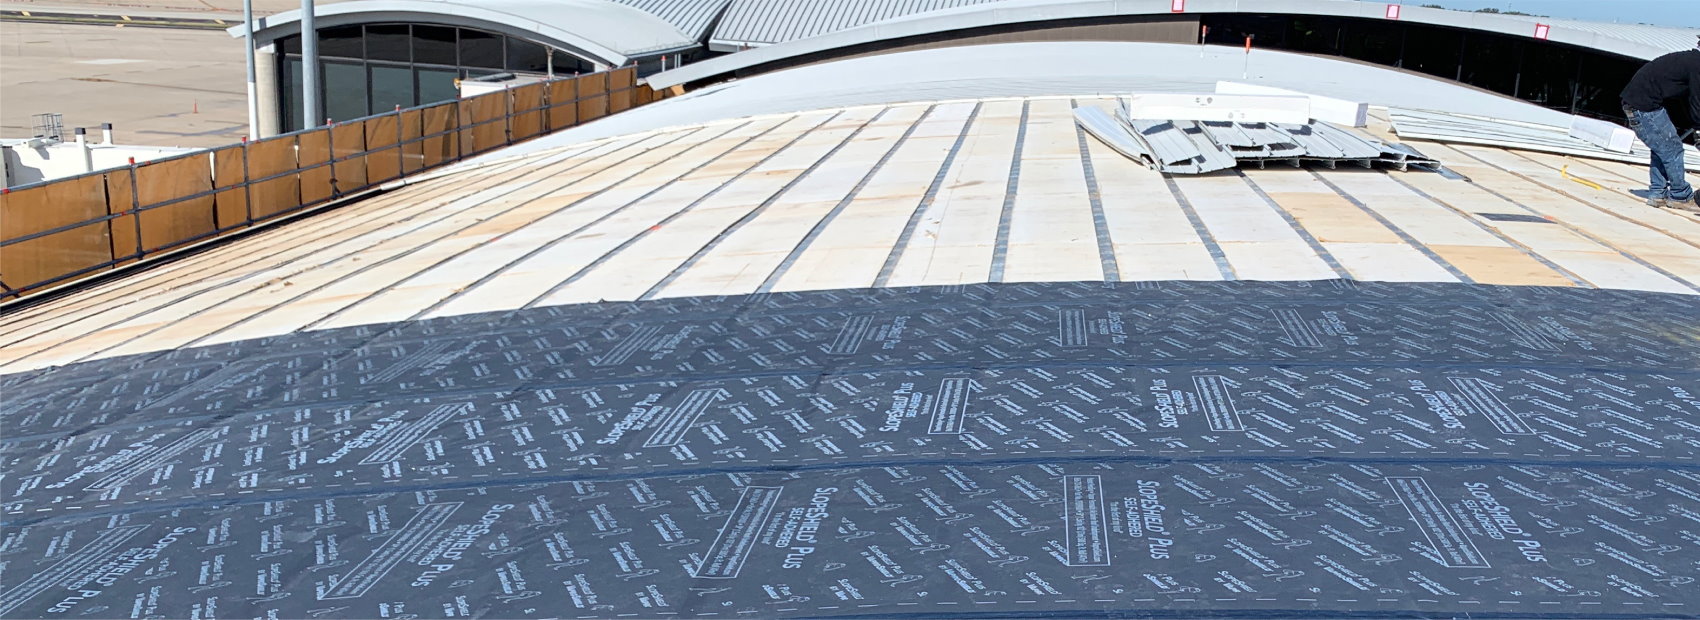
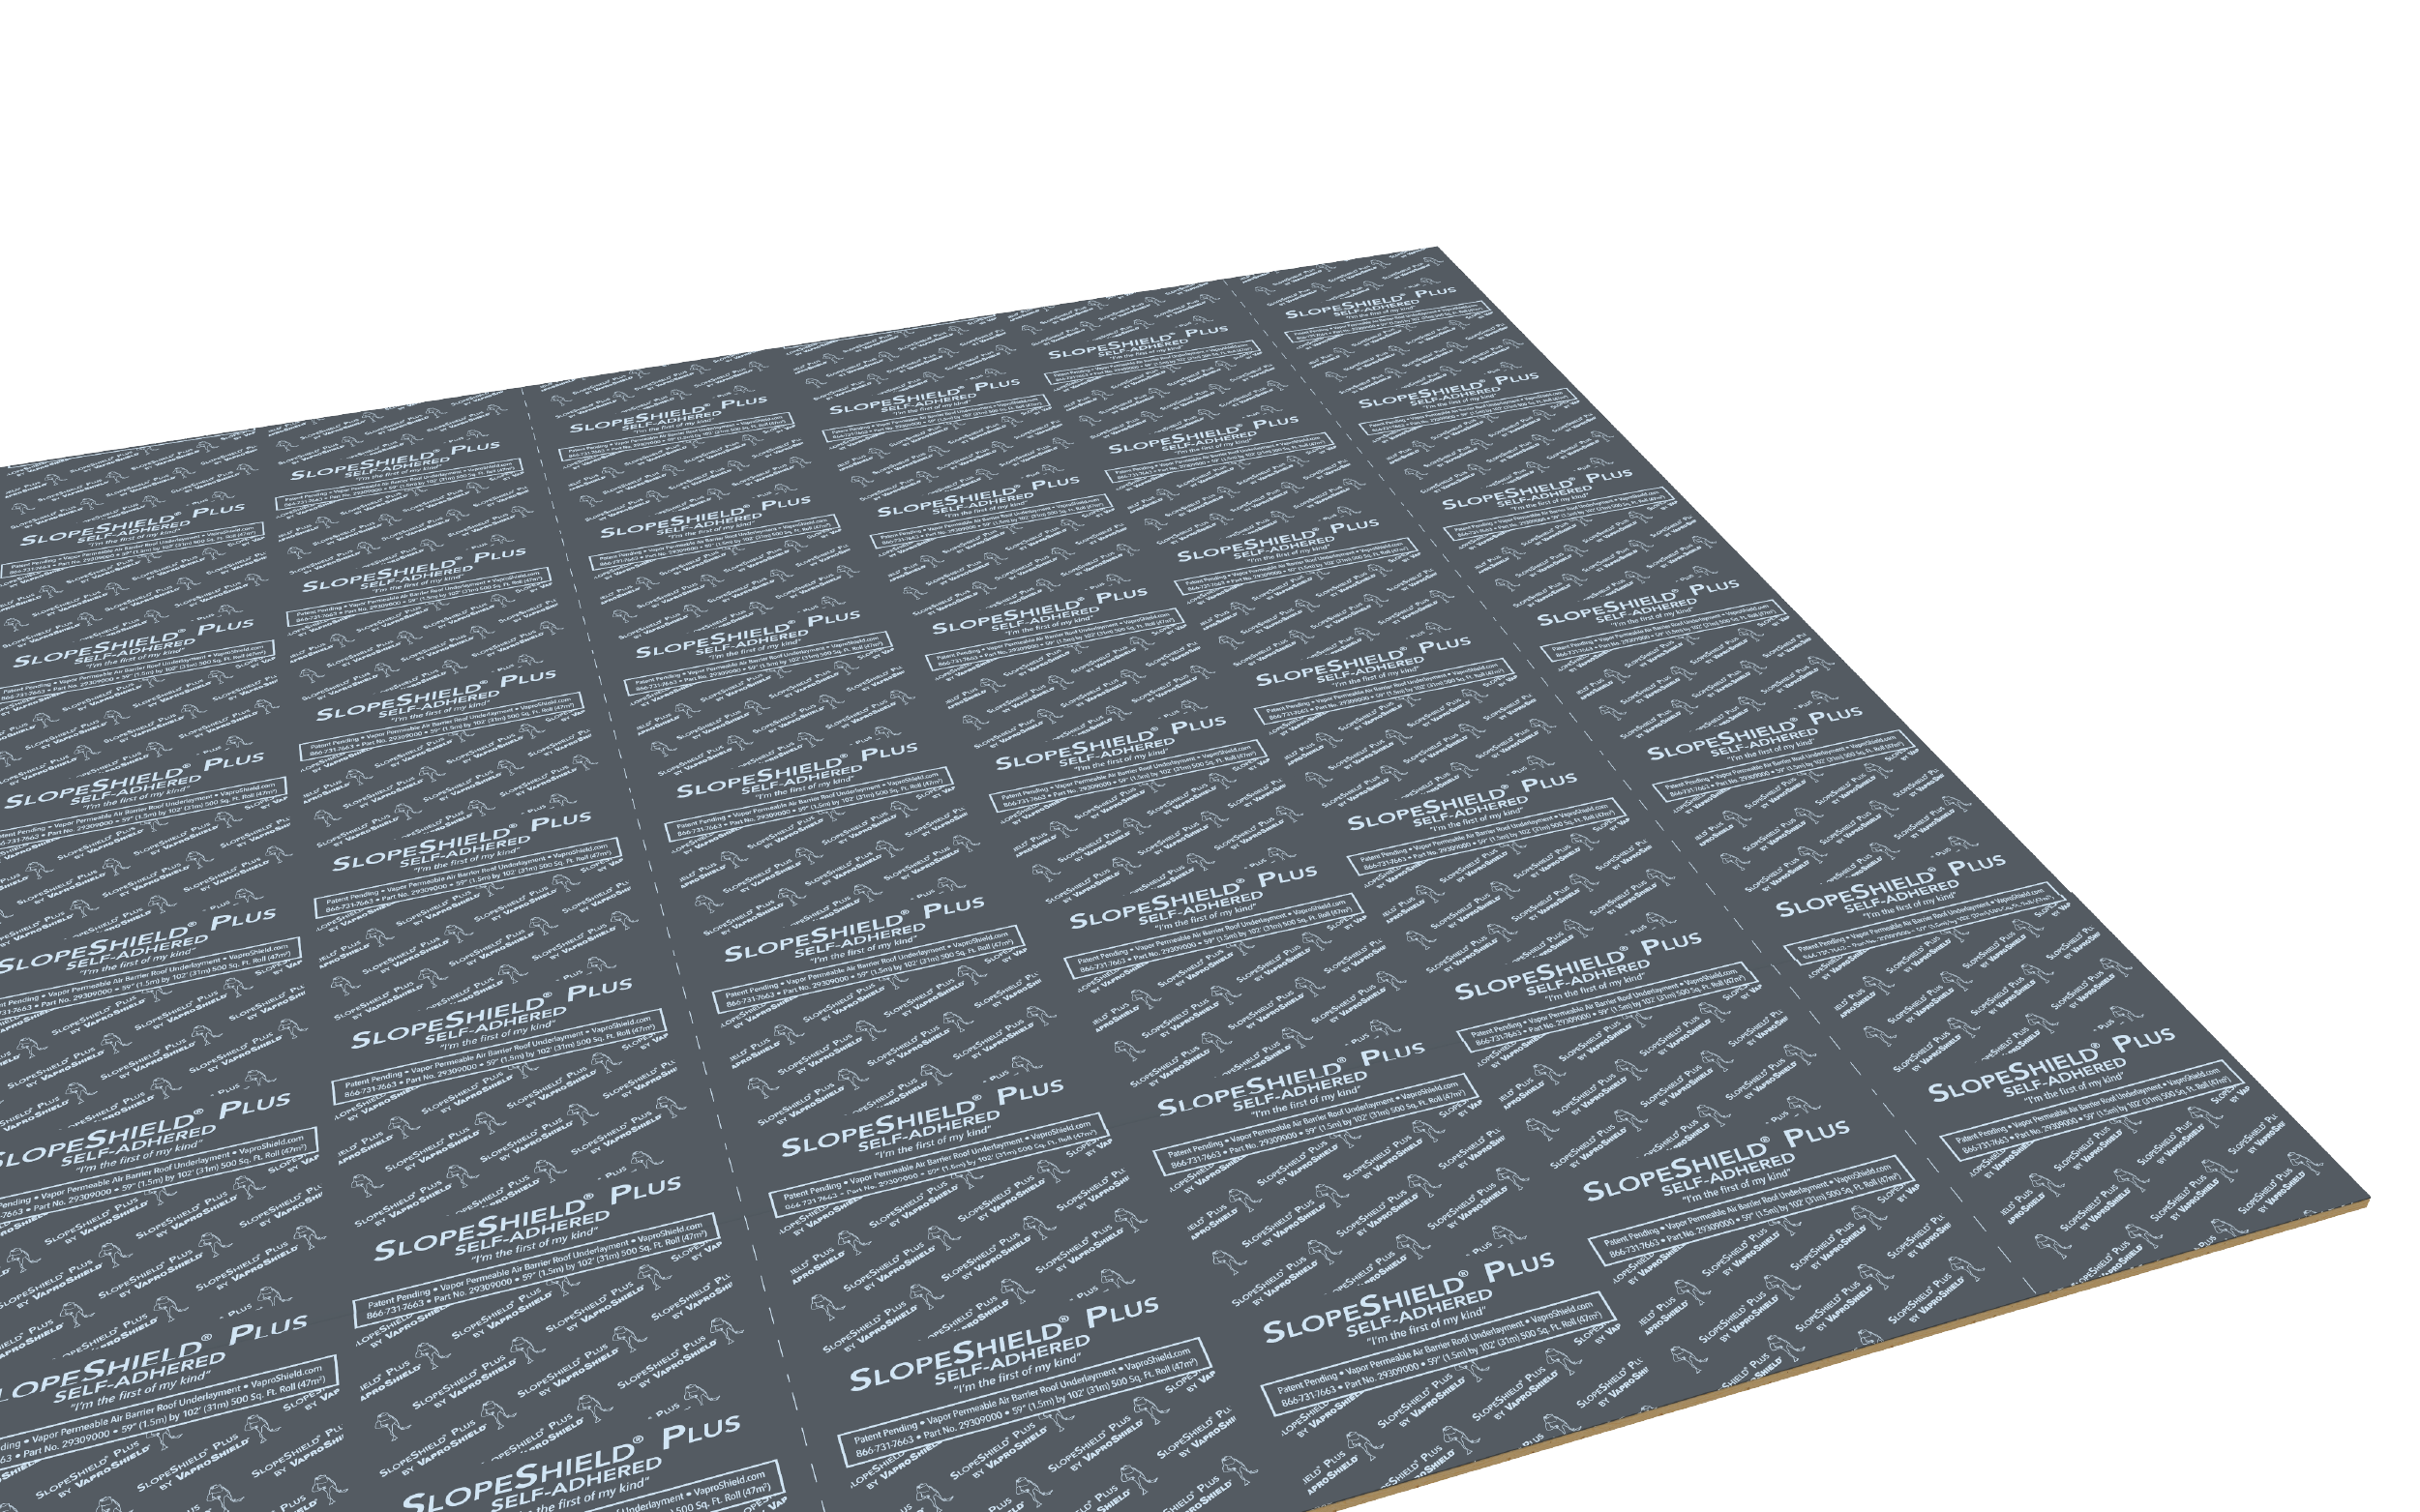
Starting at the low point of the roof, unroll SlopeShield Plus SA onto the clean, dry substrate.
Once leading edge is set, while holding the sheet tight, remove the silicone release film by pulling diagonally.
|
Step 2
When installing subsequent rolls of SlopeShield Plus SA ensure 3” (7.5 cm) side laps are maintained.
After multiple rolls are installed, roll the membrane with a weighted roller, min. 70 lbs.
|
CAUTION: Release liners are slippery. To prevent injury, liner should be removed from under foot as soon as membrane is installed and disposed of properly.
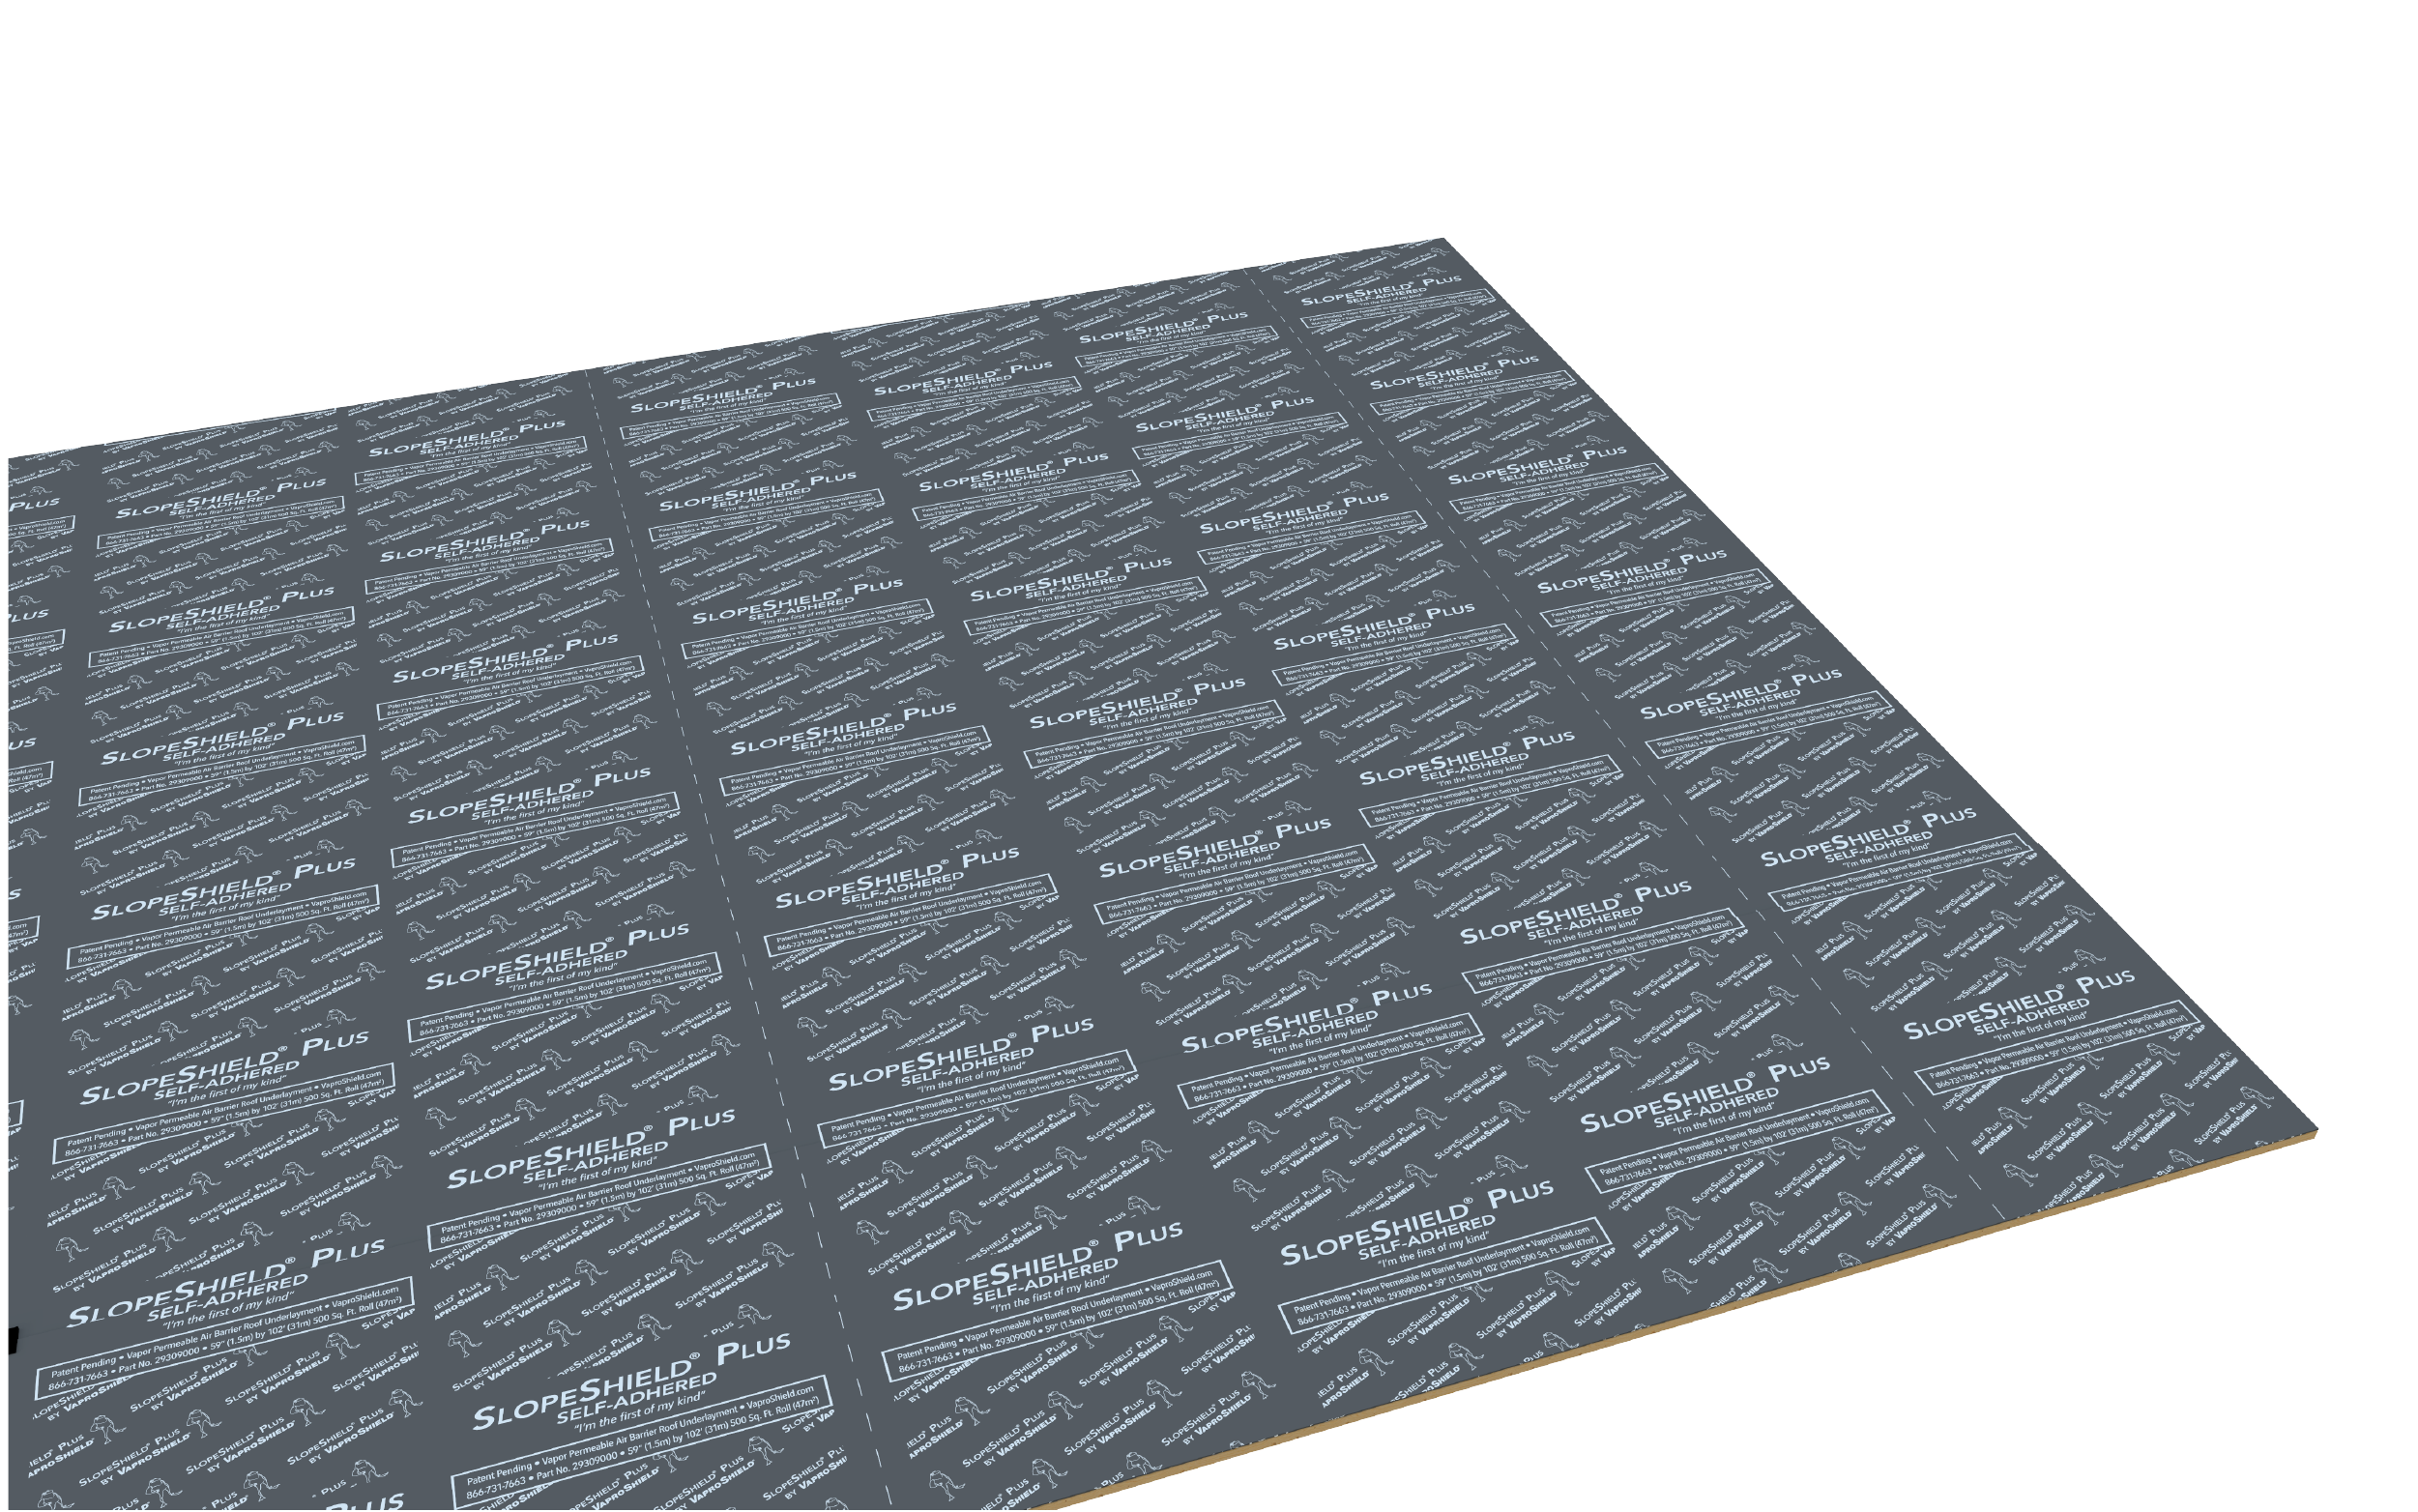 |
STEP 3
When left exposed to precipitation, positive slope and adequate drainage is required. The effects of weathering may vary based upon local climate and project conditions. May be used as temporary protection at the discretion of the general contractor or building professional. Maximum exposure is 180 days prior to coverage.
|
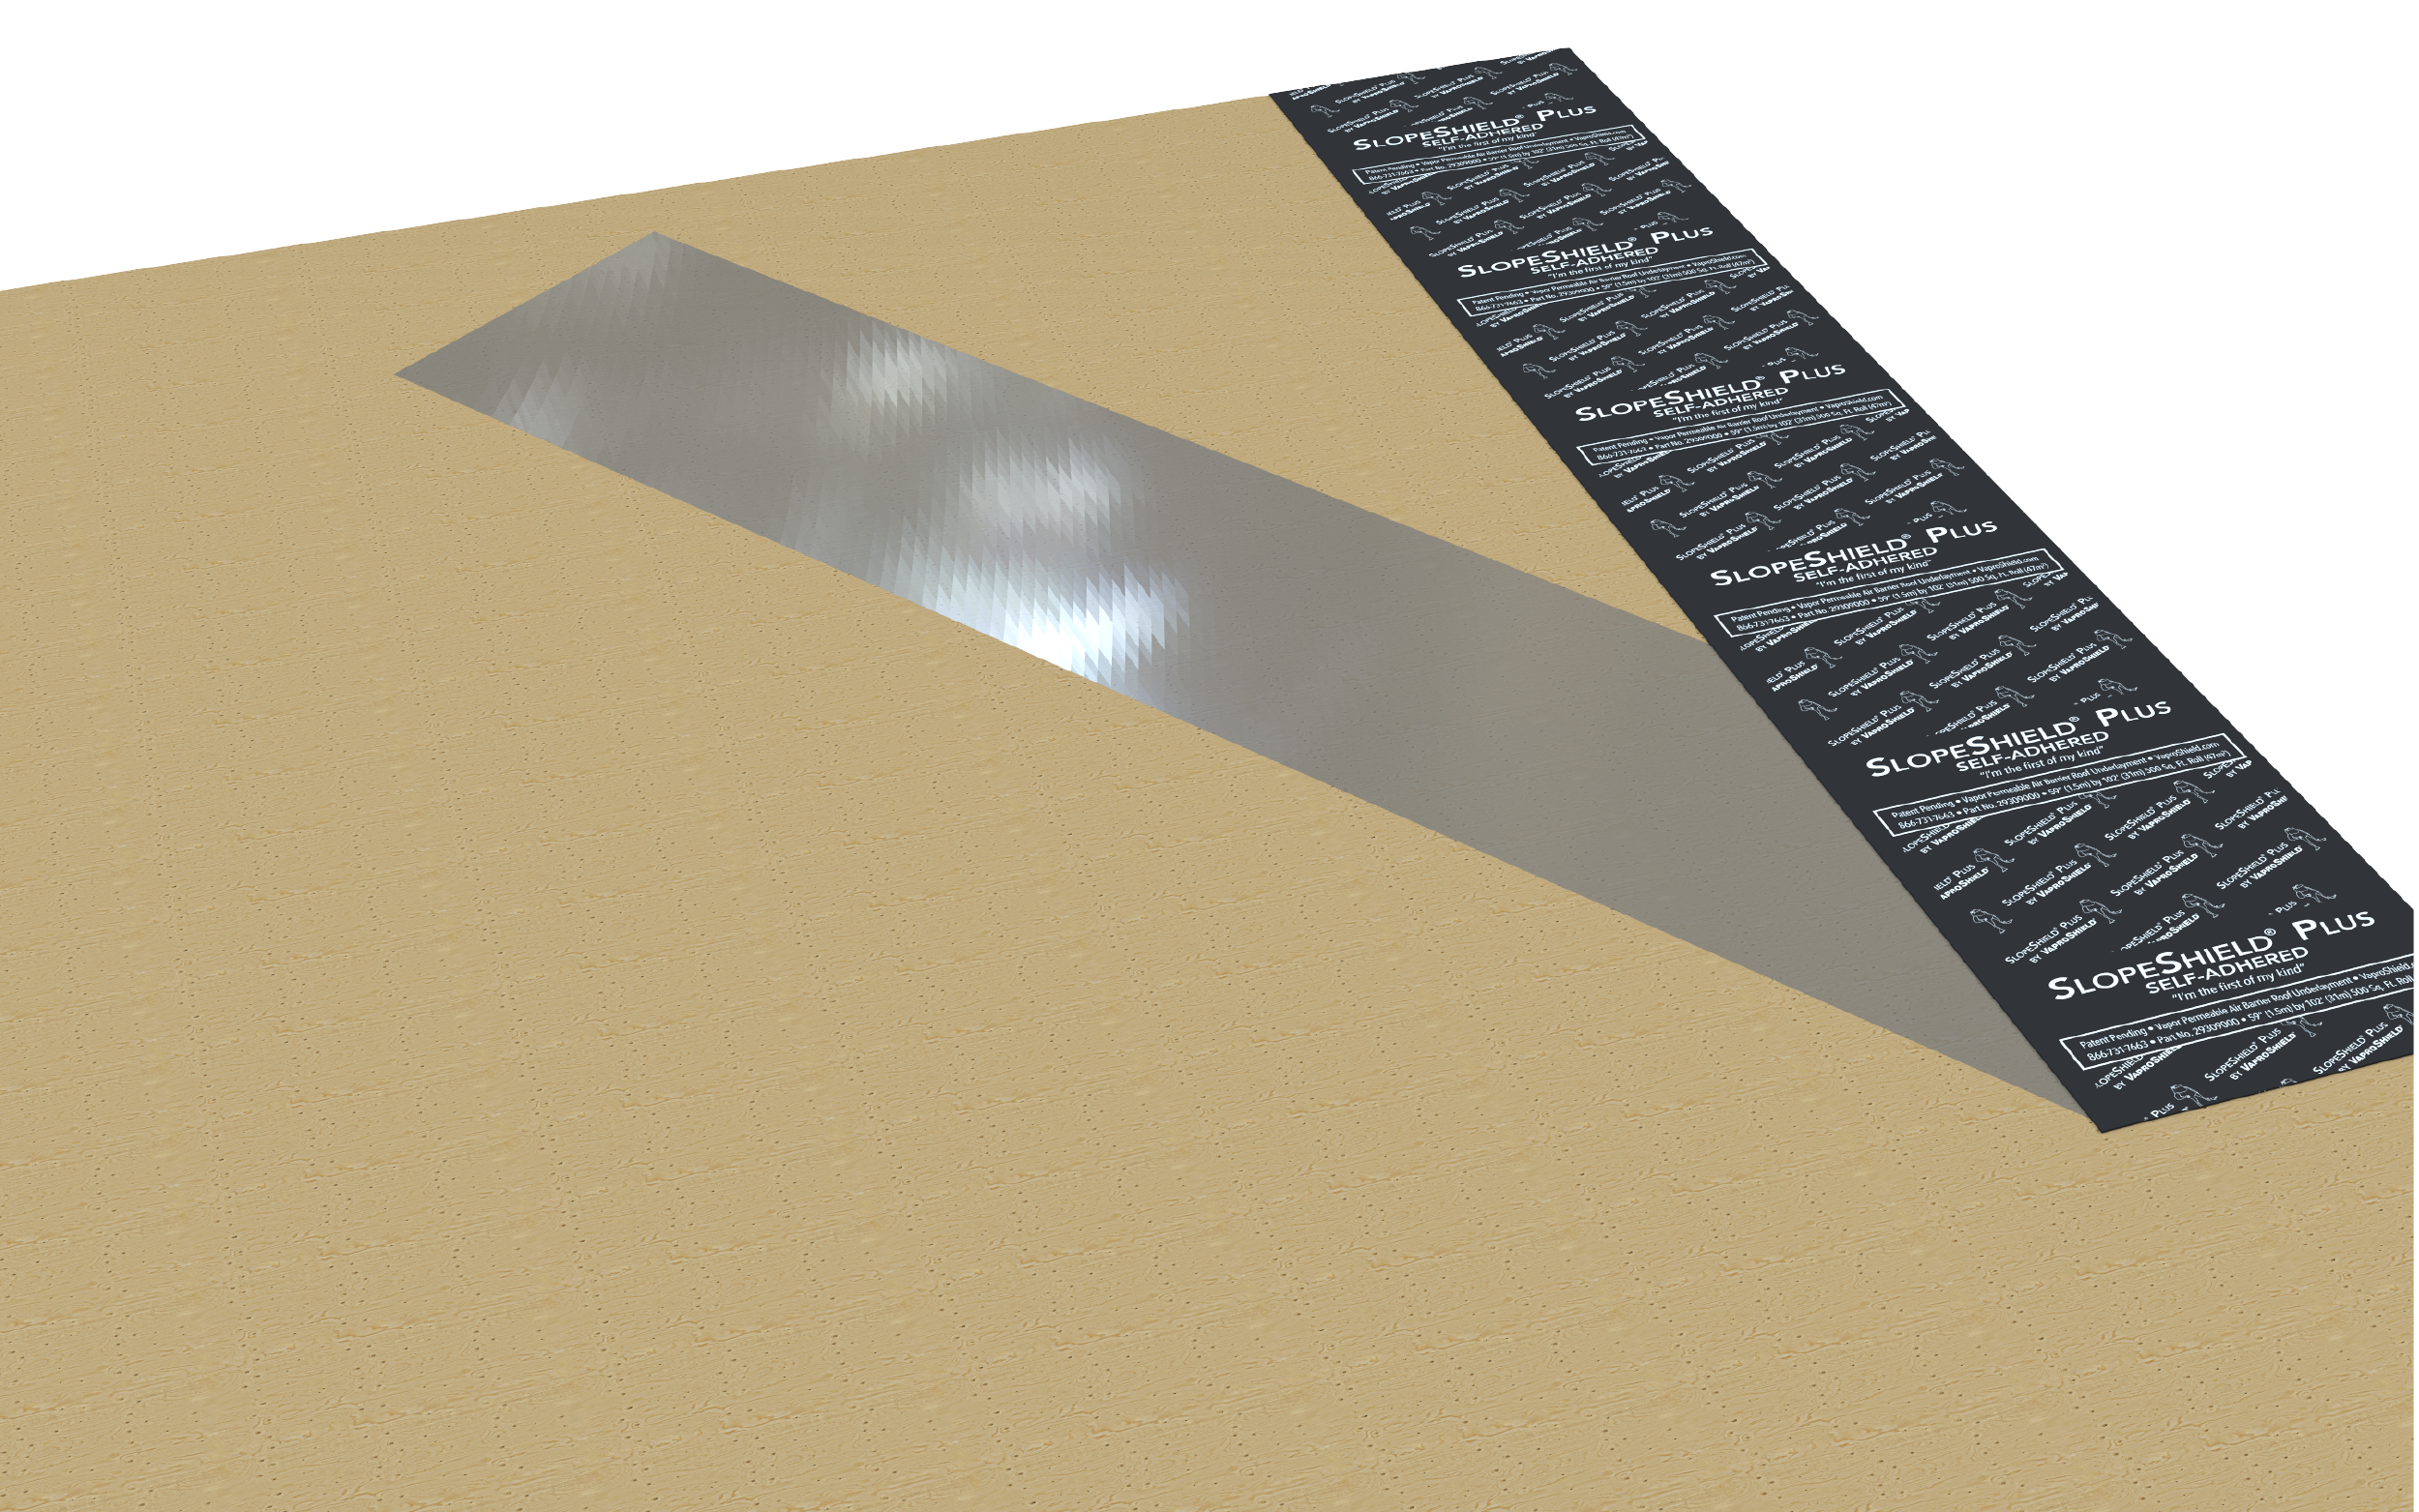
Standard Installation Practice: Steel Deck
|
|
 |
|
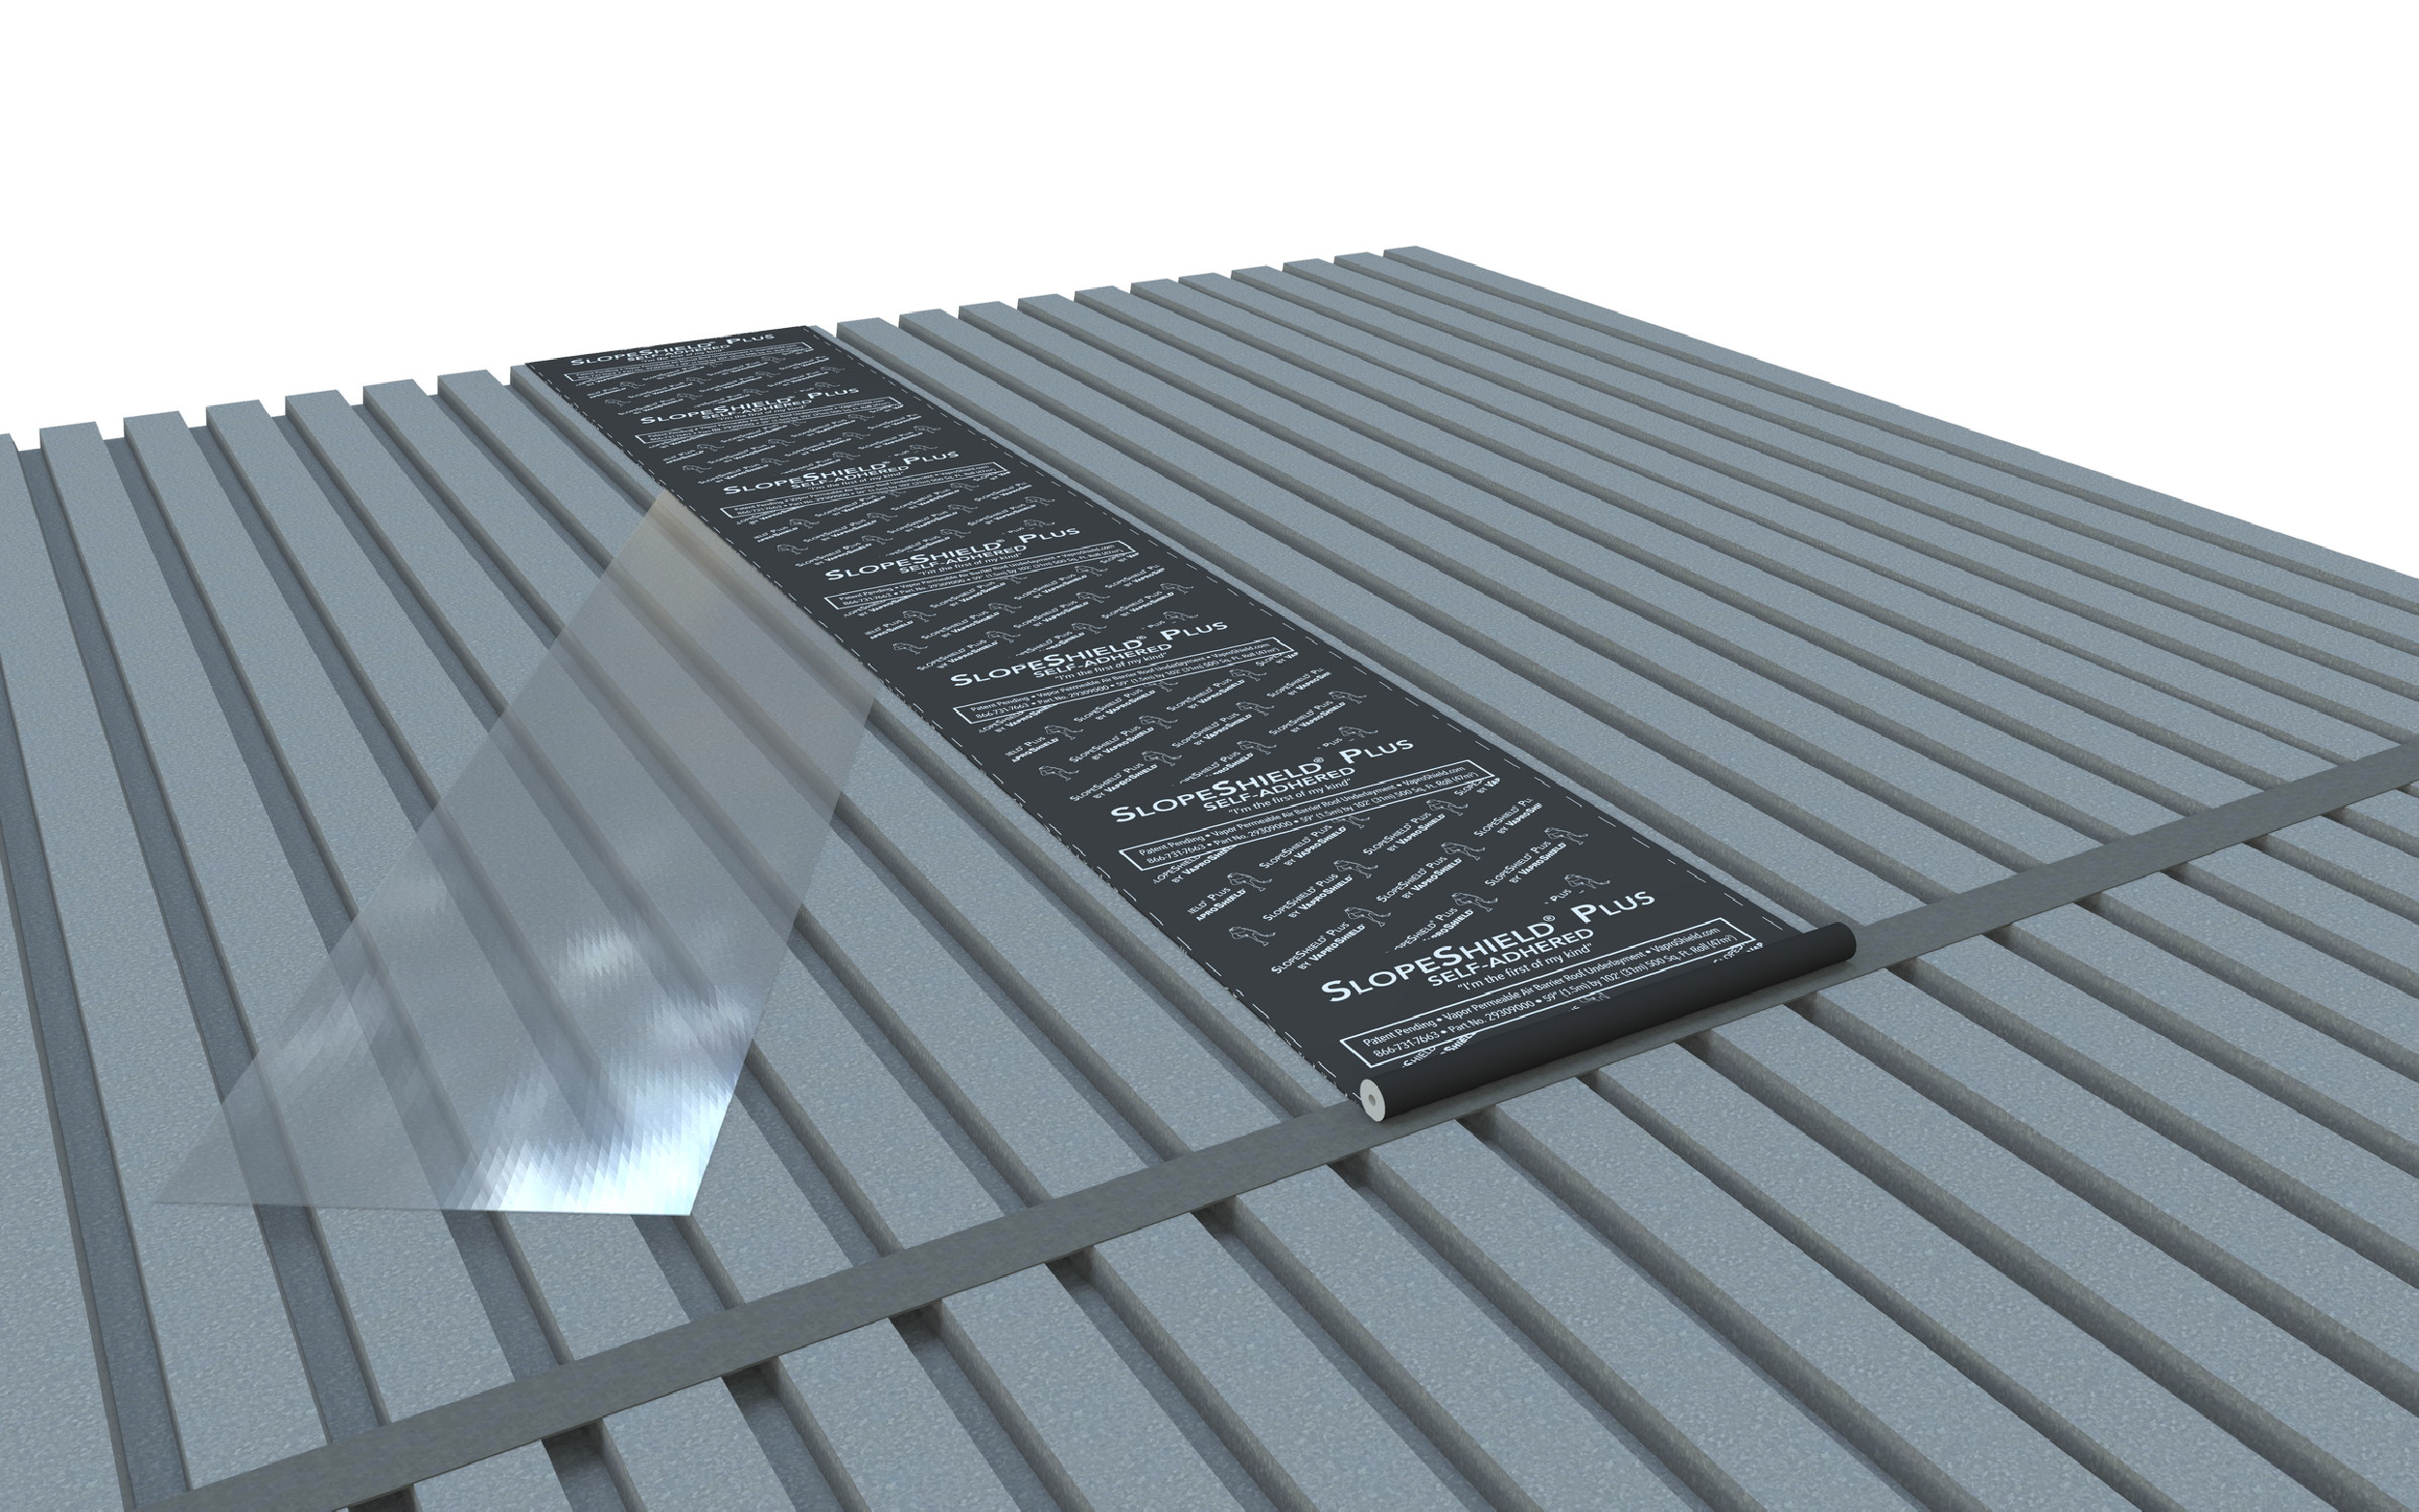
STEP 1
Ensure factory-applied oil has been weathered or removed from the deck.
Starting at the low point of the roof, unroll SlopeShield Plus SA onto the clean, dry substrate.
|
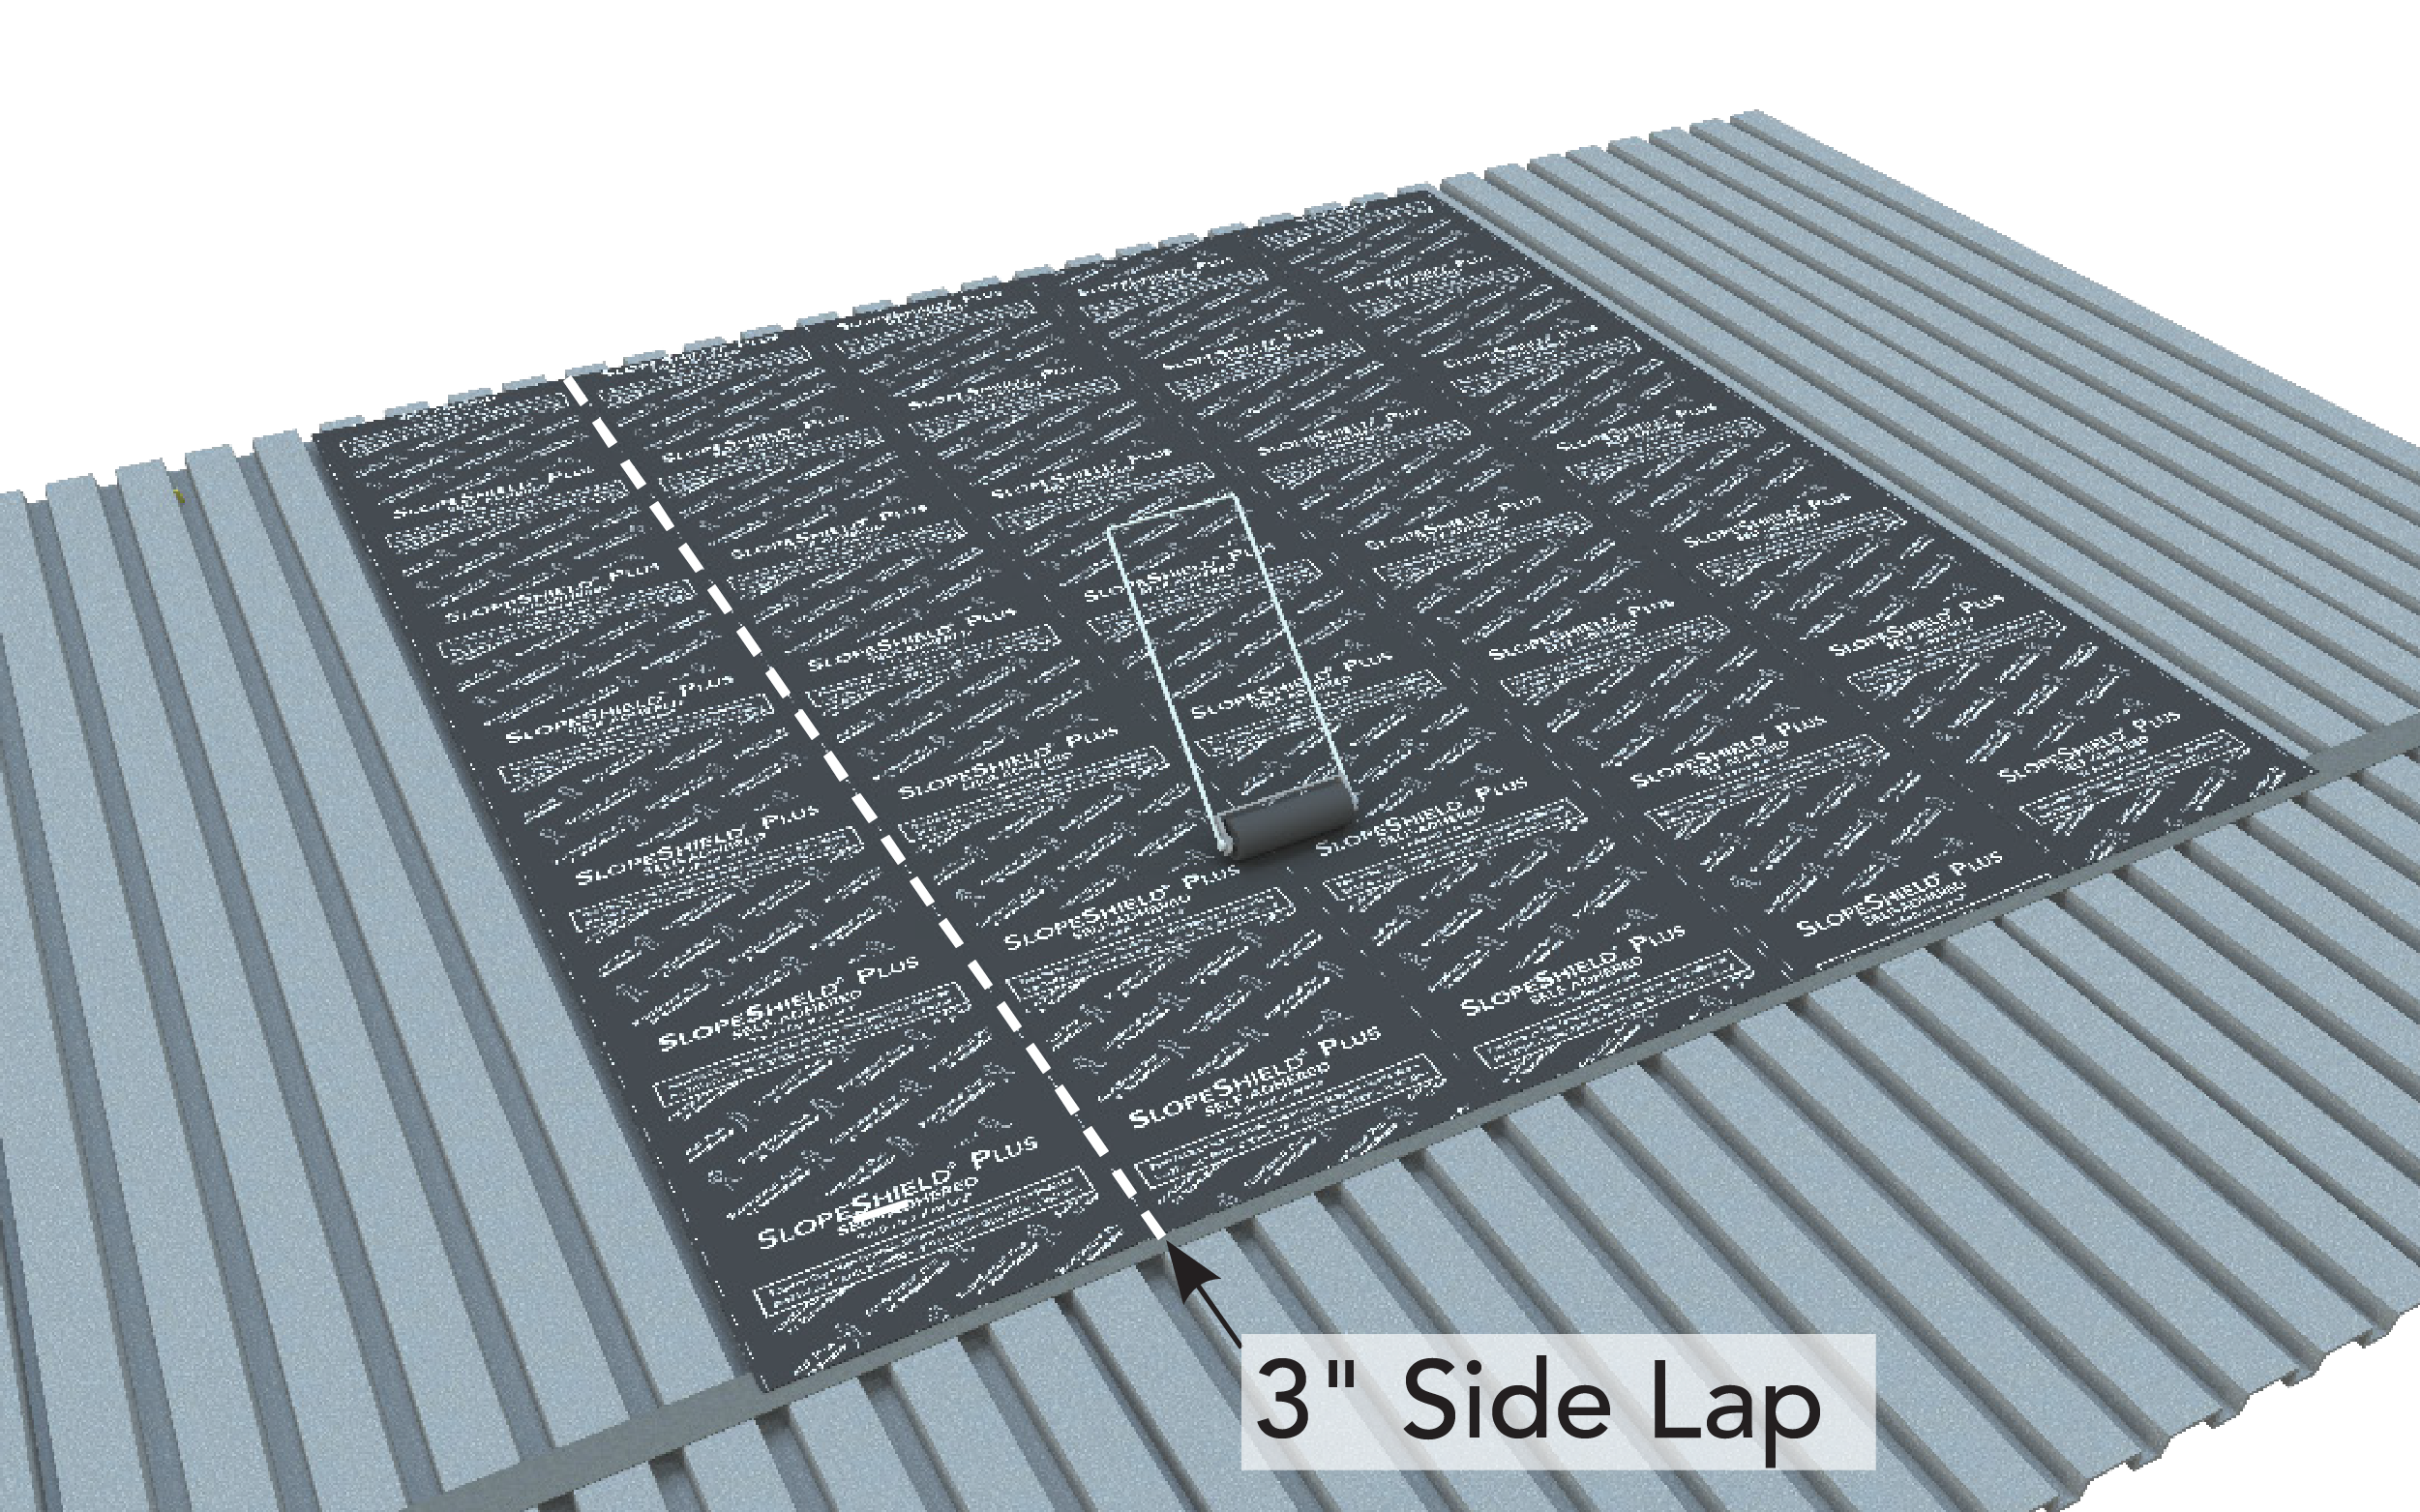
STEP 2
Sequence work to plan placement of head laps.
When installing subsequent rolls of SlopeShield Plus SA ensure 3” (7.5 cm) side laps are maintained.
|
| CAUTION: Release liners are slippery. To prevent injury, liner should be removed from under foot as soon as membrane is installed and disposed of properly. |
 |
STEP 3
At the head lap a min. 4” metal sheet is required to support the membrane head lap between the flutes. Ensure 3" (7.5 cm) head laps are maintained on metal sheet plate for each course. |
 |
STEP 4
When left exposed to precipitation, positive slope and adequate drainage is required. The effects of weathering may vary based upon local climate and project conditions. May be
used as temporary protection at the discretion of the general contractor or building professional. Maximum exposure is 180 days prior to coverage.
|
Standard Installation Practice: Structural and Lightweight Concrete
|
|

STEP 2
2A. After a mimimum of five days of cure time, SlopeShield Plus SA may be installed over the green concrete as long as the surface is dry to the touch and meets all substrate preparation requirements.
2B. In the case of lightweight insulating concrete, substrate preparation includes priming the surface with sodium silicate approximately two days after the pour.
2C. Note: SlopeShield Plus SA does not speed up the natural curing process of concrete. Proper curing must take place to ensure substrate integrity and performance (approximately 28-35 days and subject to the Authority Holding Jurisdiction for the project).
|
|
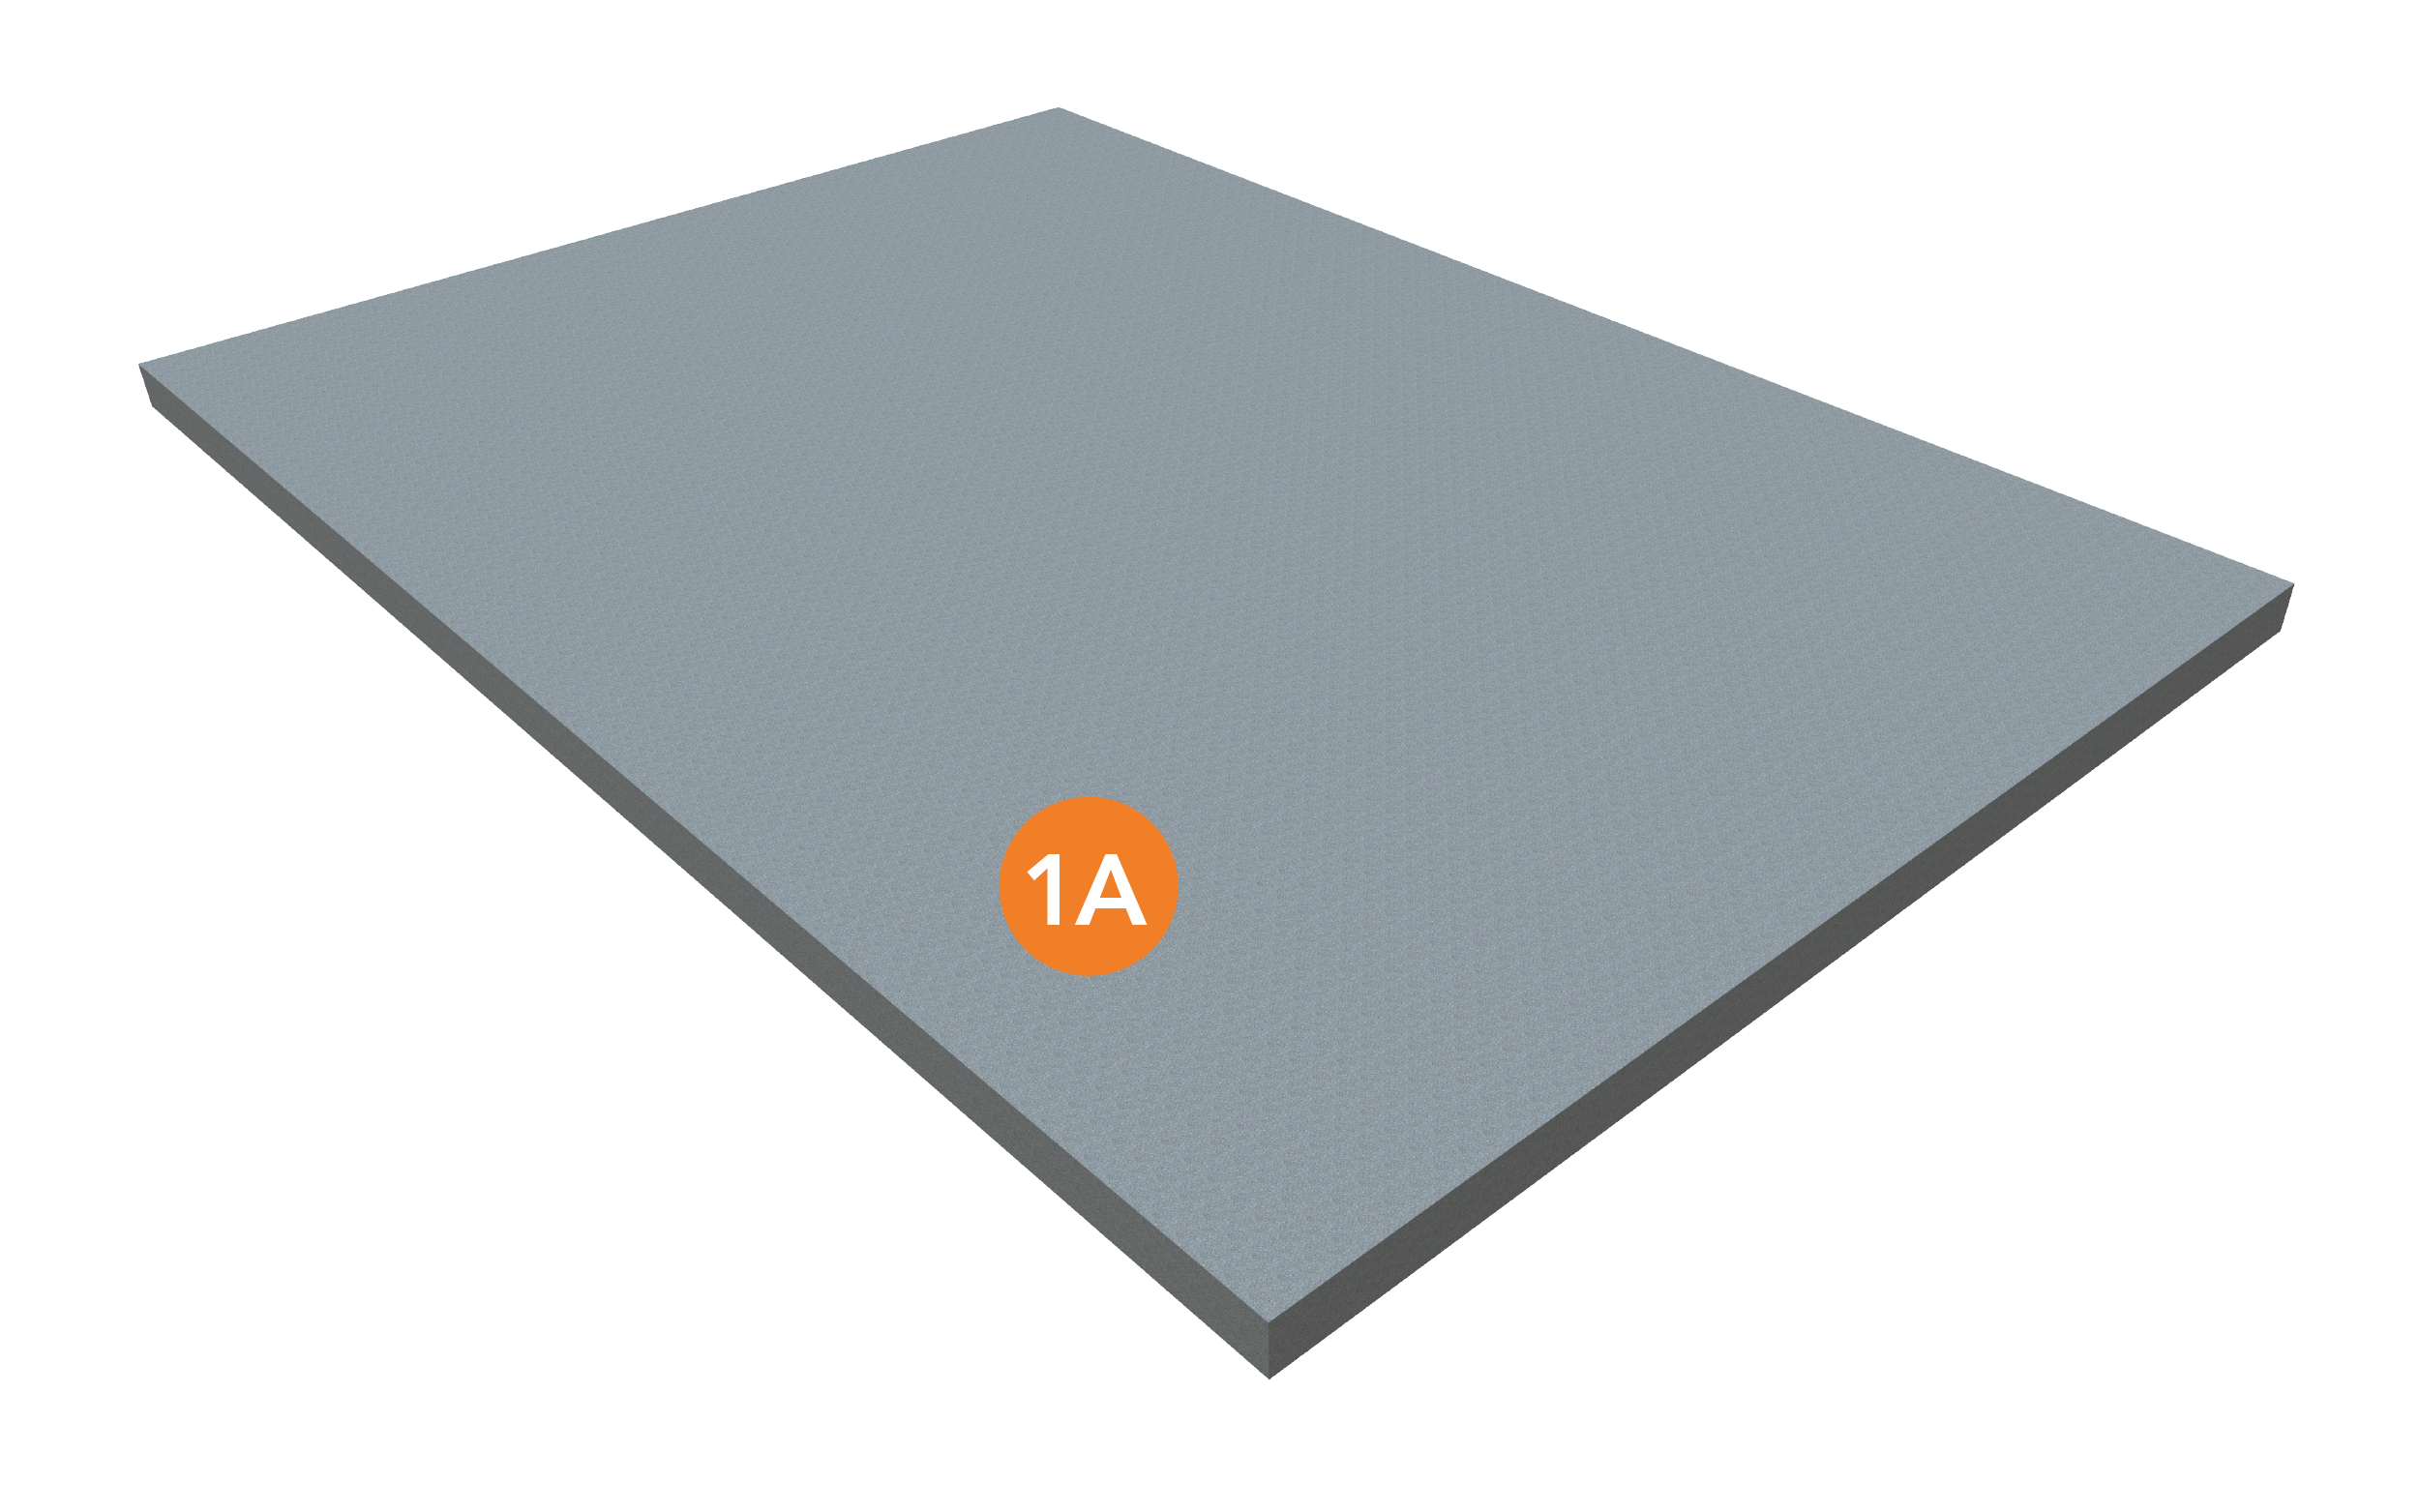
STEP 1
Concrete deck installed by others
|
 |
 |
|
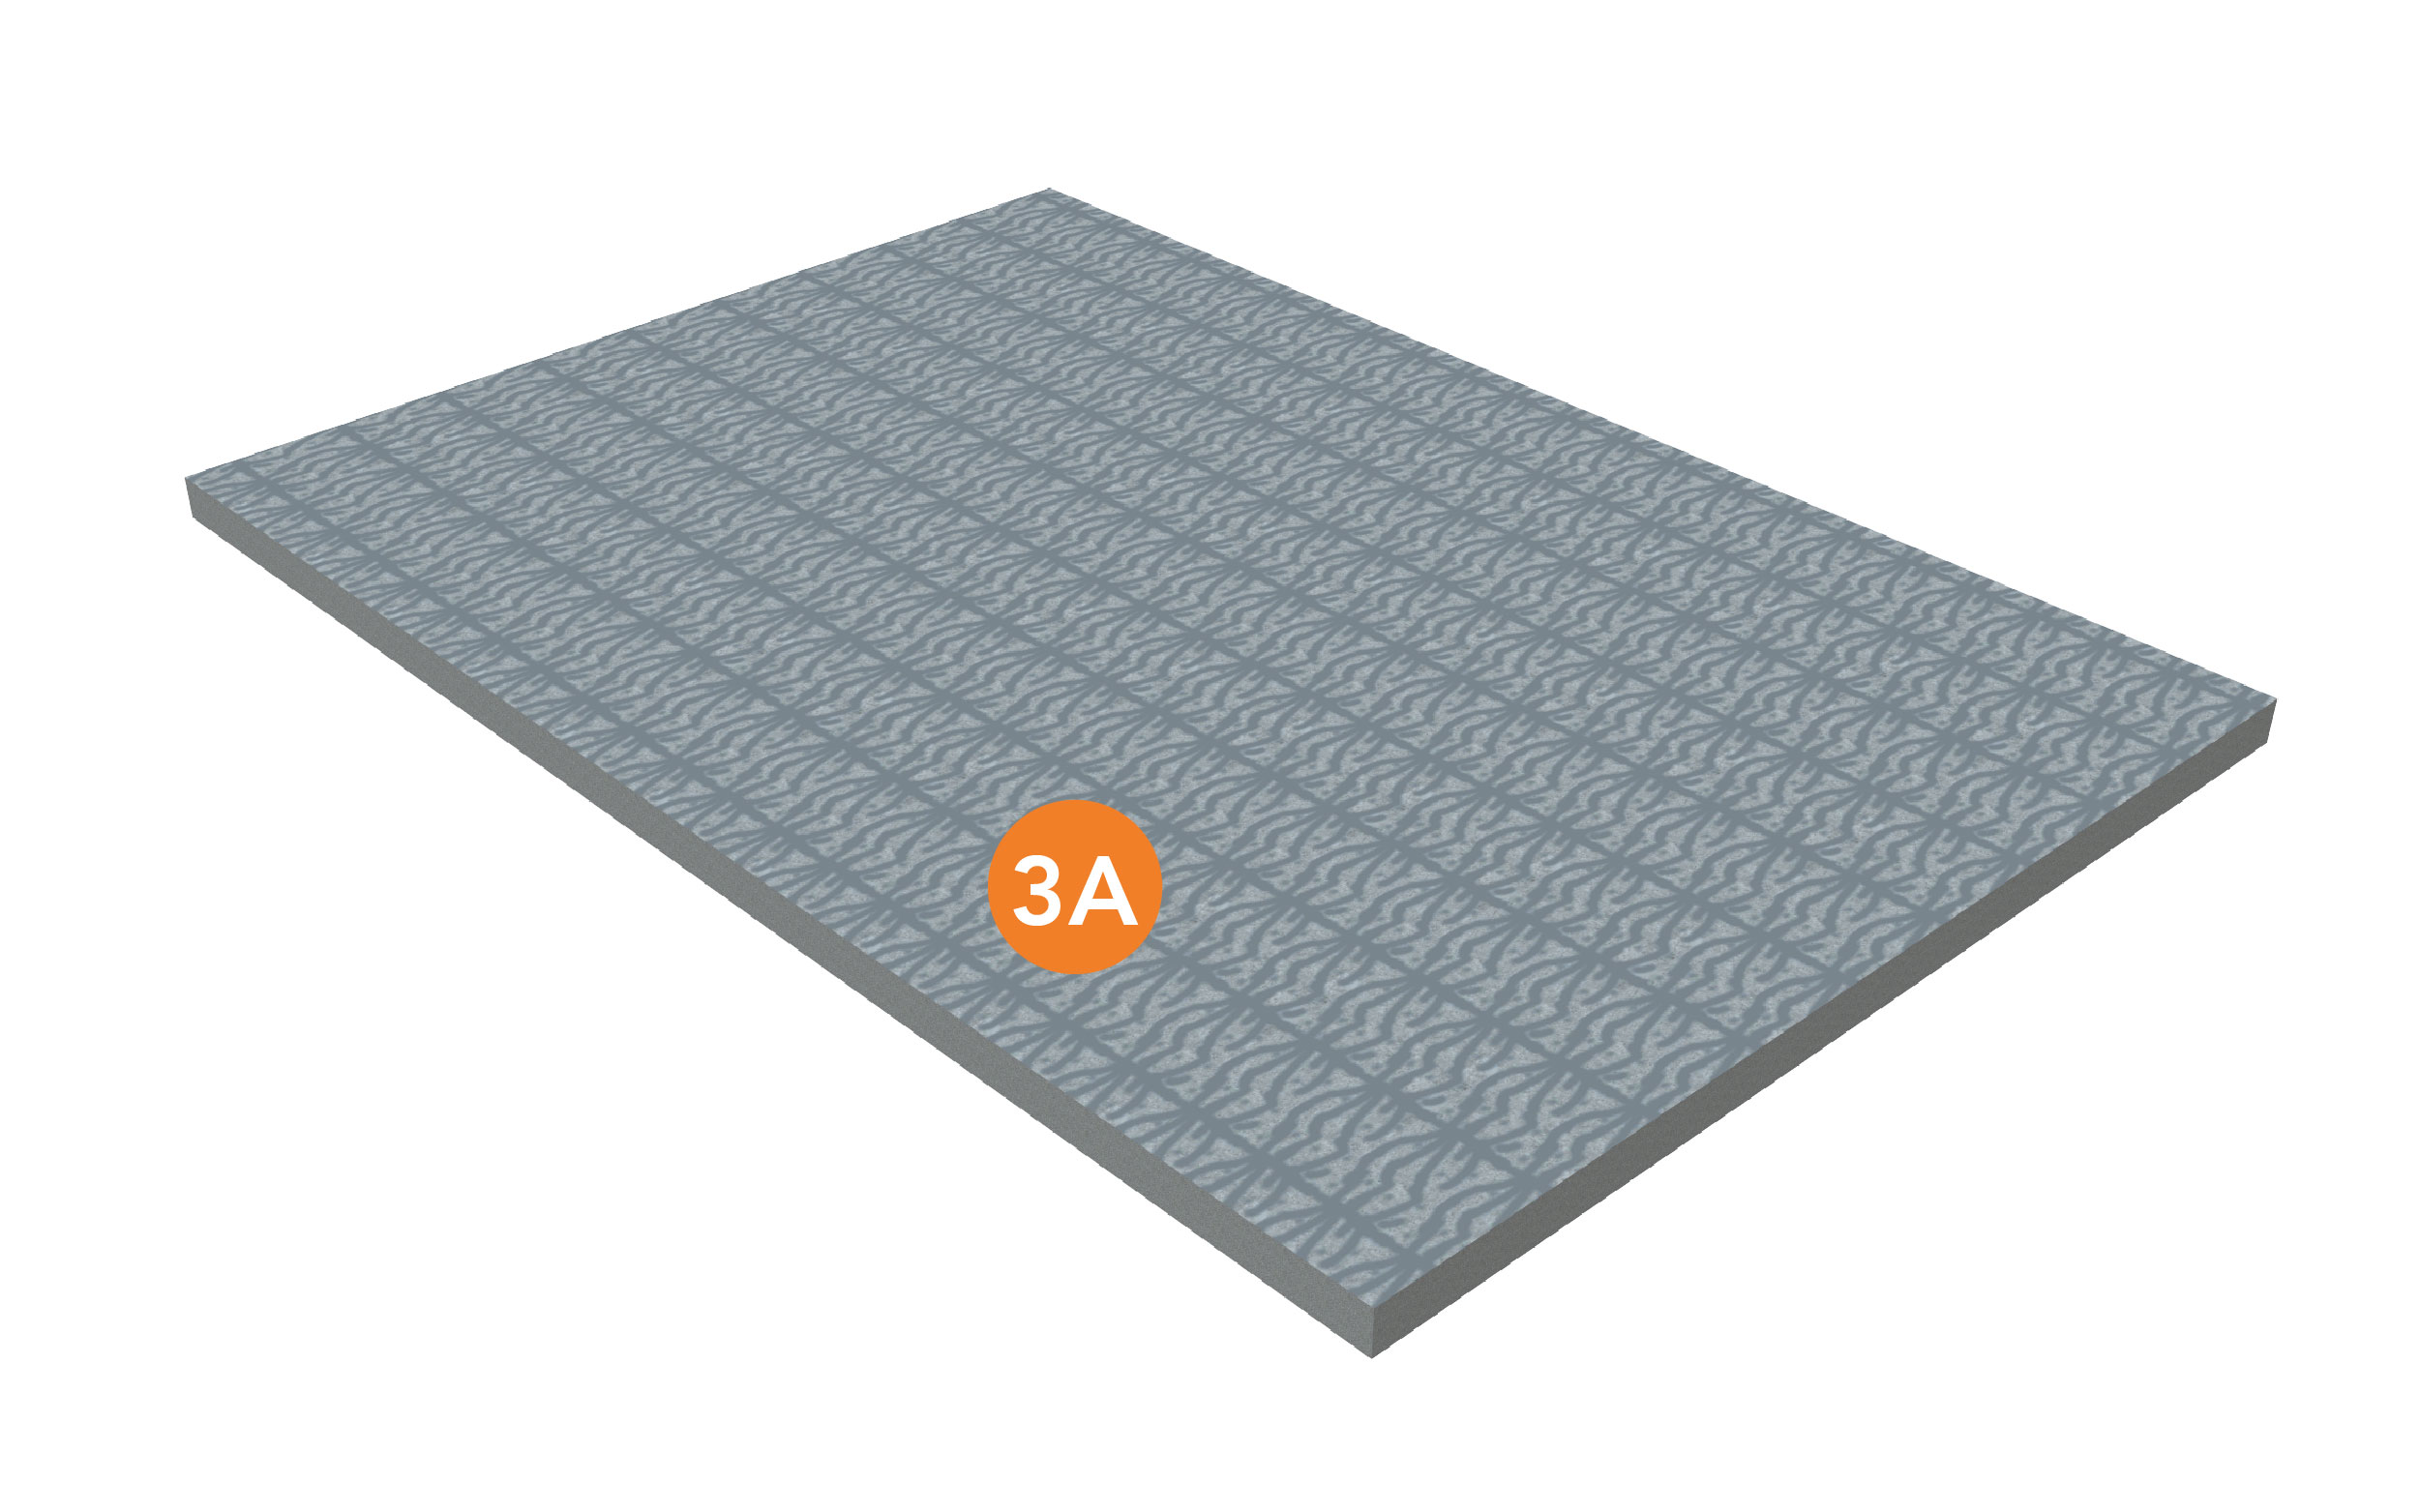
STEP 3
Prime surface as required. Contact VaproShield Technical for primer requirements.
|
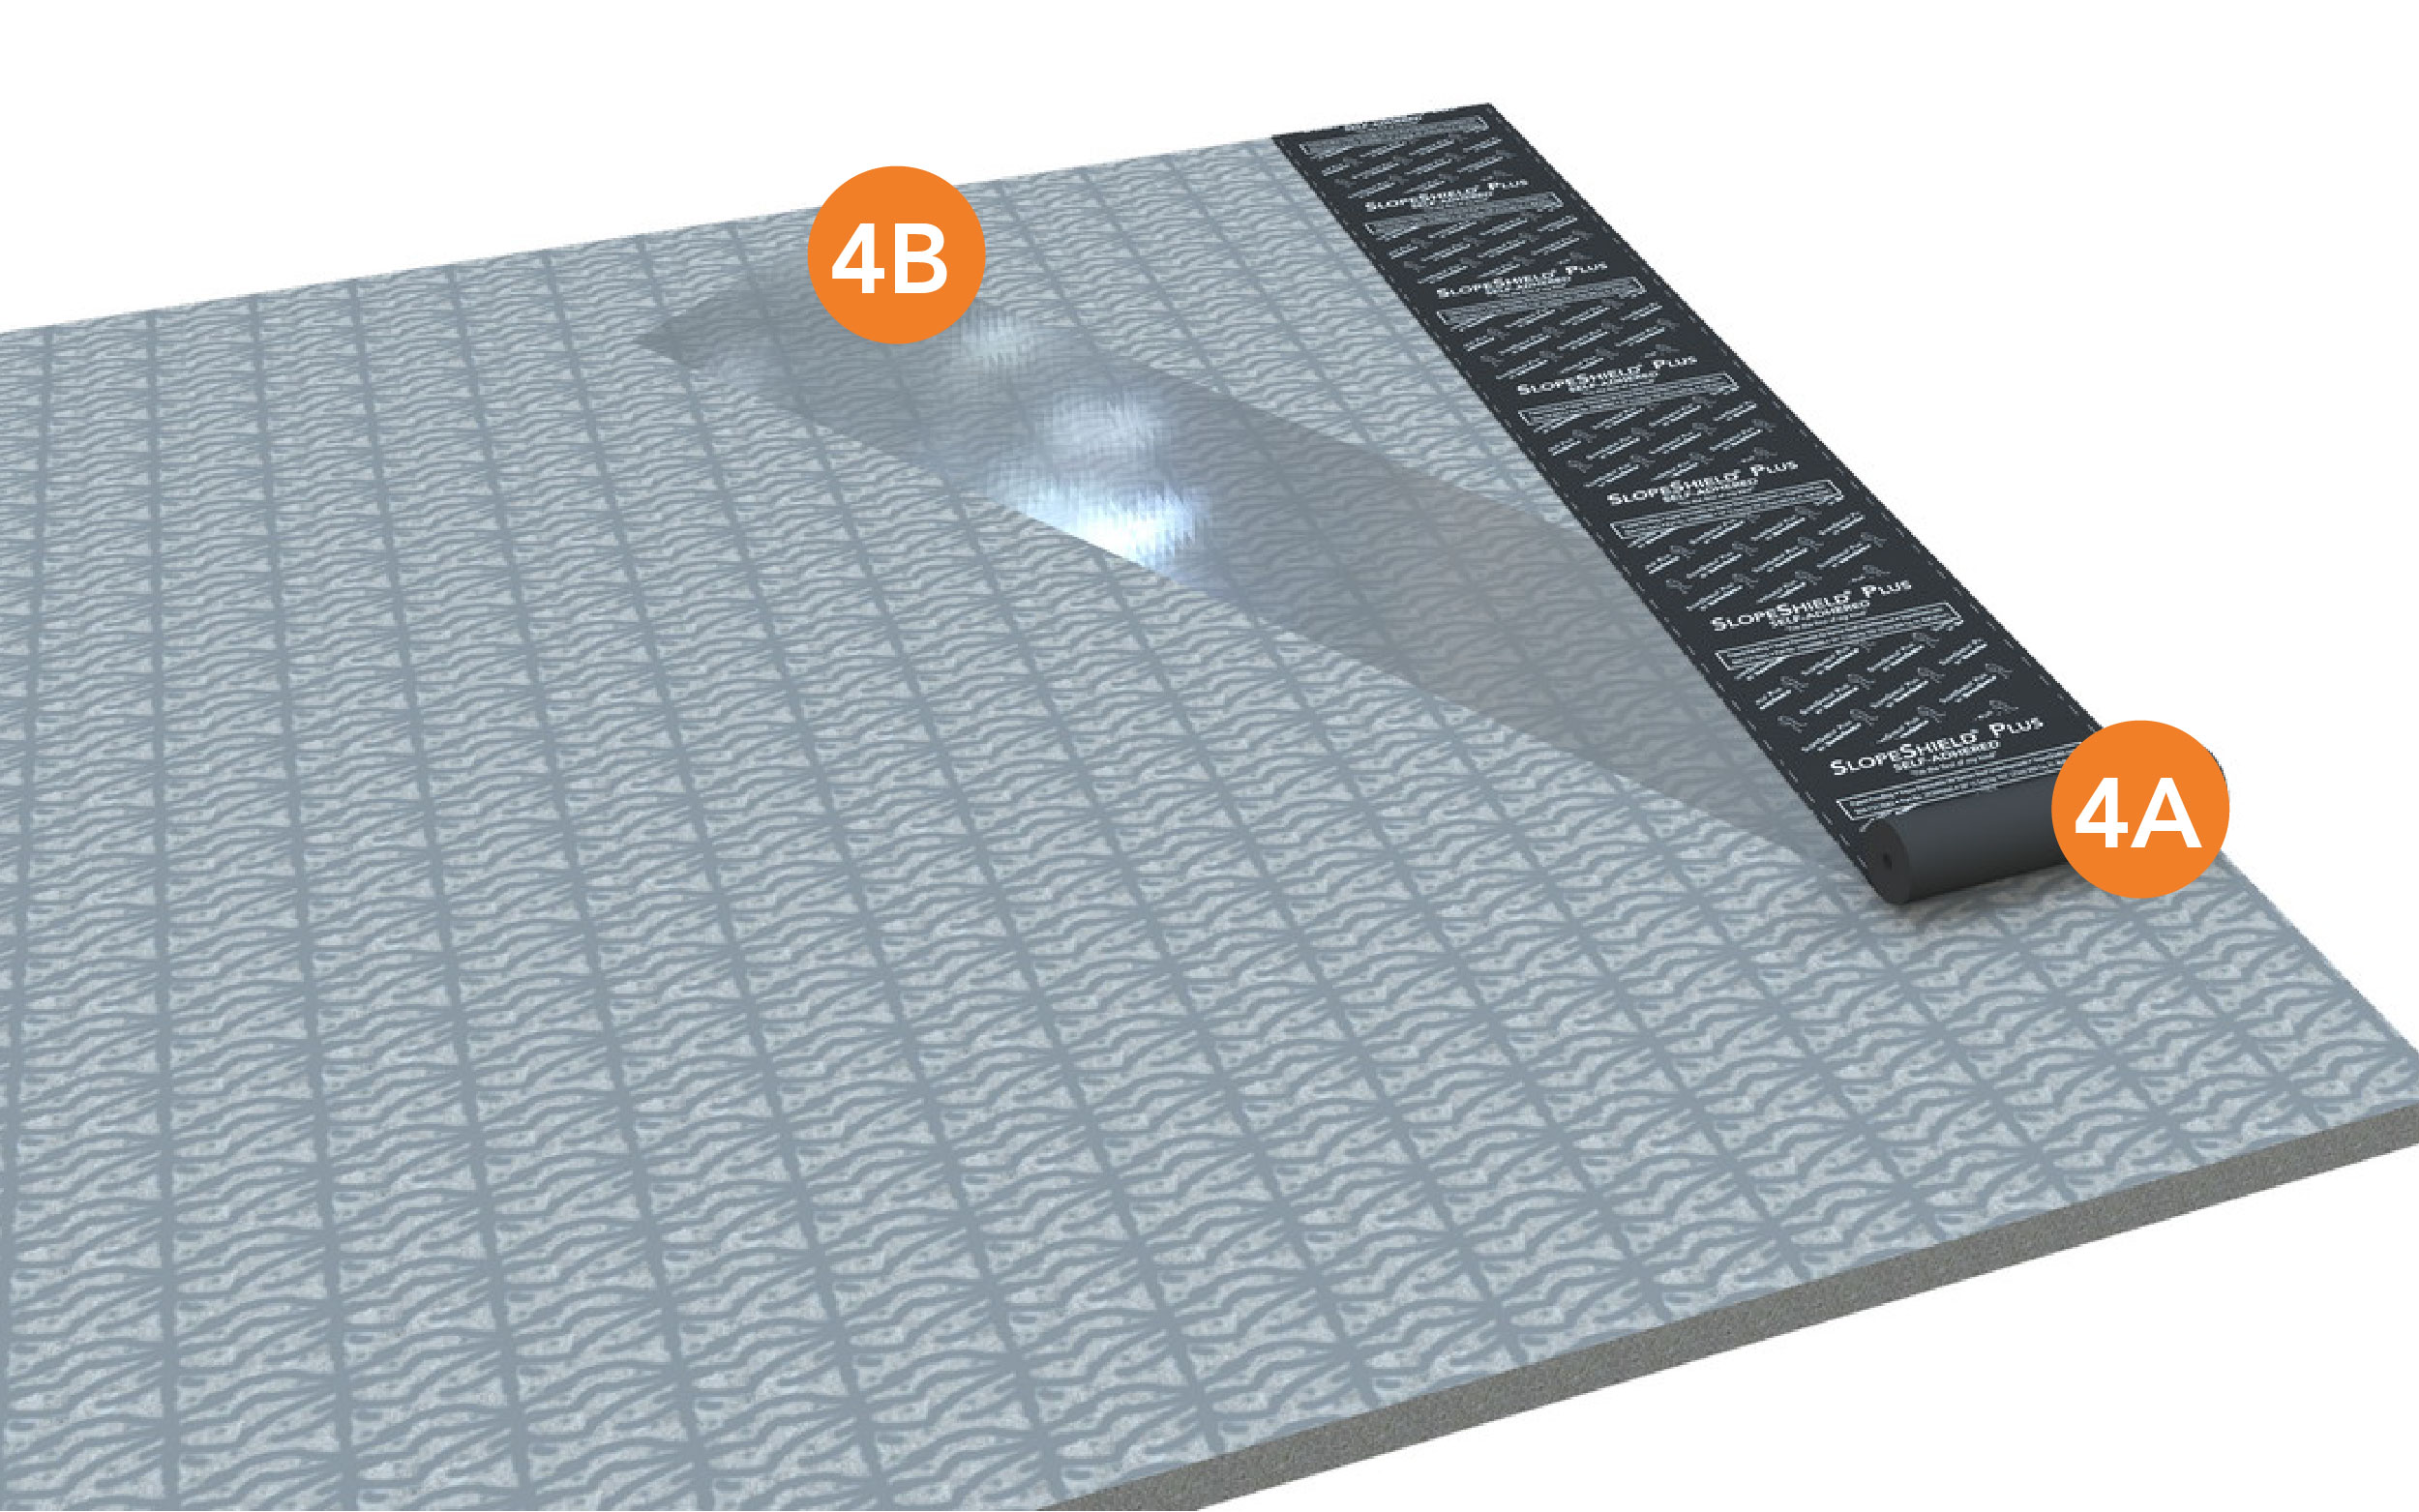
STEP 4
4A. Starting at the low point of the roof unroll SlopeShield Plus SA onto primed surface.
4B. Once placed, while holding the sheet tight, remove the silicone release paper. Remove release paper from under foot.
|
| CAUTION: Release liners are slippery. To prevent injury, liner should be removed from under foot as soon as membrane is installed and disposed of properly. |
 |
|
|
STEP 5
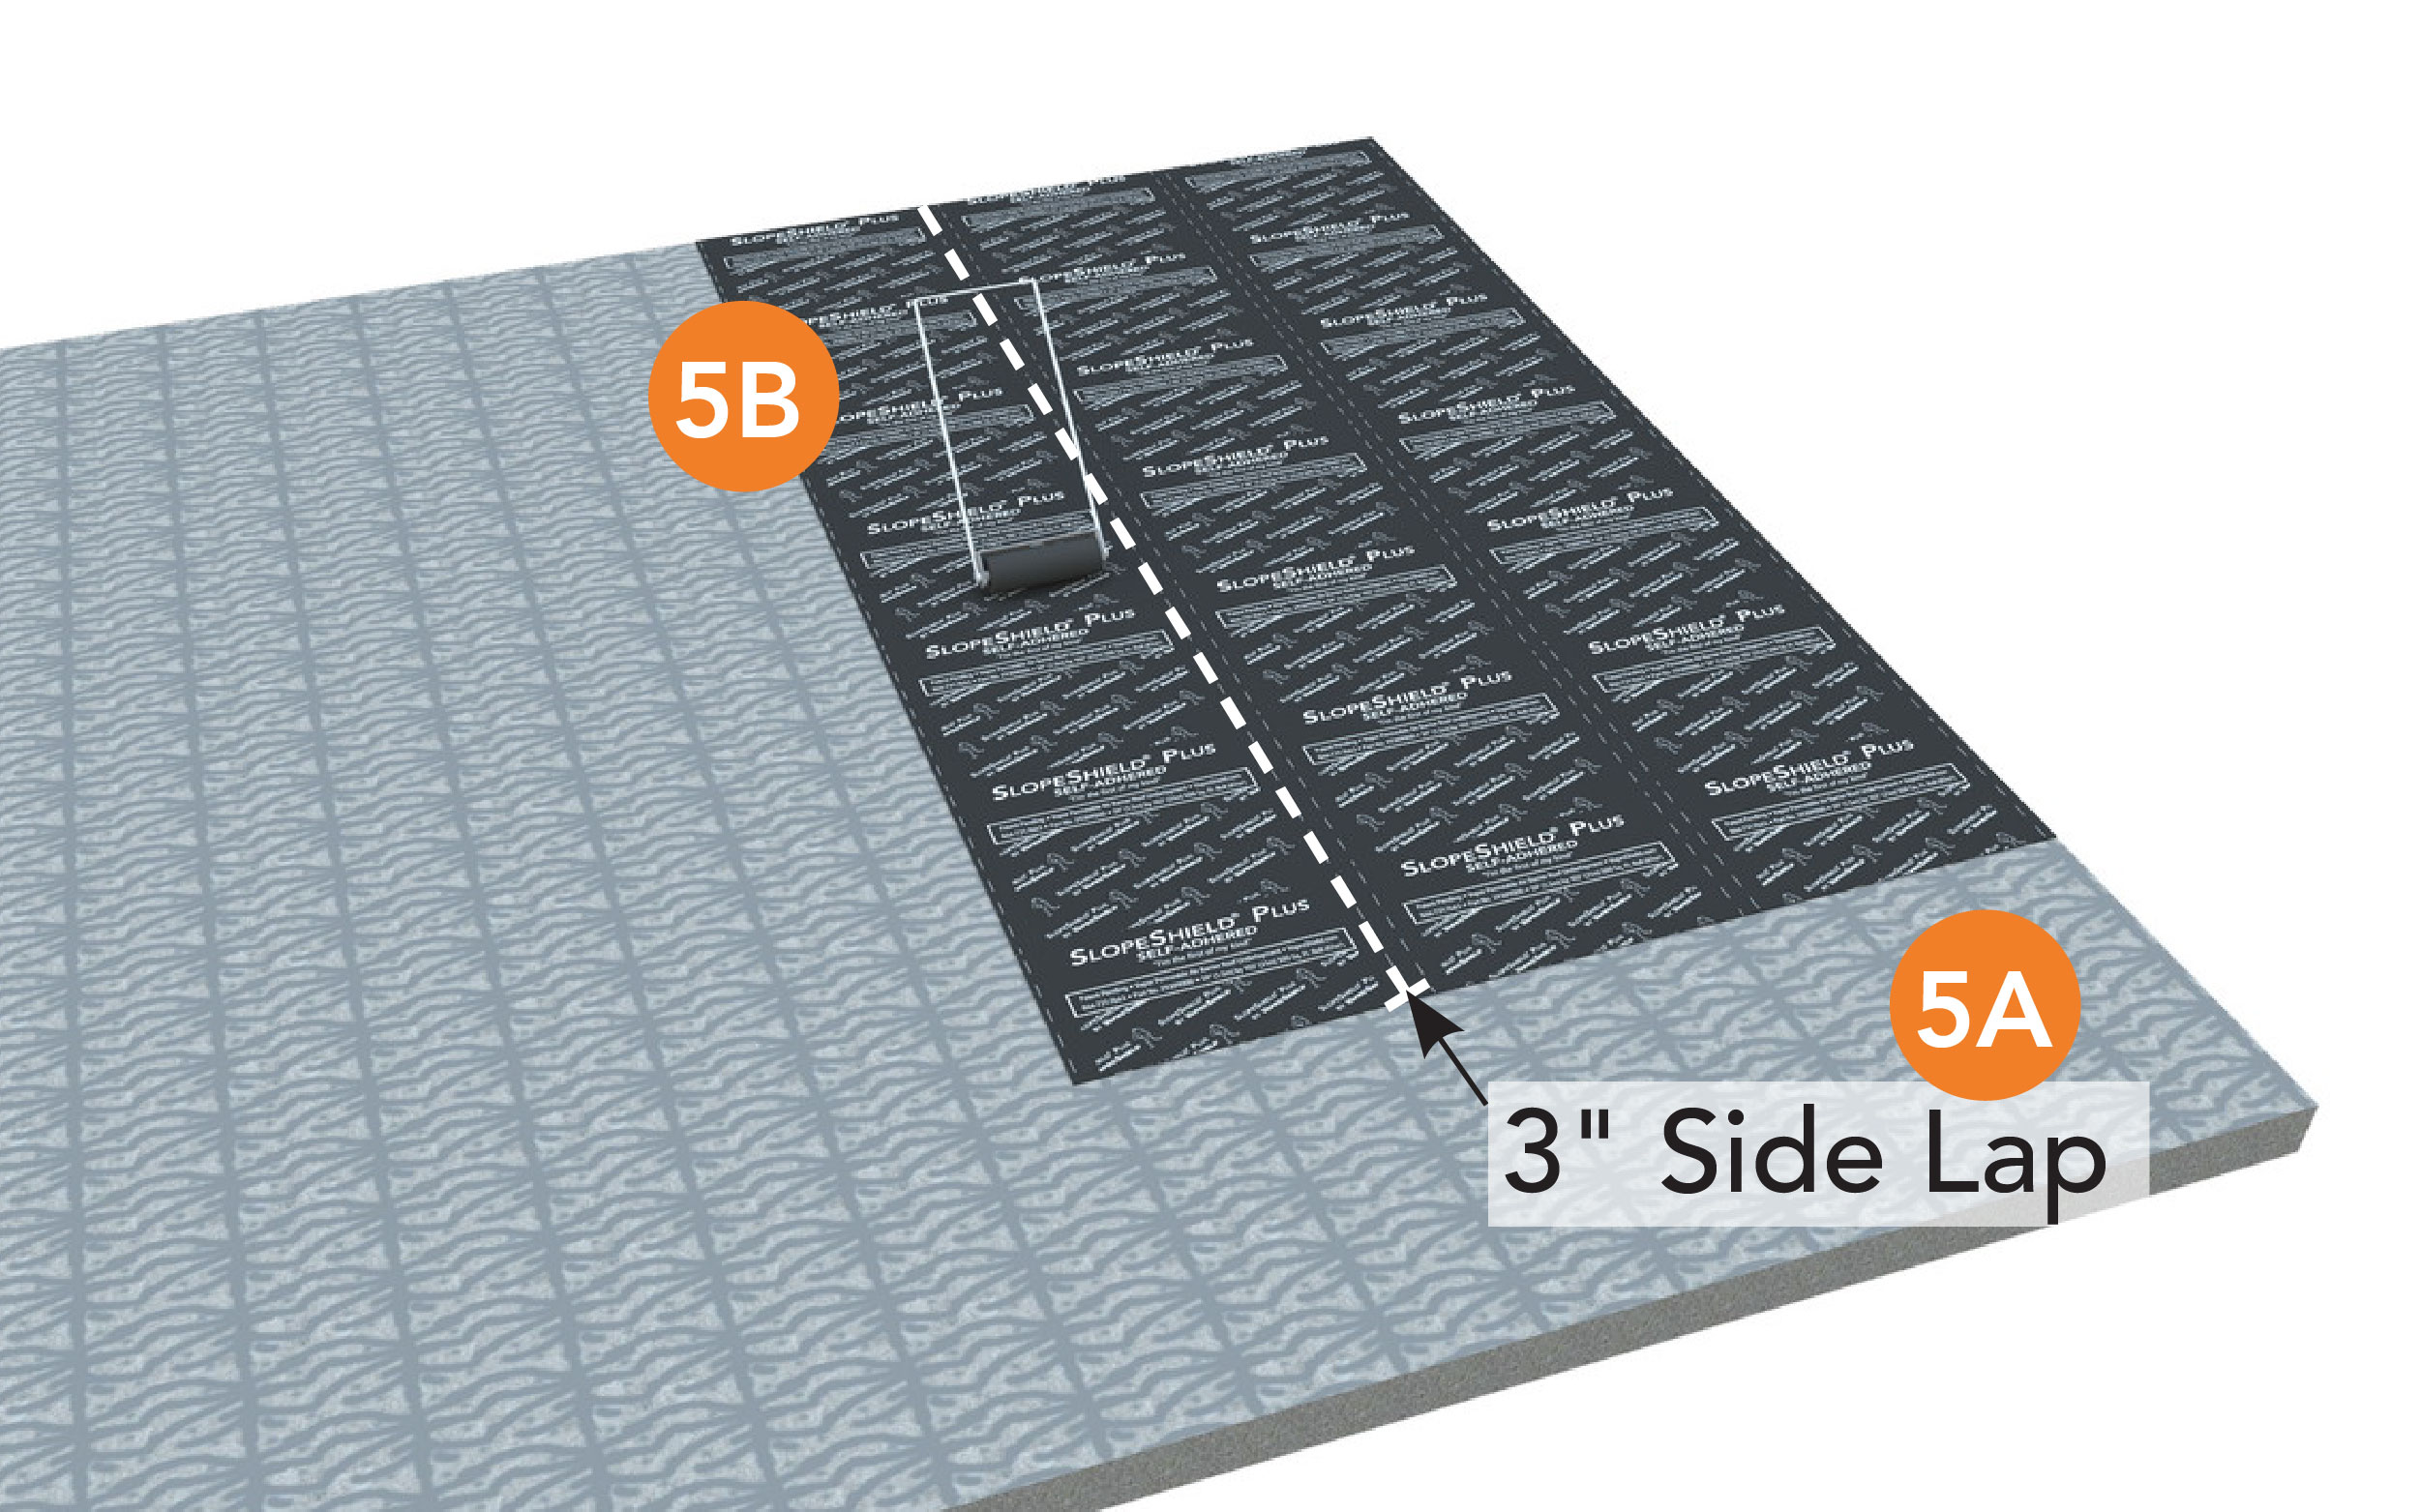
5A. Install subsequent rolls of SlopeShield Plus SA ensure a 3" min. (7.5 cm) side laps are maintained.
5B. After multiple rolls are installed, roll the entire section of installed membrane with a weighted roller, min. 70 lbs.
|
|
 |
|
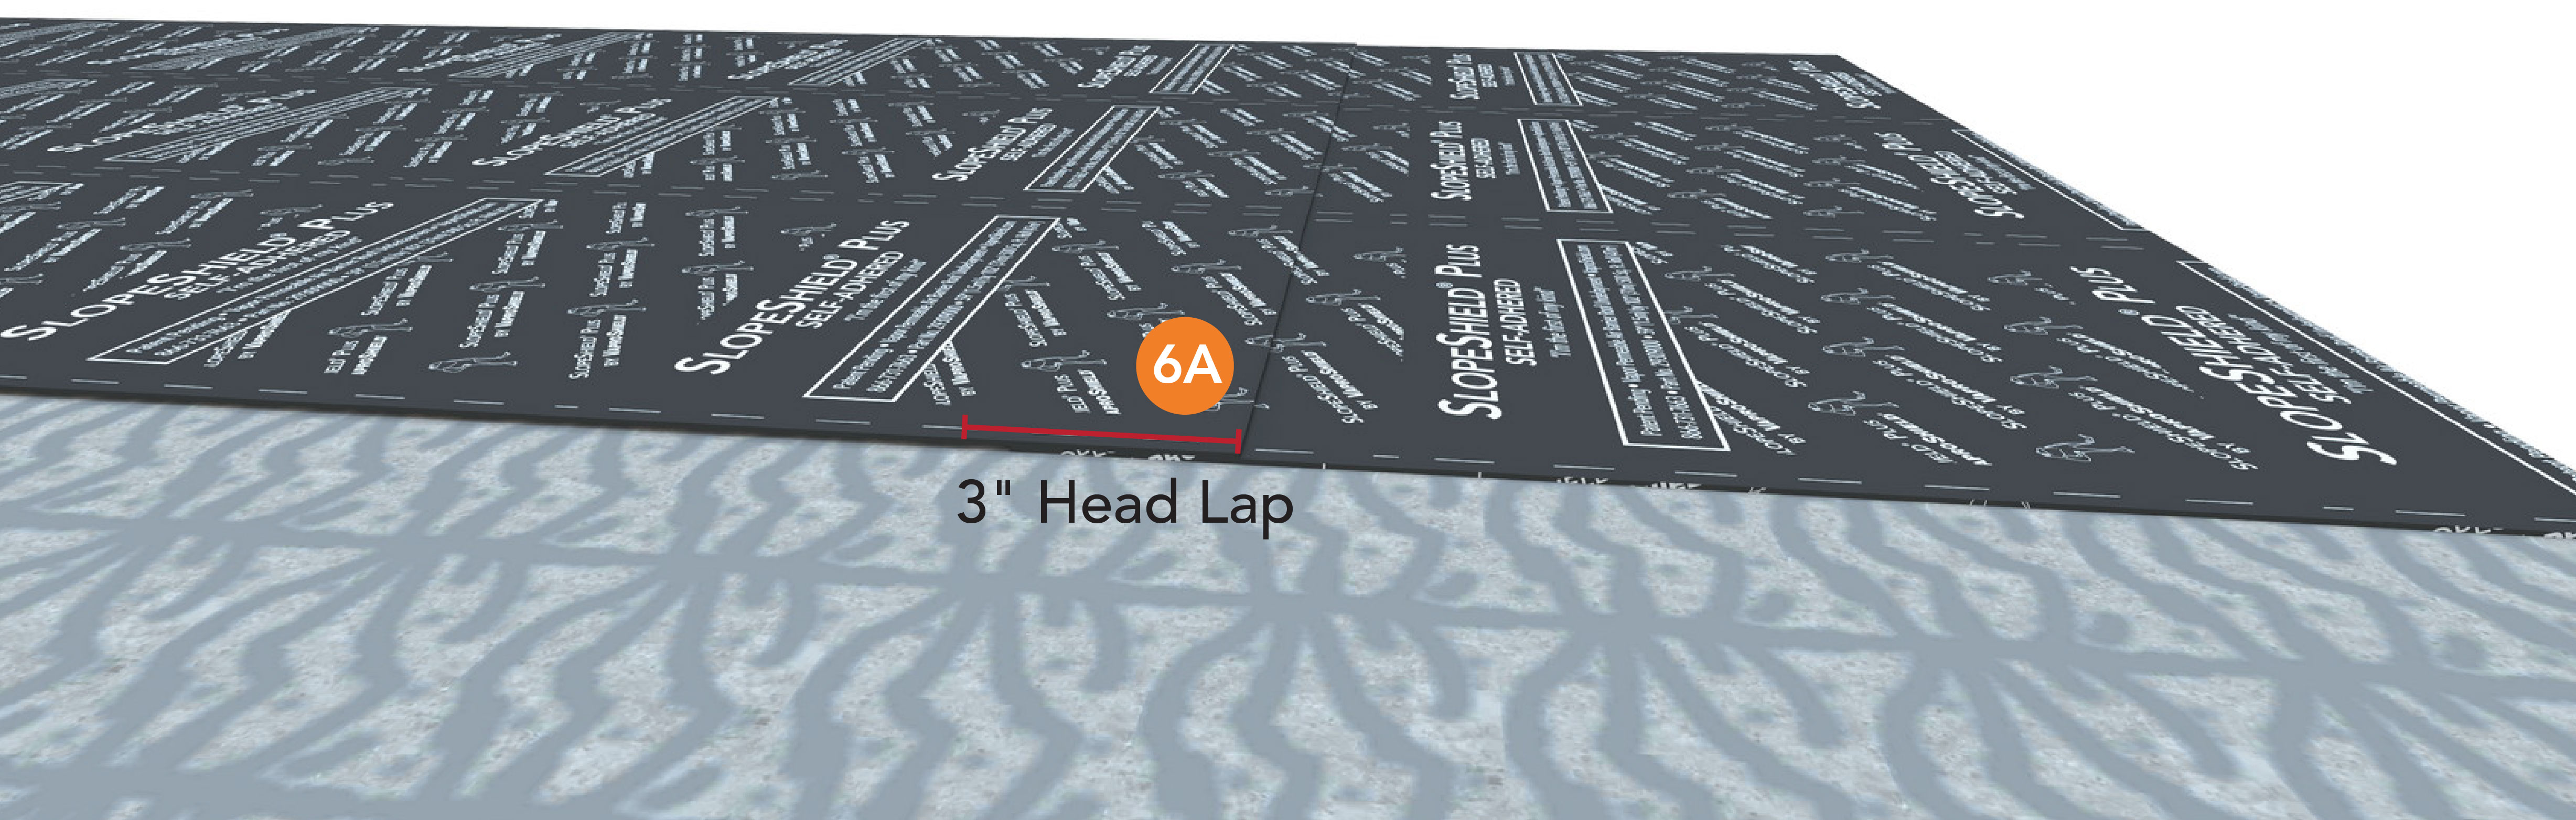
STEP 6
At the end of each roll, ensure 3" (7.5 cm) head laps are maintained.
|
 |
|
STEP 7
7A.Once installed, VaproShield recommends that the concrete be allowed to cure for a total of 28 to 35 days (from the date of pour) before installation of the final roofing system.
7B.Before installing the final roof system, it is recommended that the project team confirm the substrate is adequately cured and ready for roofing. This verification should come from the appropriate design professionals, such as the Architect of Record, Structural Engineer, or Authority Having Jurisdiction. Ensuring that moisture levels, structural requirements, and surface conditions meet expectations is essential for the performance of the full roof assembly. |
|