

pdf Installation Instructions (PDF) (4.53 MB)
Overview
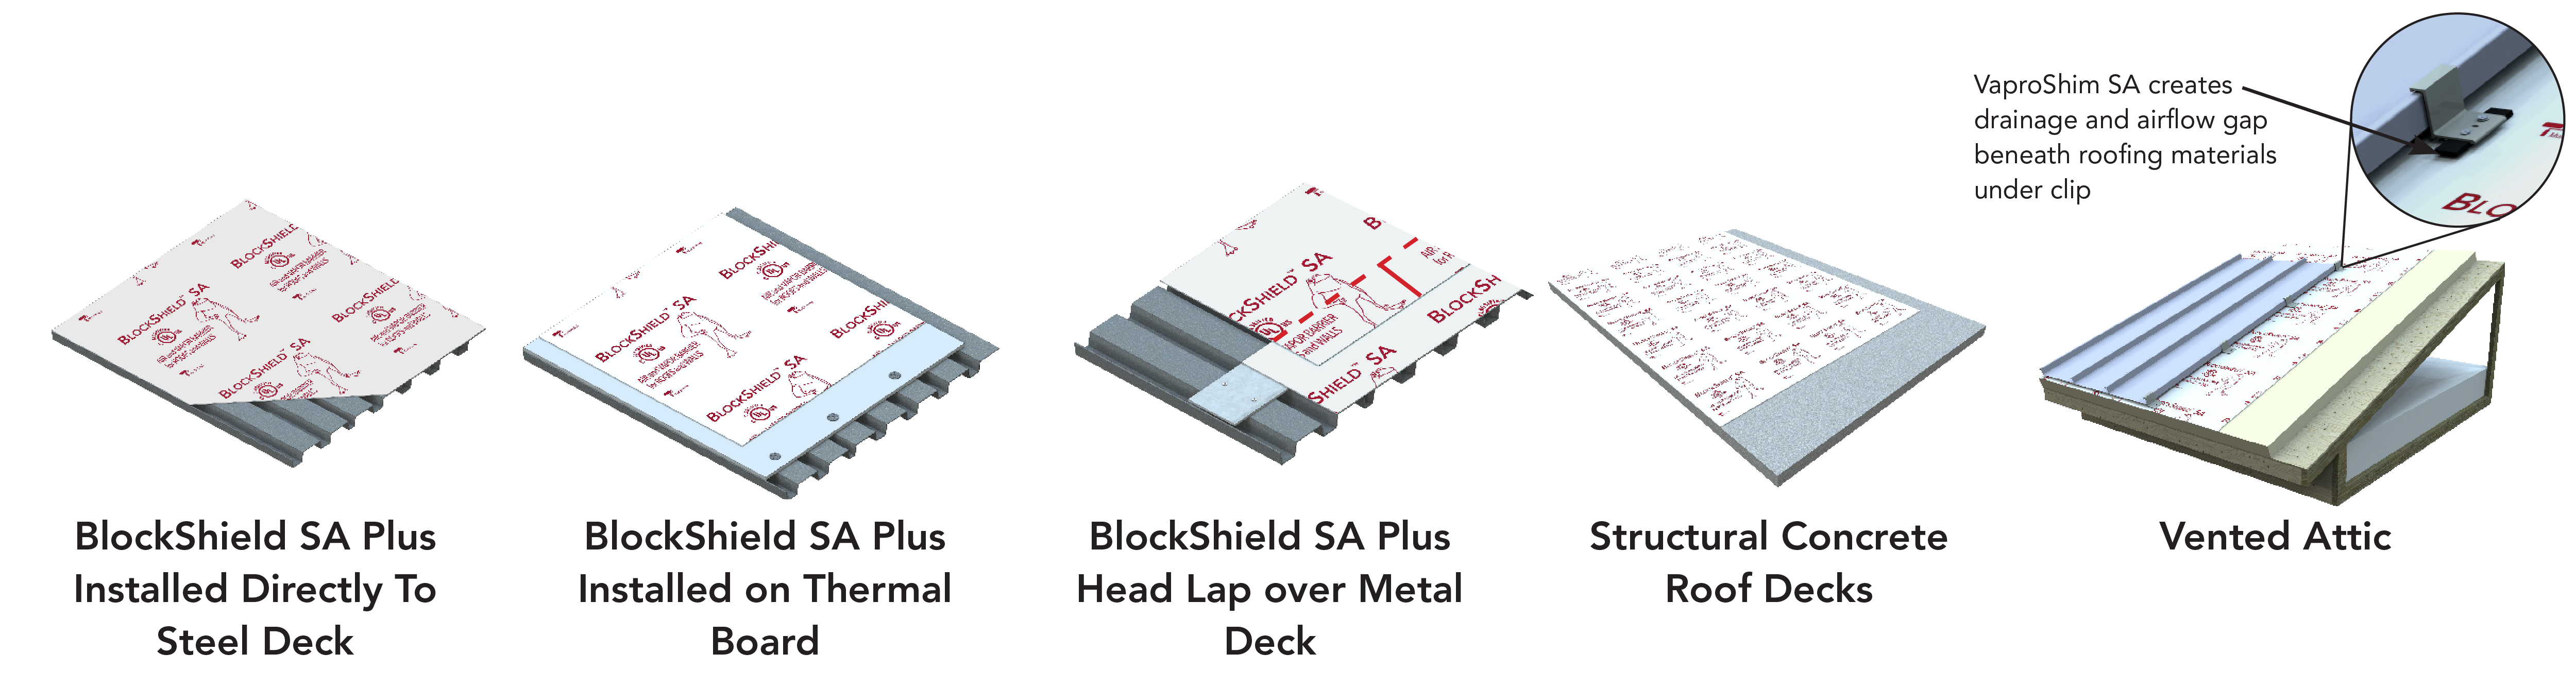
- BlockShield SA Plus is a self-adhered, non-asphaltic air and vapor barrier roofing underlayment designed for applications either direct to deck, or over a thermal barrier board or structural concrete.*
- BlockShield SA Plus is made from a proprietary high strength polypropylene sheet with a very aggressive adhesive layer that effectively bonds to virtually all deck types.
- BlockShield SA Plus can be installed on steep slope roofs (>2”:12”) and on low slope roofs (1/4":12" <2":12") in both commercial and residential construction.
- Top surface is slip resistant, UV stable, and resistant to punctures, tears, and foot traffic.
*See installation instructions for concrete substrates
Product Applications
- Apply directly to galvanized or painted steel Type B Deck
- Apply to thermal board fastened to galvanized steel deck
- Plywood
- Gypsum
- Structural Concrete*
Compatible Membranes and Materials
- Metal Roofing
- Cedar Shingles/Shakes
- Slate and Tile
- Single-ply
- Modified Bitumen
- Asphalt Shingles
Safety
- CAUTION: Release liners are slippery. To prevent injury, liner should be removed from under foot as soon as membrane is installed and disposed of properly.
- Persons who access any roofs, involved with roof construction, repair or maintenance shall use appropriate personal protective equipment including, but not limited to, hard hats, eye protection, and leather gloves and must be trained on safe practices relevant to their work.
- Where the use of ladders, scaffolds, platforms, or temporary floors are utilized, safety lines and safety harnesses shall be used. Please access the OSHA Web site at www.osha. gov, contact your local OSHA office, or visit the local federal bookstore to obtain the most current information on OSHA 29 CFR 1926.
Delivery, Packaging And Storage
- Store material in original packaging.
- Protect rolls from direct sunlight and inclement weather until ready for use.
Substrate Preparation
- Steel surfaces must be clear of any oil residue and moisture.
- Wood decks must be dry to the touch and clear of dirt and dust.
- Prime structural concrete as required.
- Ensure substrate fasteners are flush with surface and fastened into solid backing.
- Install in temperatures 20°F (-6.6°C) and rising.
Adhesive Curing Time
Full adhesion will vary depending on job site weather conditions. Curing will continue to occur for up to 48 hours.
Limitations
- Cover BlockShield SA Plus within 180 days of installation with permanent roofing material.
- If desired adhesion is not attained between membranes due to site conditions, VaproShield recommends applying a bead of VaproBond as an additional solution to pressure rolling.
Compatible Substrates
| Contact VaproShield Technical - if you have additional substrate or technical questions | |
|
|
Installation Best Practices Galvanized Steel B Deck
 |
 |
|
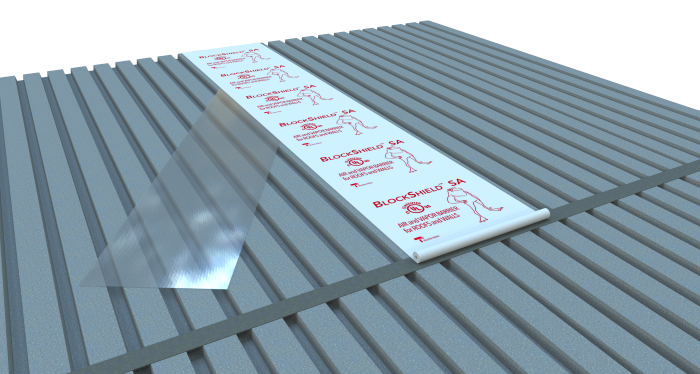
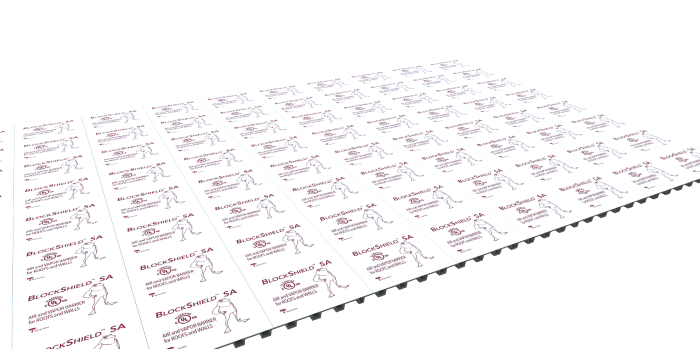
STEP 1 Once BlockShield SA Plus is in place, while holding the sheet tight, remove the silicone release film by pulling diagonally. |
STEP 2 After multiple rolls are installed, roll the membrane with a weighted roller, min. 70 lbs. |
CAUTION: Release liners are slippery. To prevent injury, liner should be removed from under foot as soon as membrane is installed and disposed of properly.
STEP 3
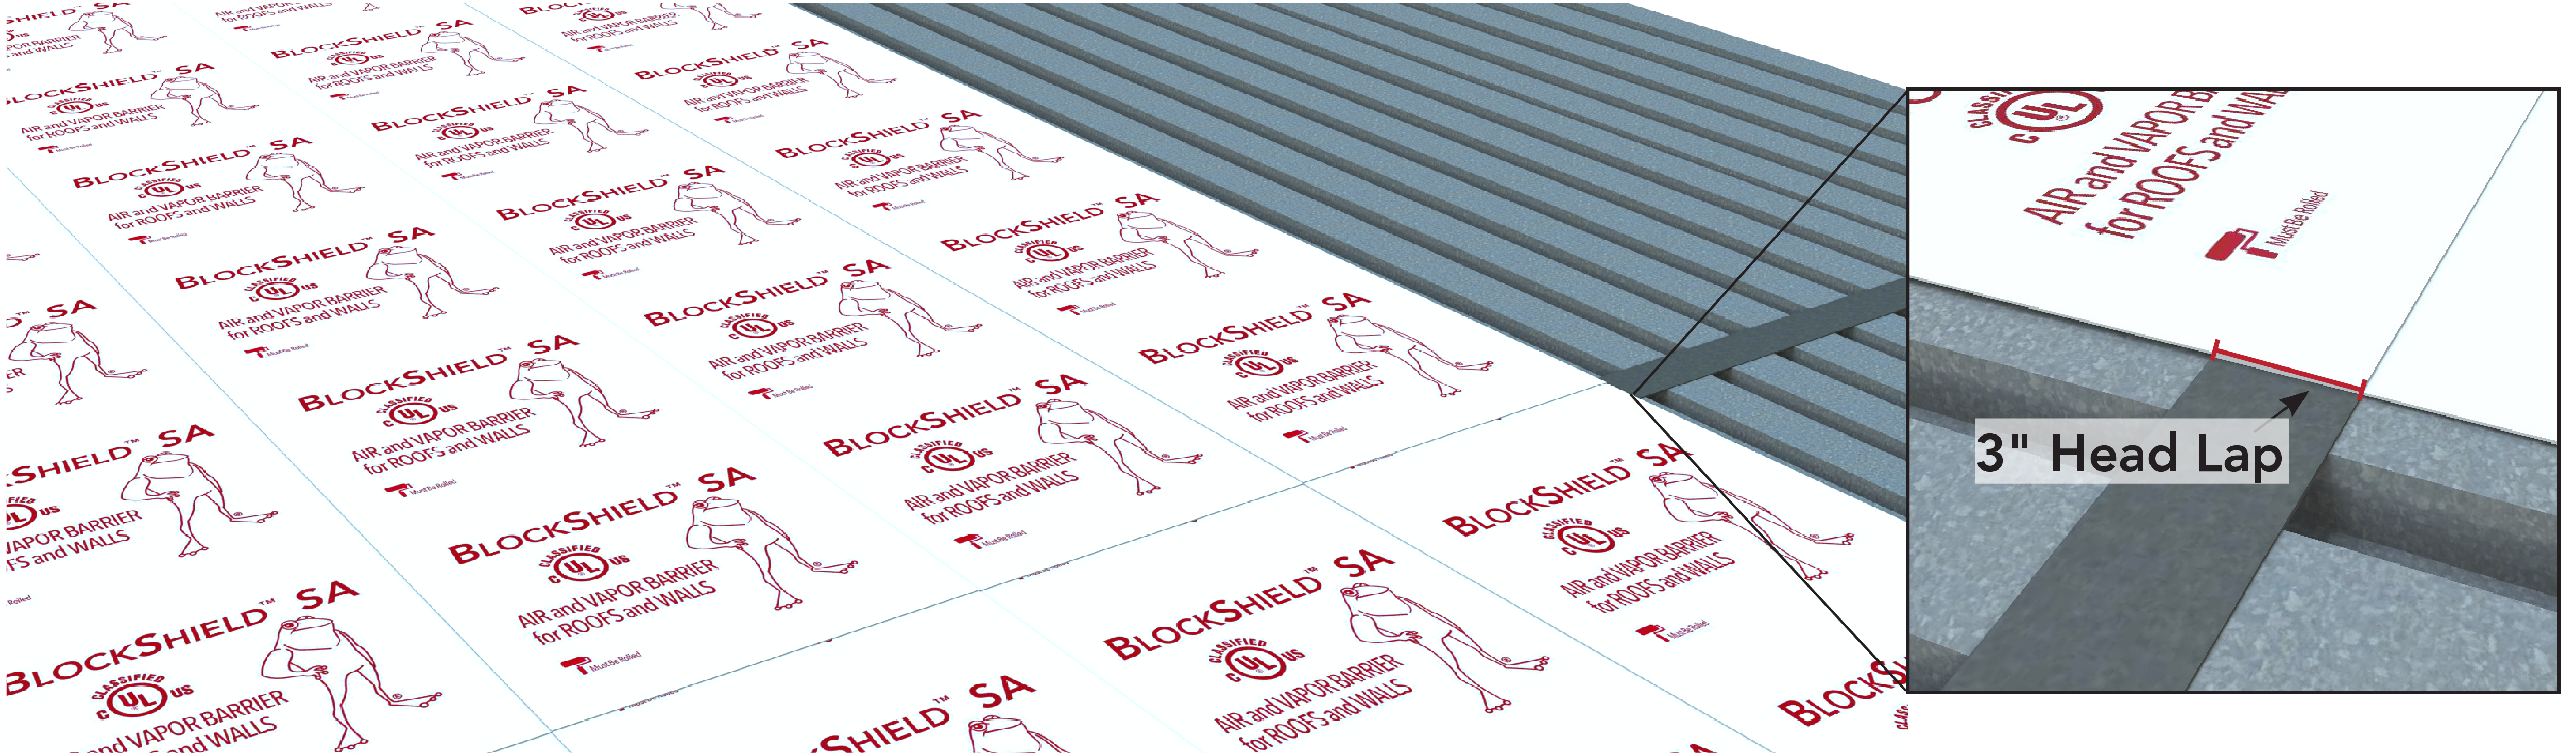
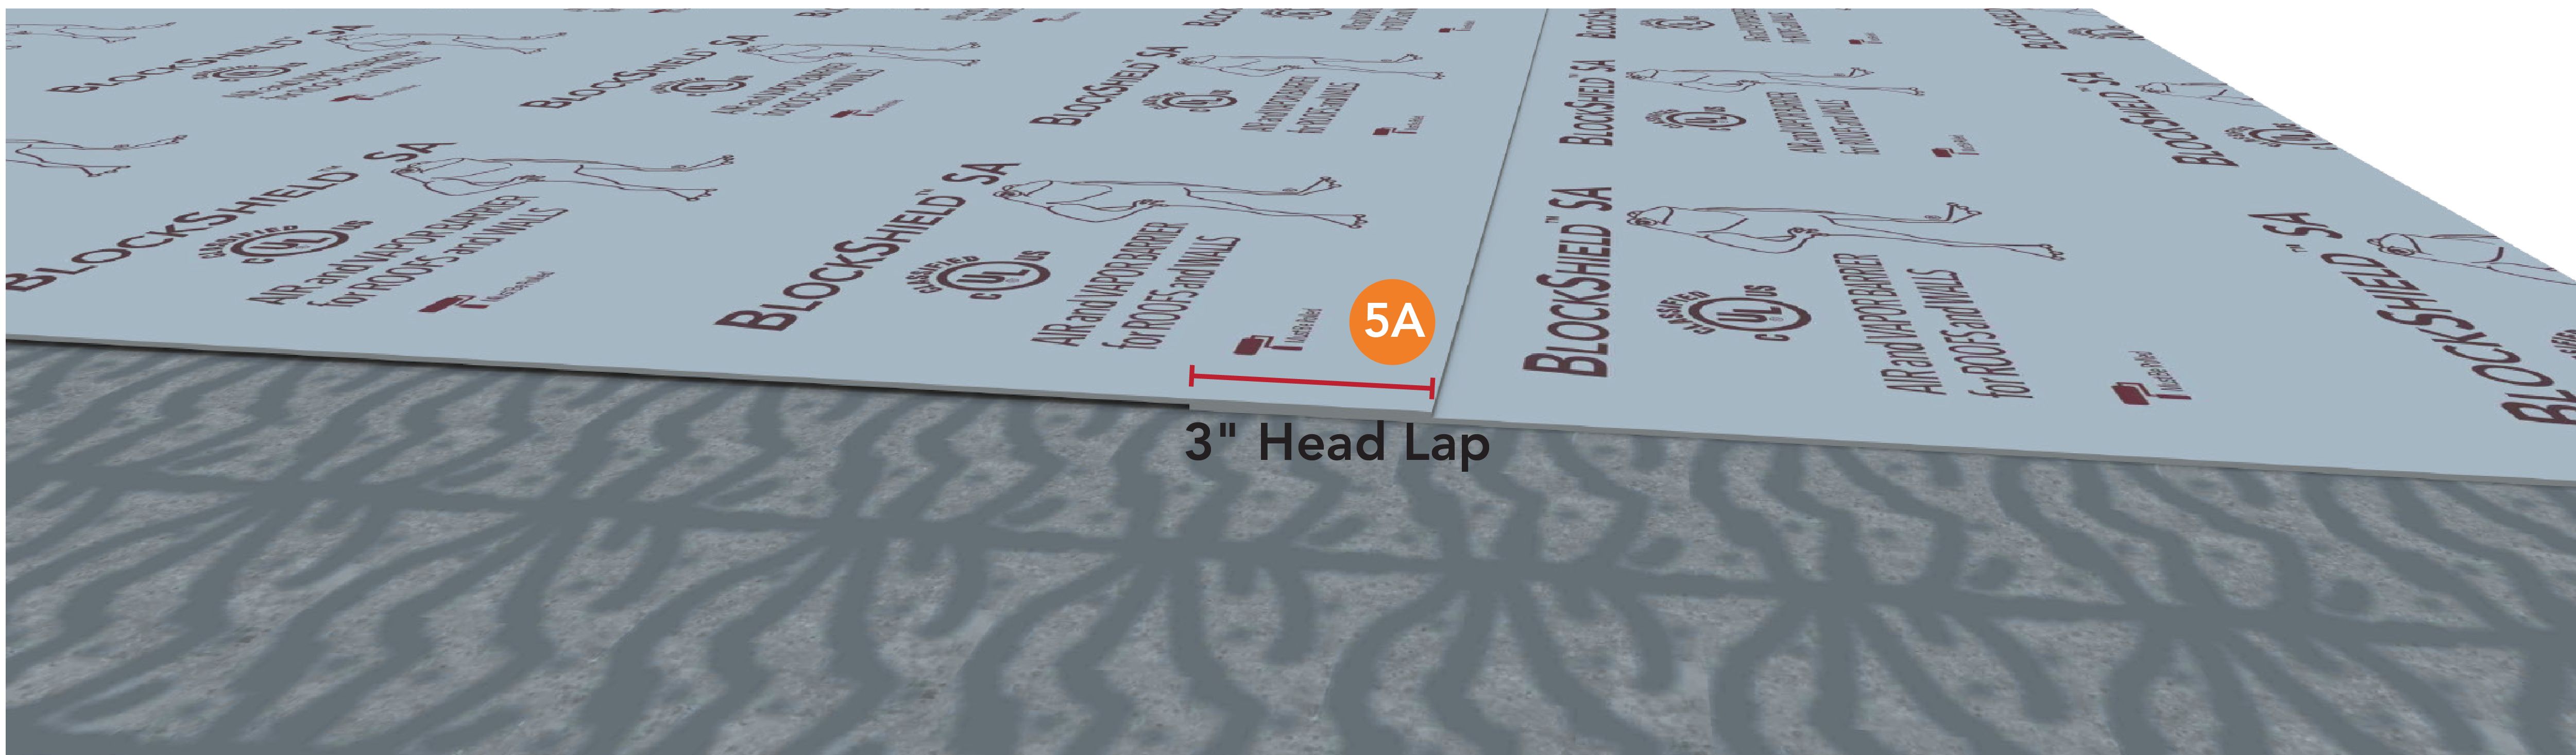
At the head lap the installation of a metal sheet is required to support the head lap between flutes. Ensure 3" (7.5 cm) head laps are maintained on metal sheet plate for each course during installation.
 |
STEP 4 CAUTION: Release liners are slippery. To prevent injury, liner should be removed from under foot as soon as membrane is installed and disposed of properly. |
Installation Best Practices Structural Concrete
|
|
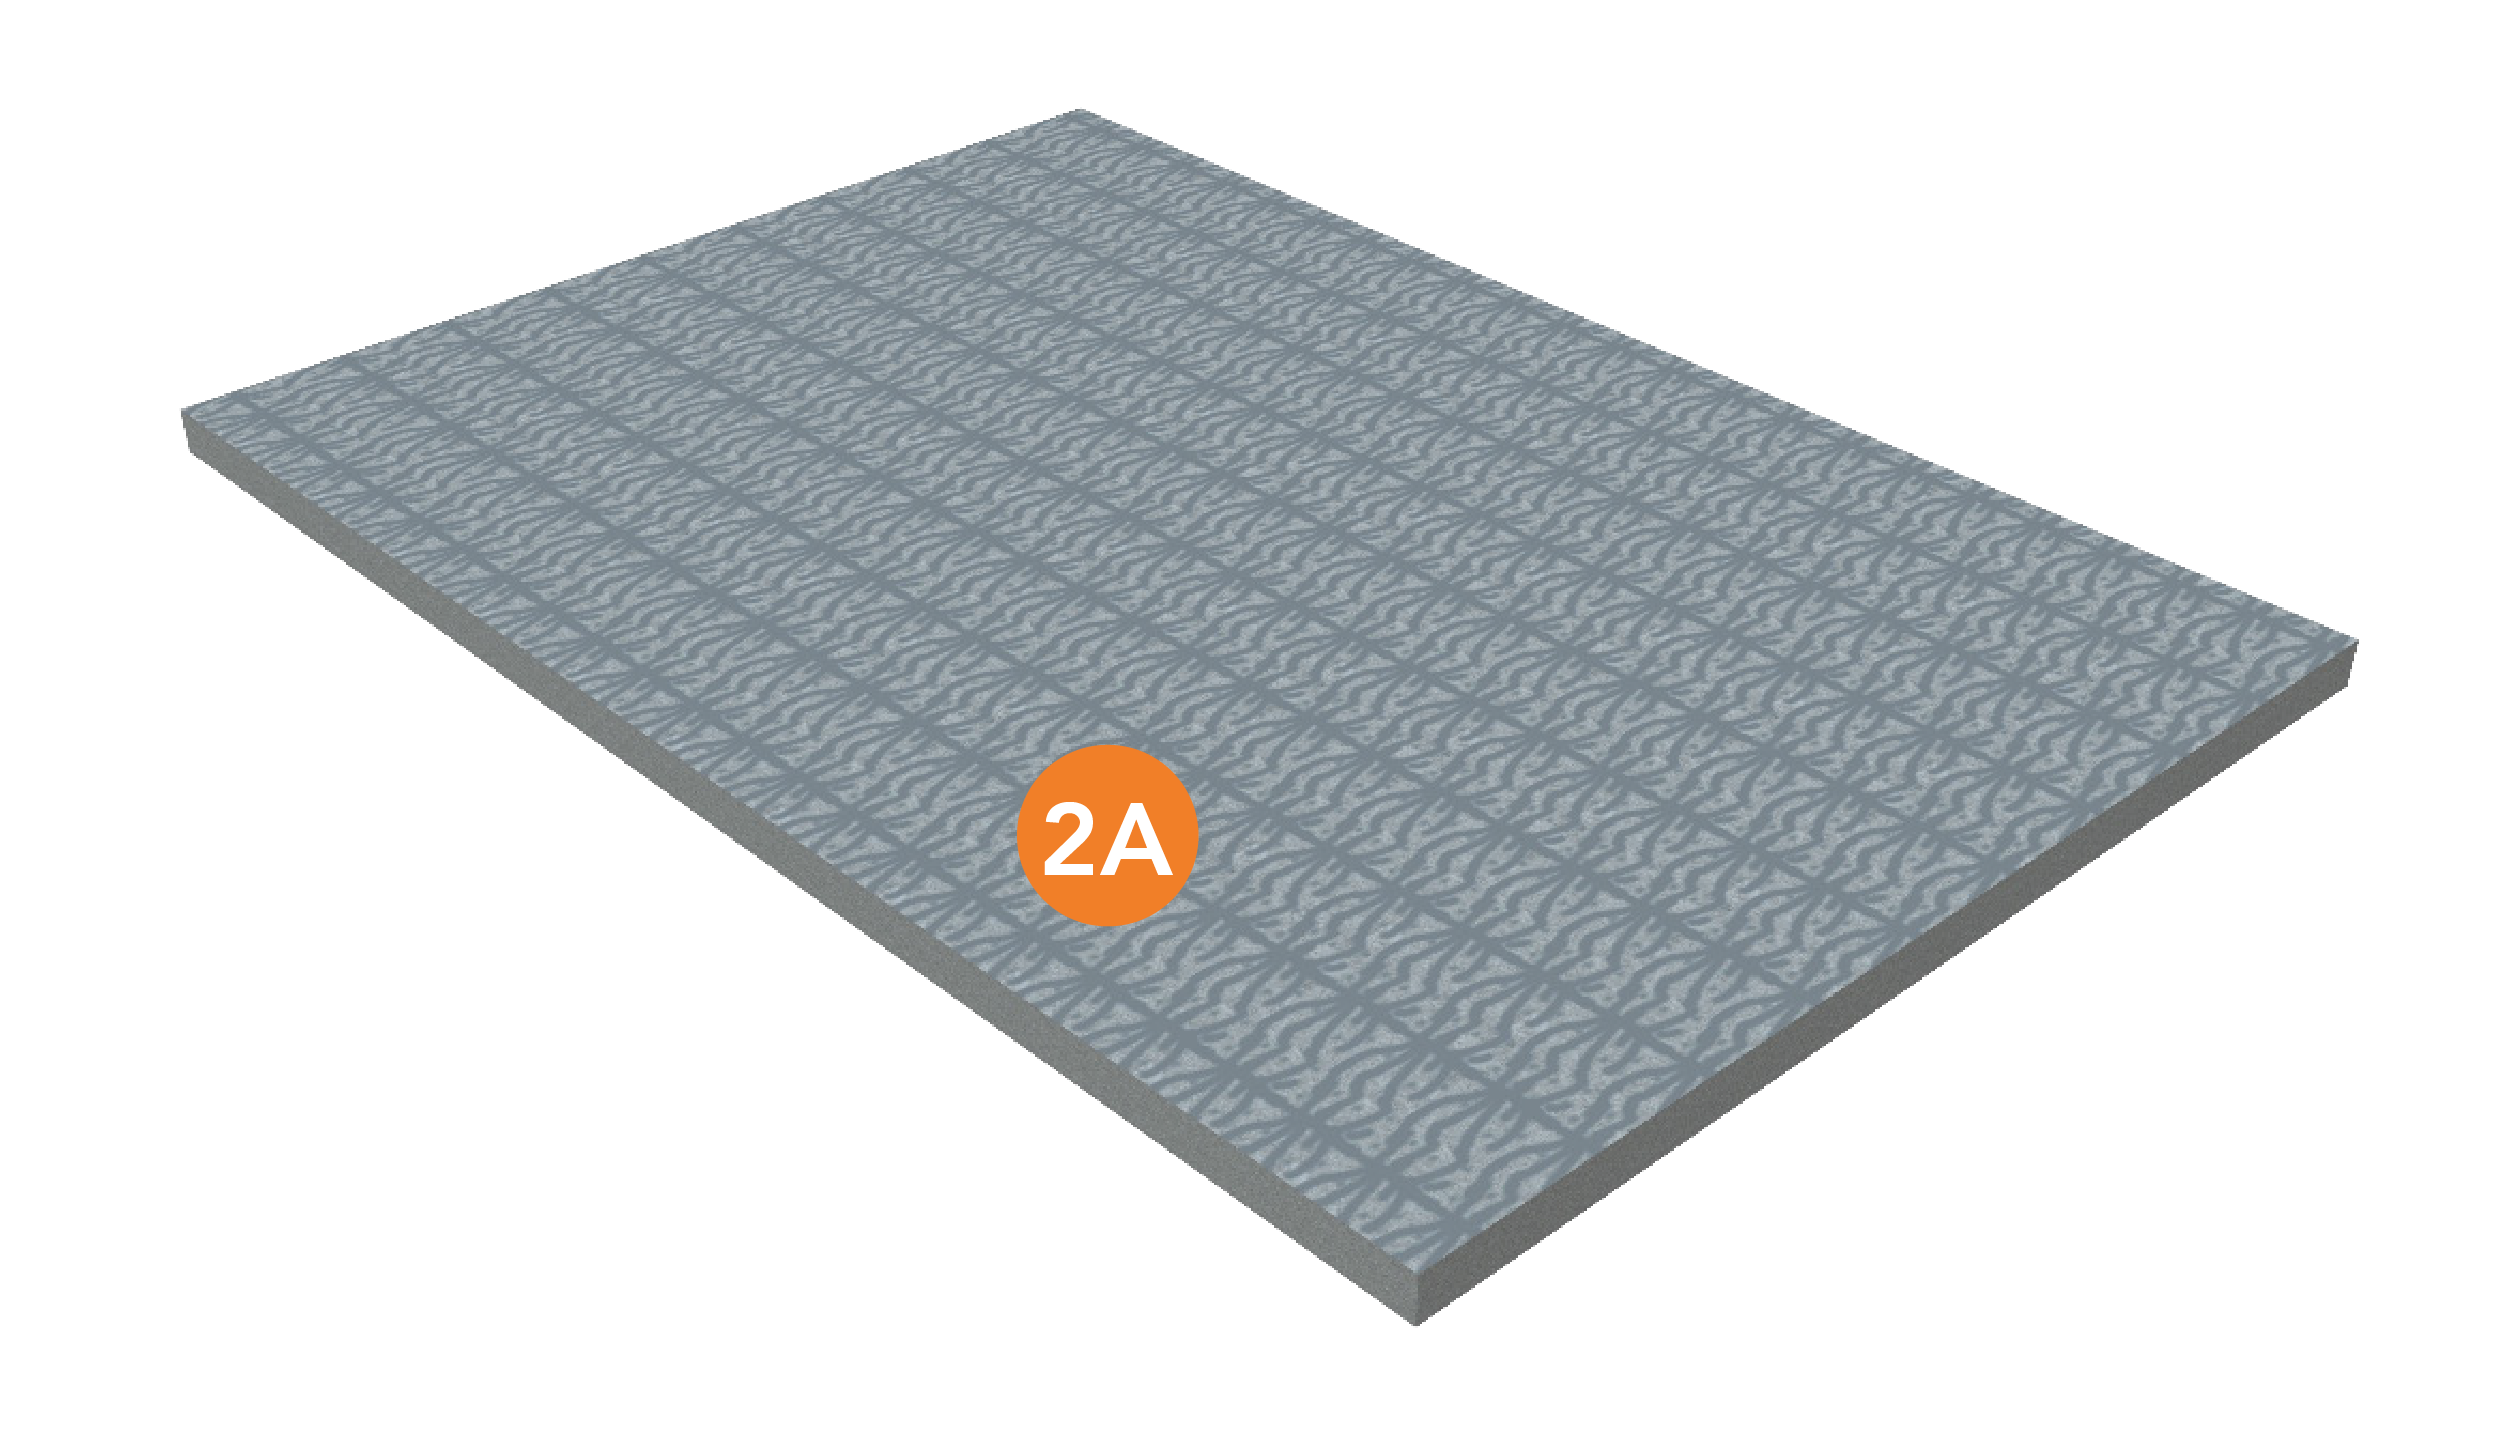 |
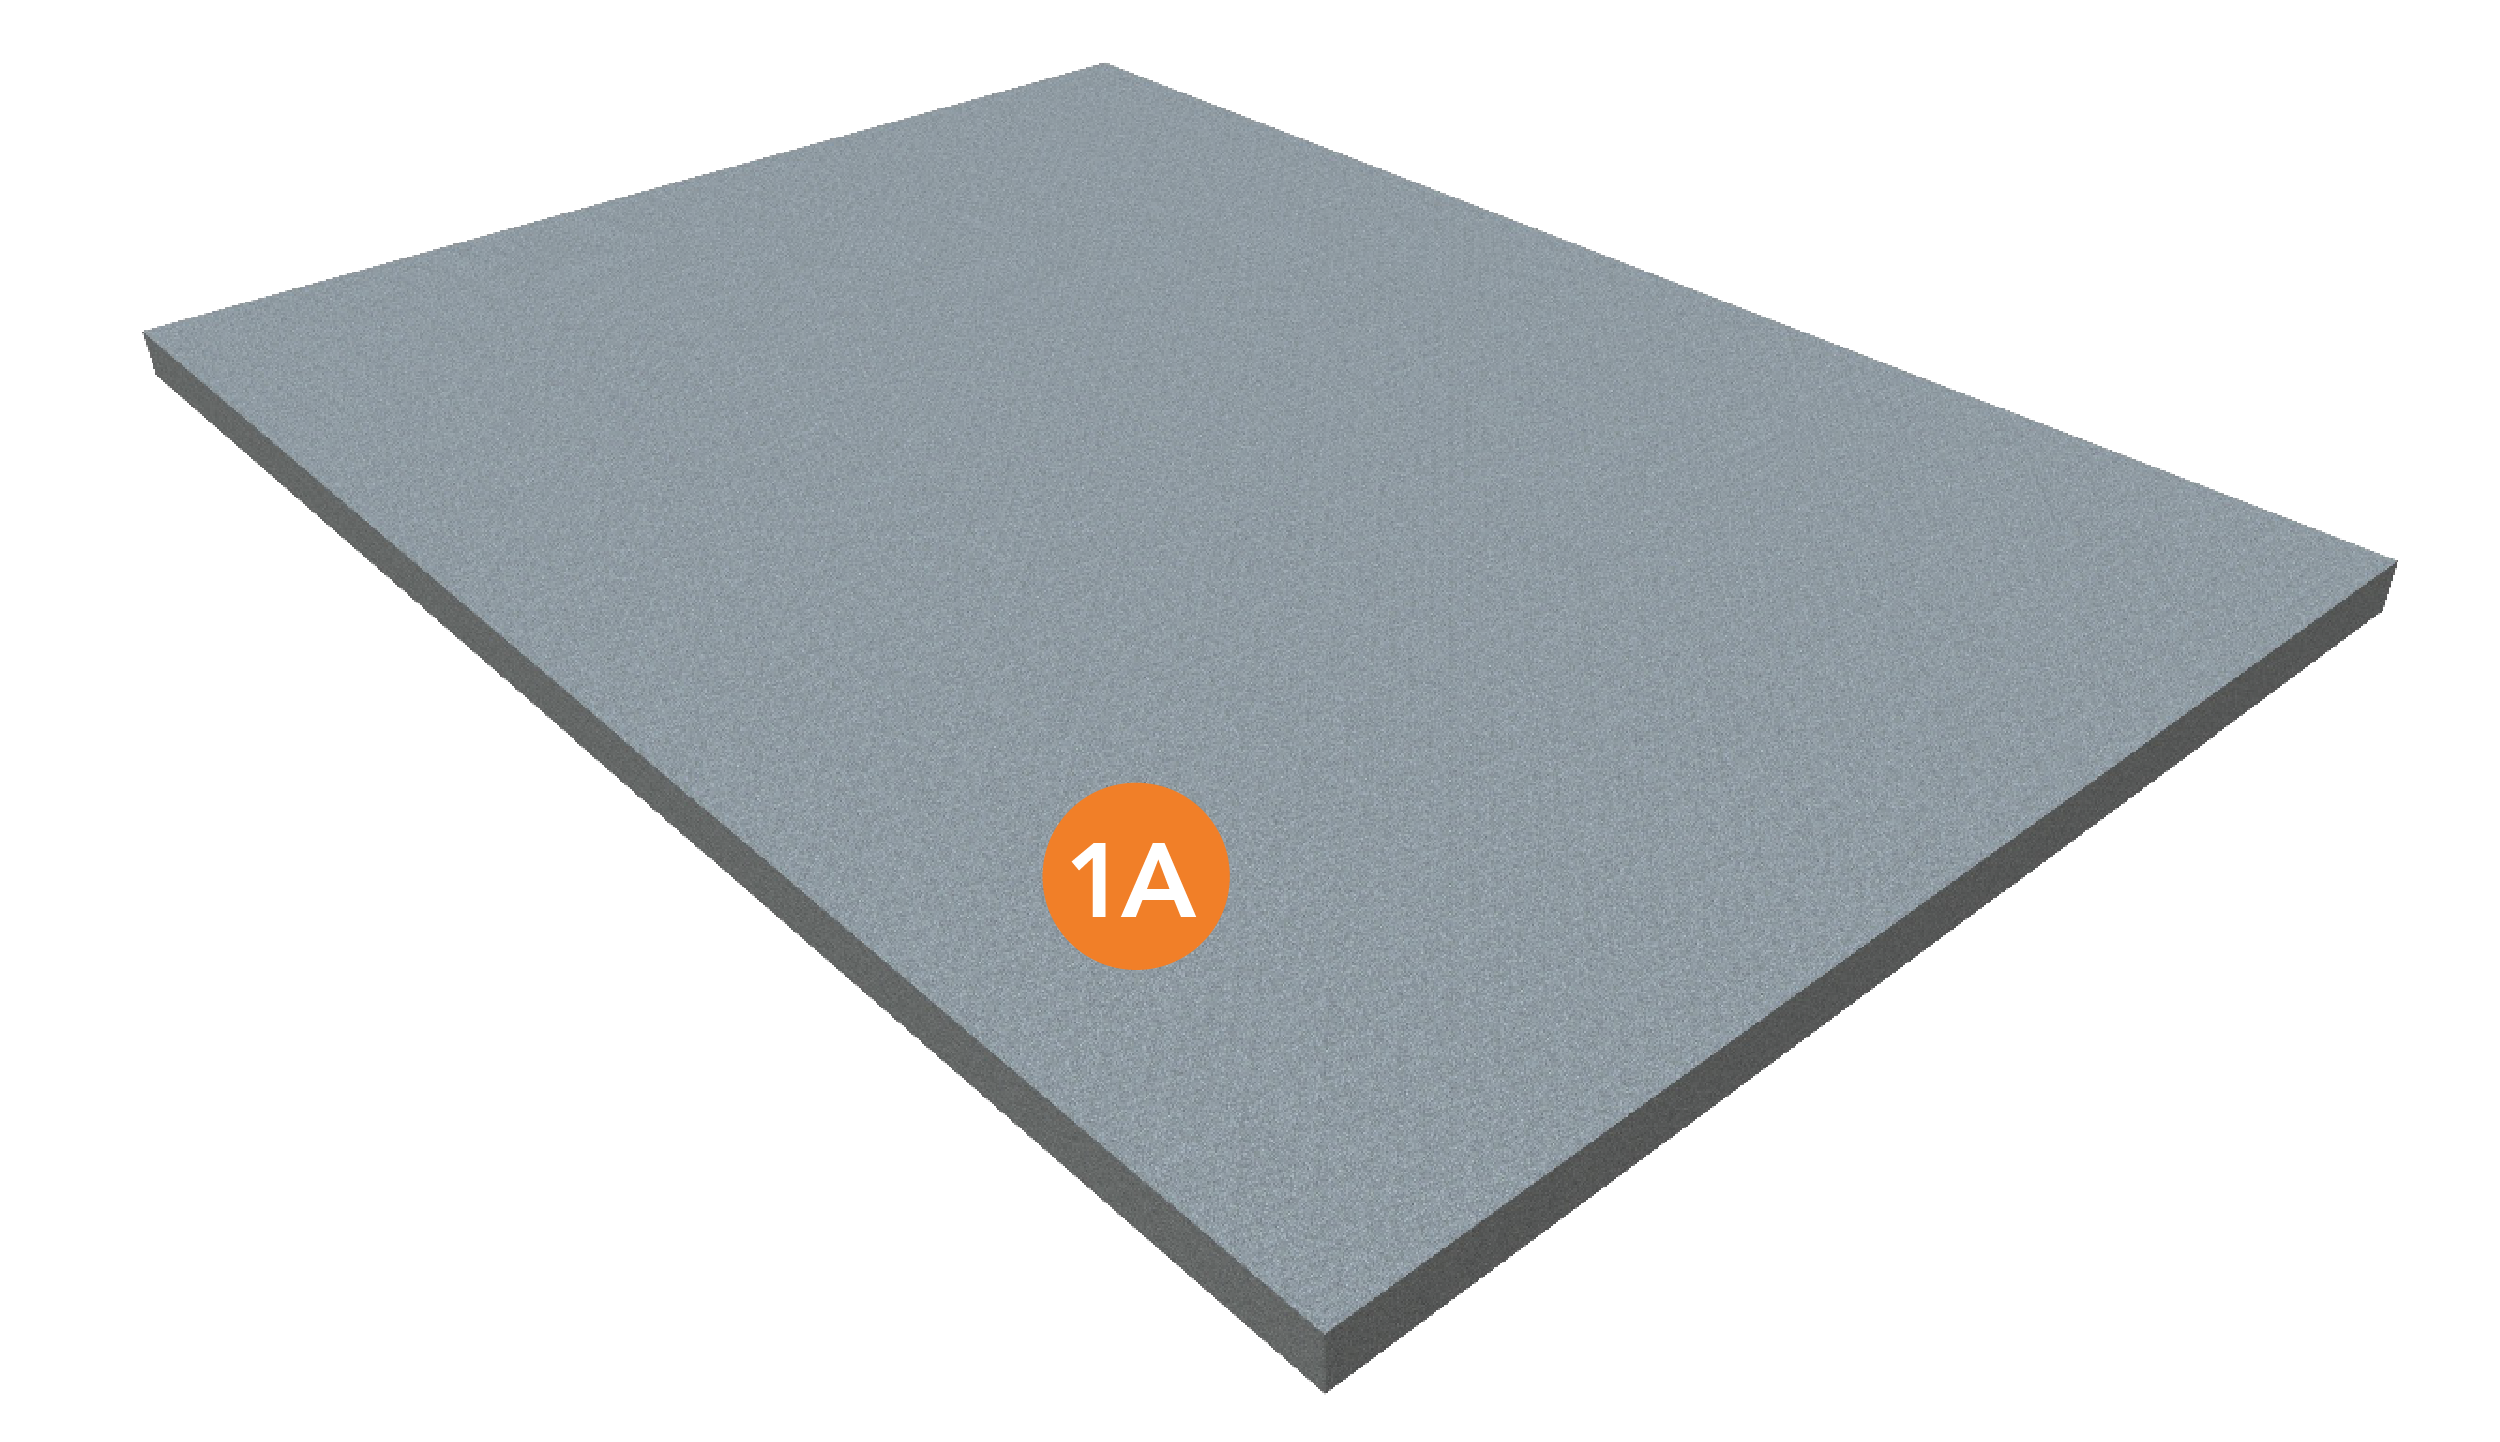
| STEP 1 1A: Concrete deck installed by others. |
STEP 2 2A. Prime surface as required. Contact VaproShield Technical for primer requirements. |
 |
 |
|
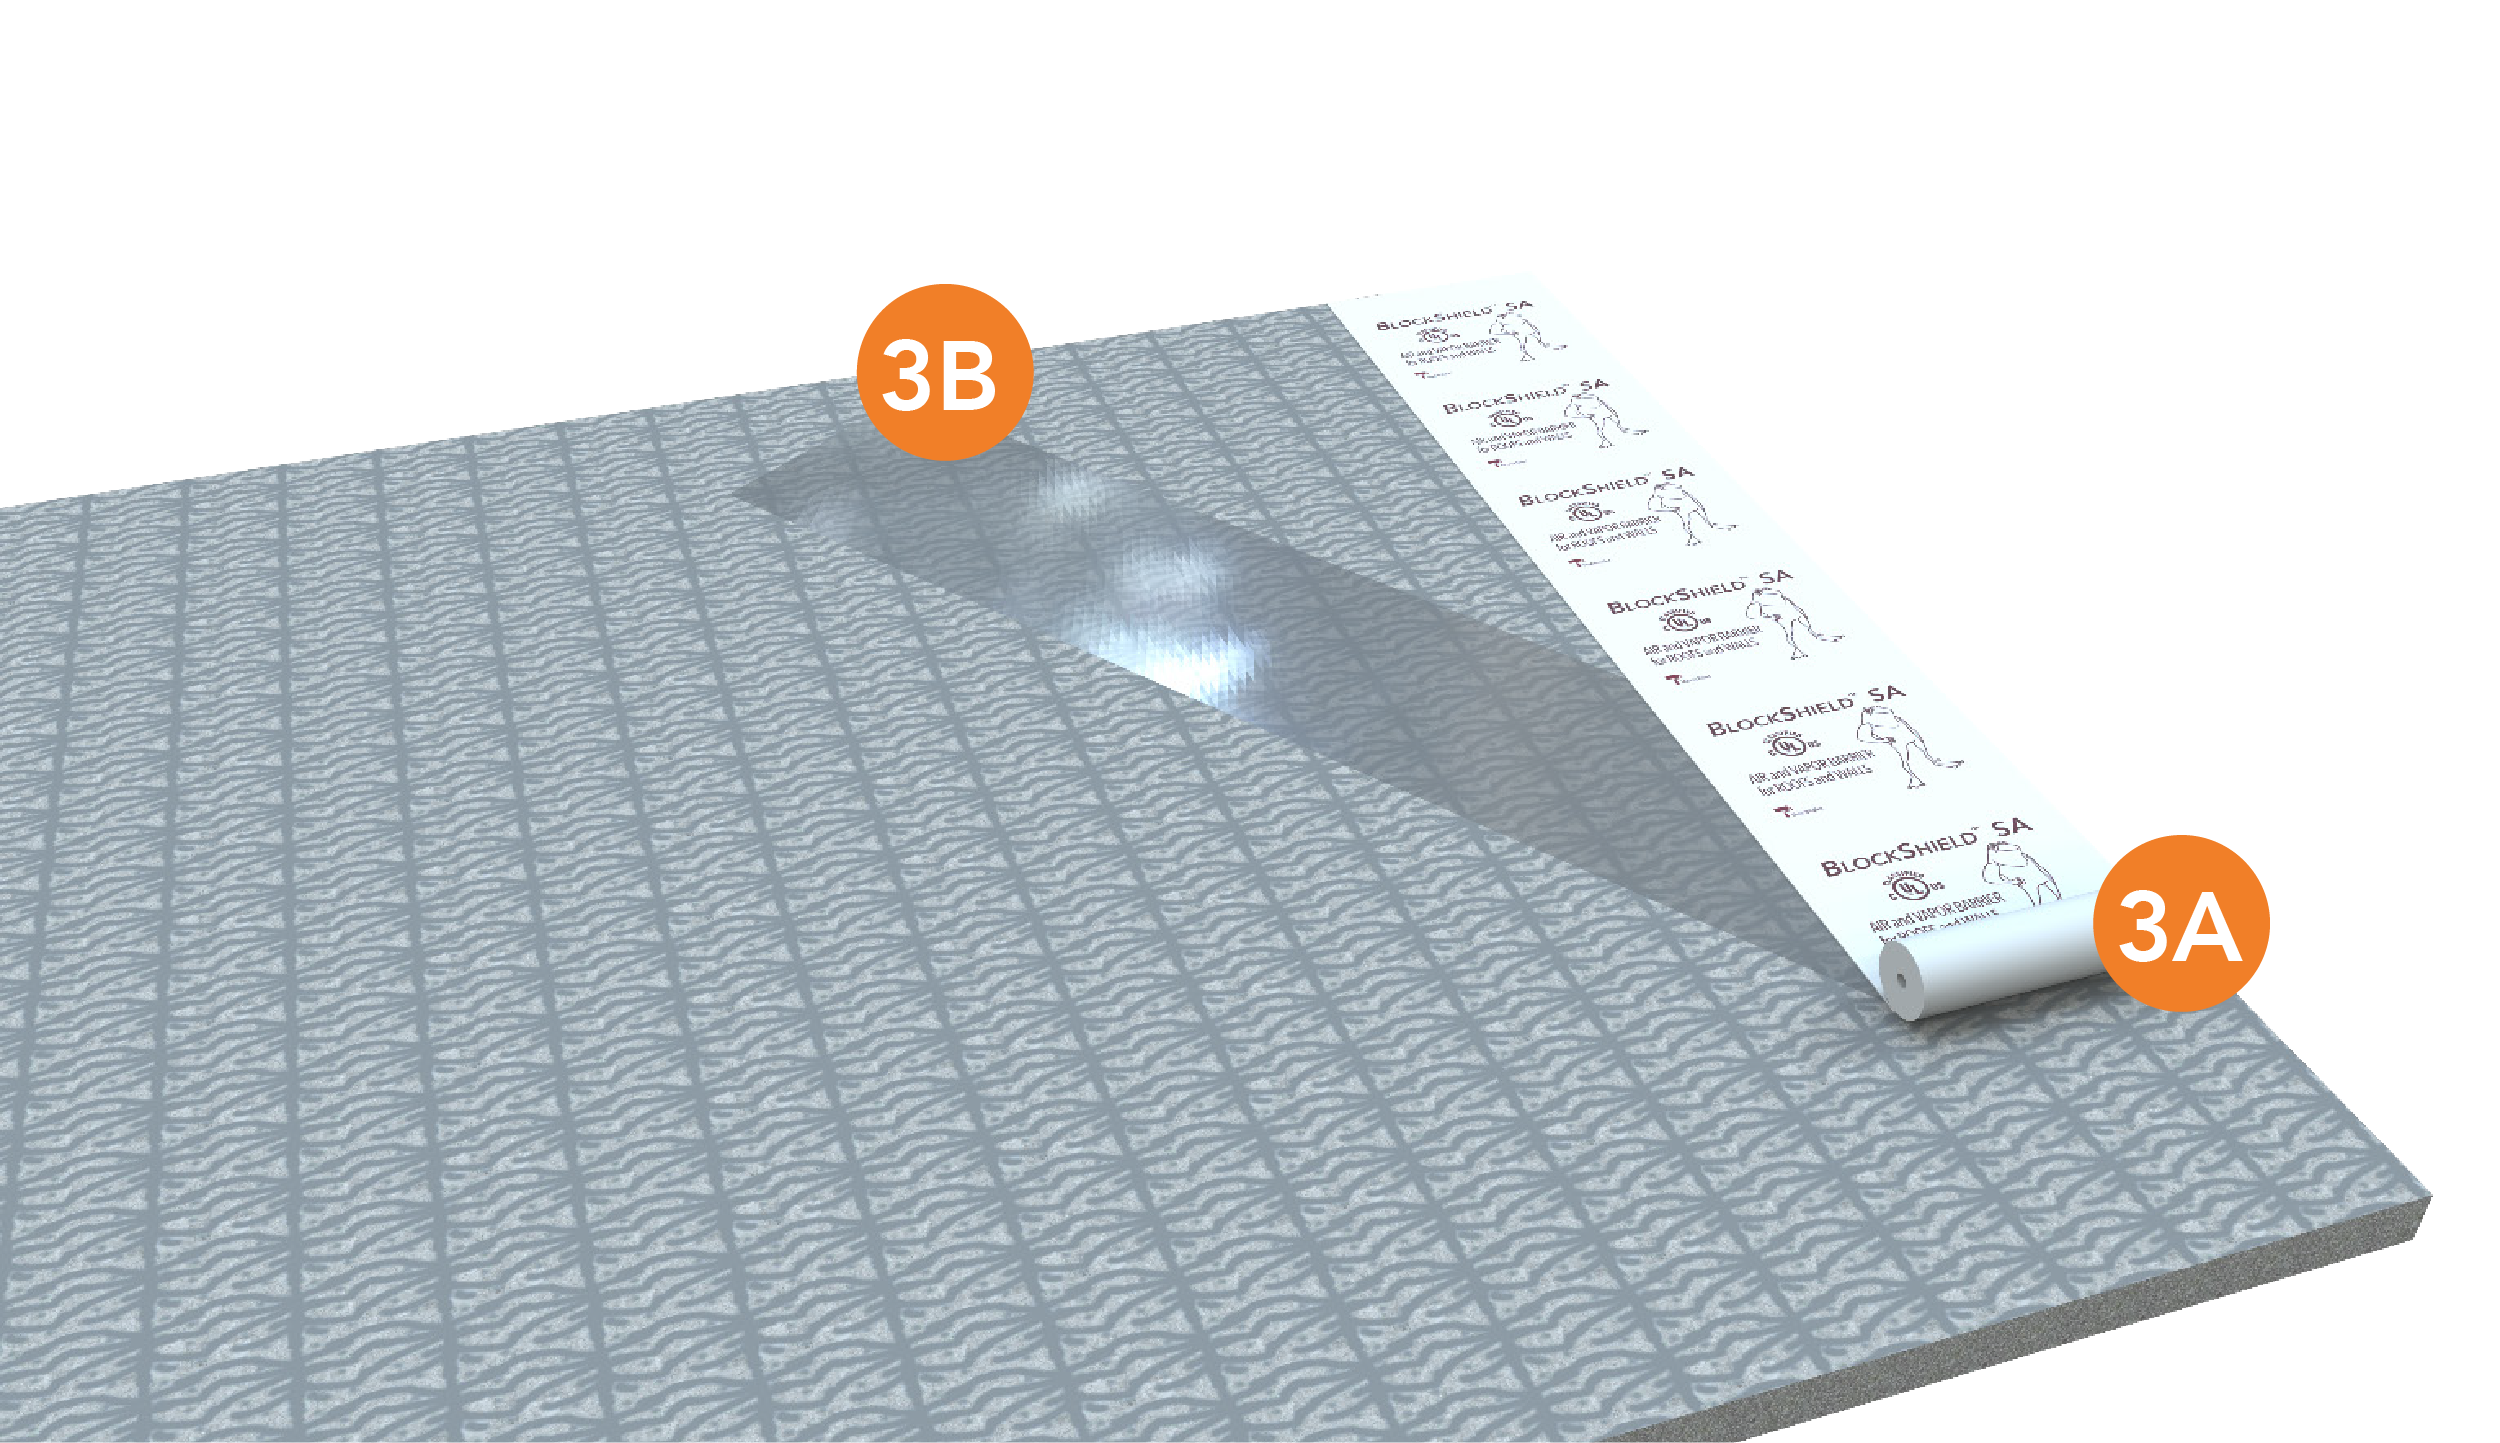
CAUTION: Release liners are slippery. To prevent injury, liner should be removed from under foot as soon as membrane is installed and disposed of properly. STEP 3 |
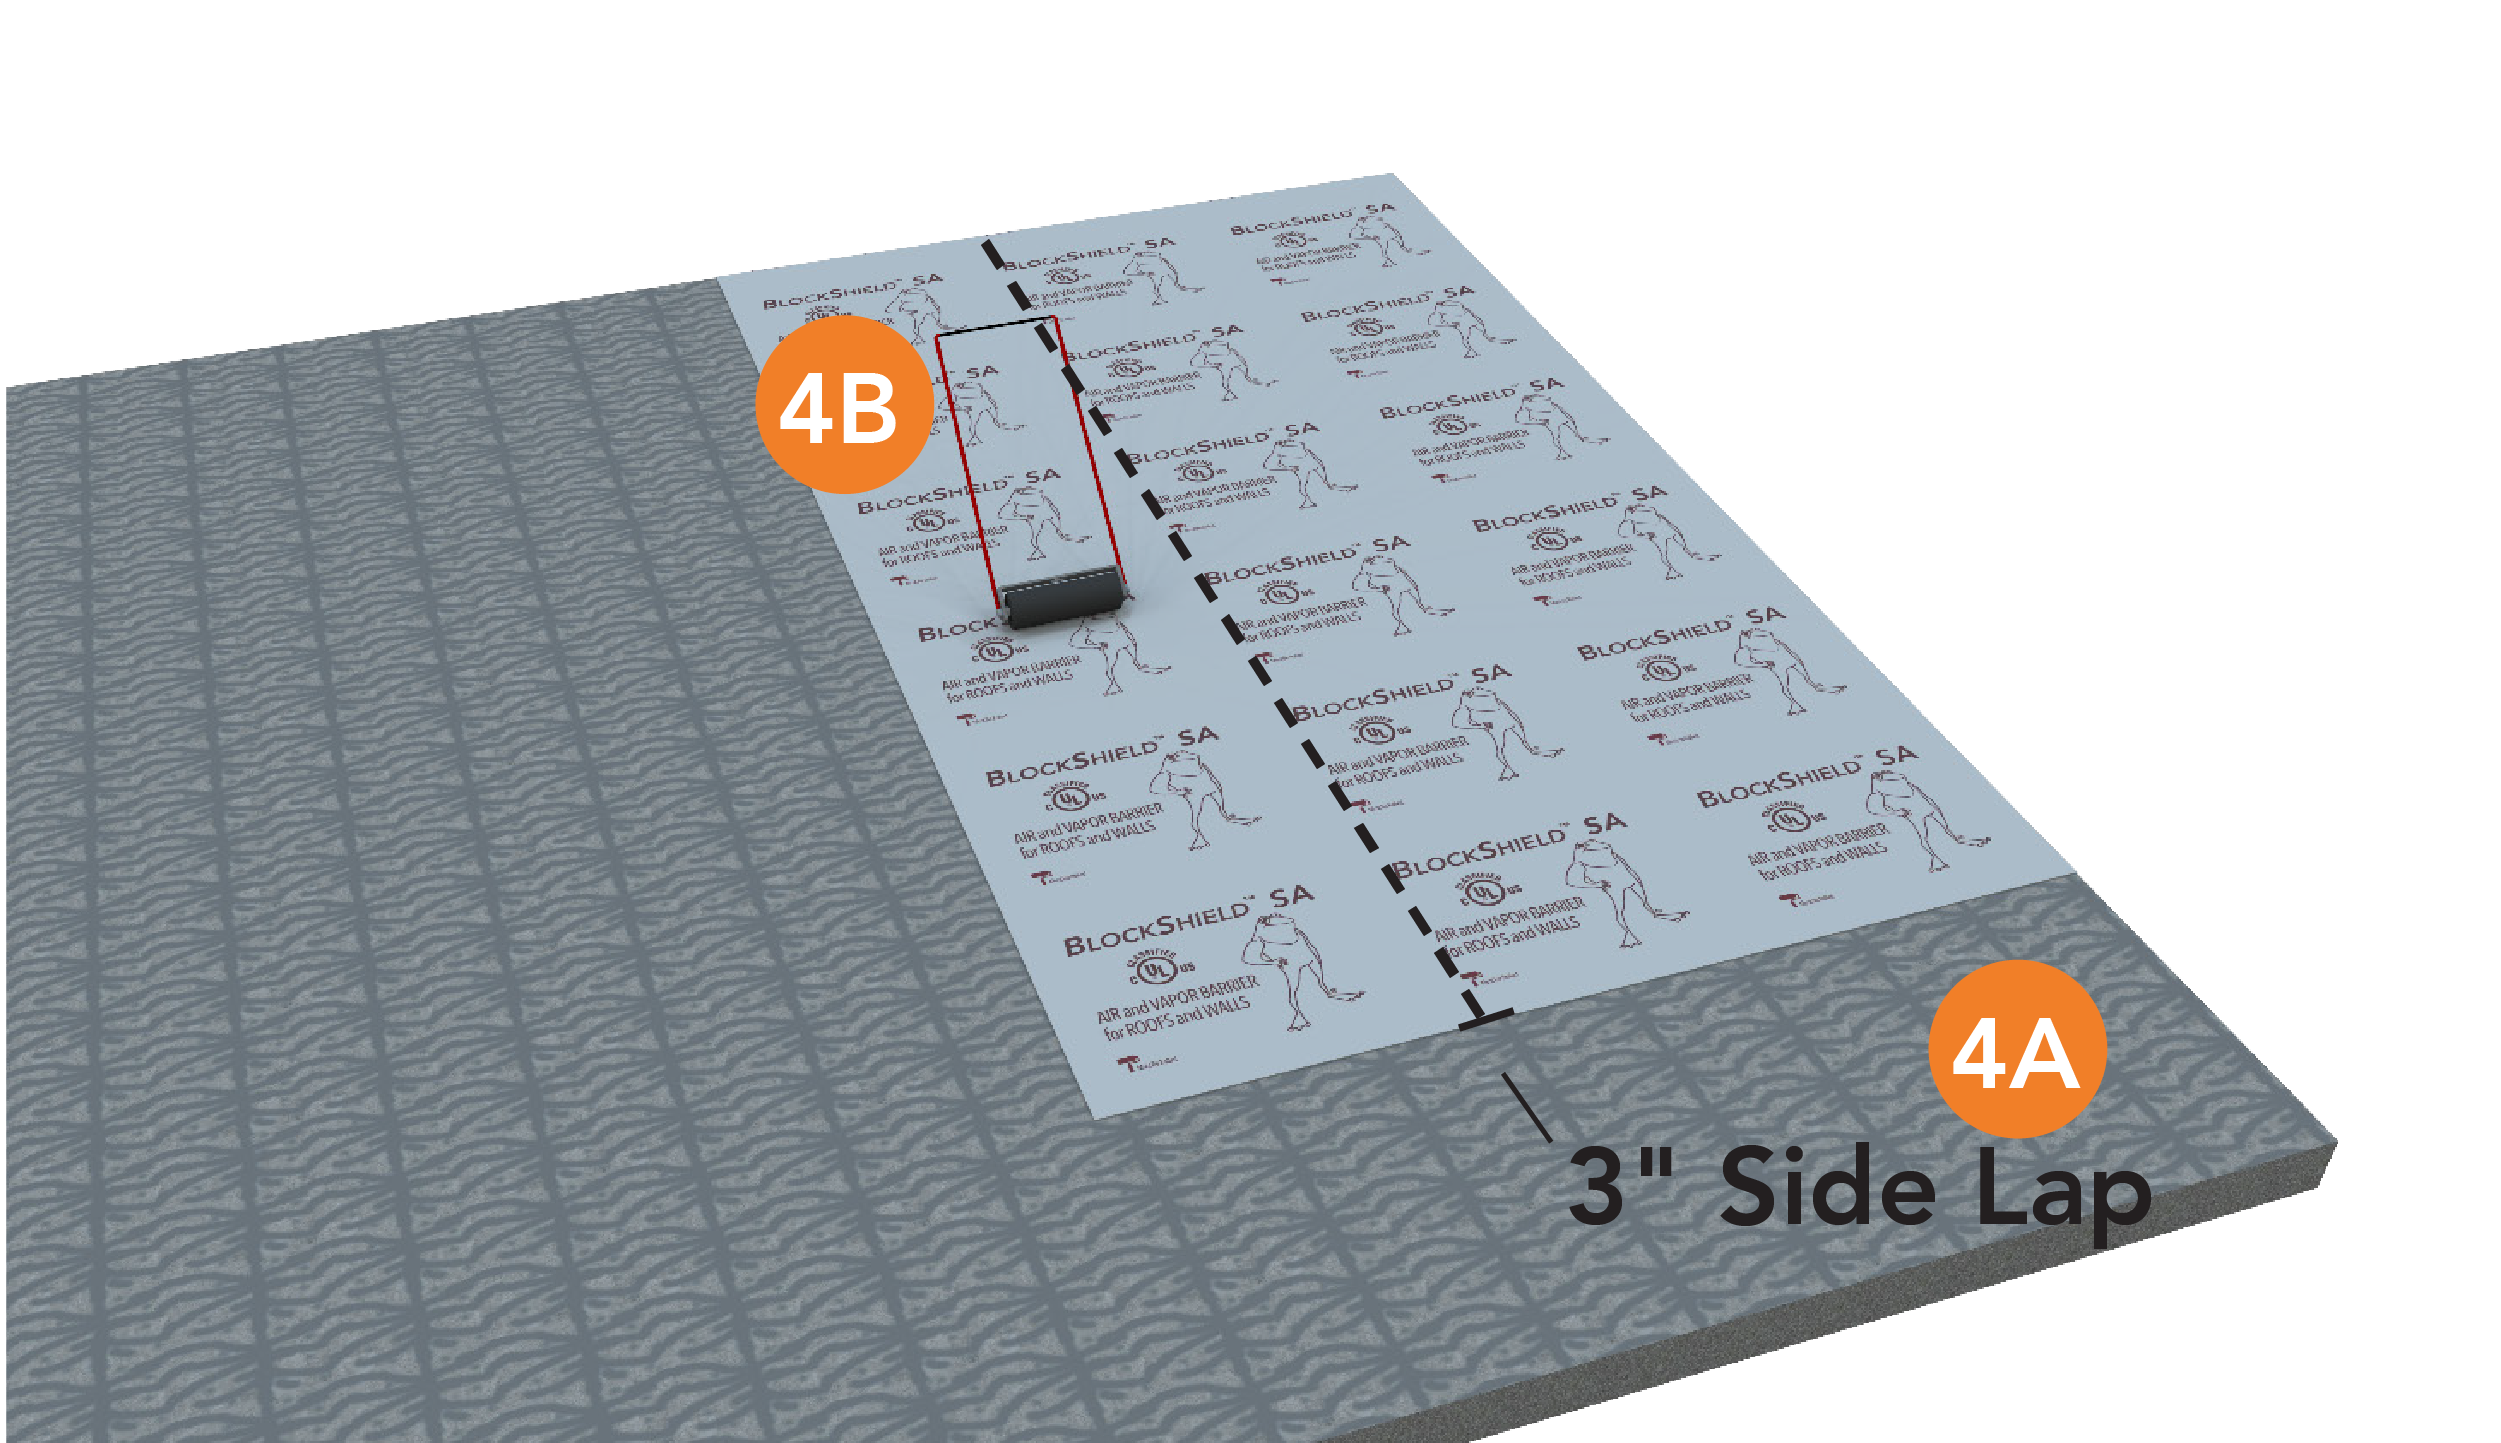
STEP 4 4B. After multiple rolls are installed, roll the entire section of installed membrane with a weighted roller, min. 70 lbs. |
 |
|
| STEP 5 5A. At the end of each roll, ensure 3" (7.5 cm) head laps are maintained. |
|
 |
STEP 6 May be used as temporary protection at the discretion of the general contractor or building professional. Maximum exposure is 180 days prior to coverage. |