


pdf Printer Friendly (2.49 MB) (PDF)
Overview
WrapShield RS Rain Screen is a mechanically attached high performance Water Resistive Barrier (WRB) and Air Barrier (AB) with a built-in polypropylene drainage matrix material, available in two different depths: 3mm and 7mm.
Air Barrier Installation
Air barrier installation requires all seams, joints, overlaps and penetrations to be sealed for complete air barrier continuity.
Best Practices Overview
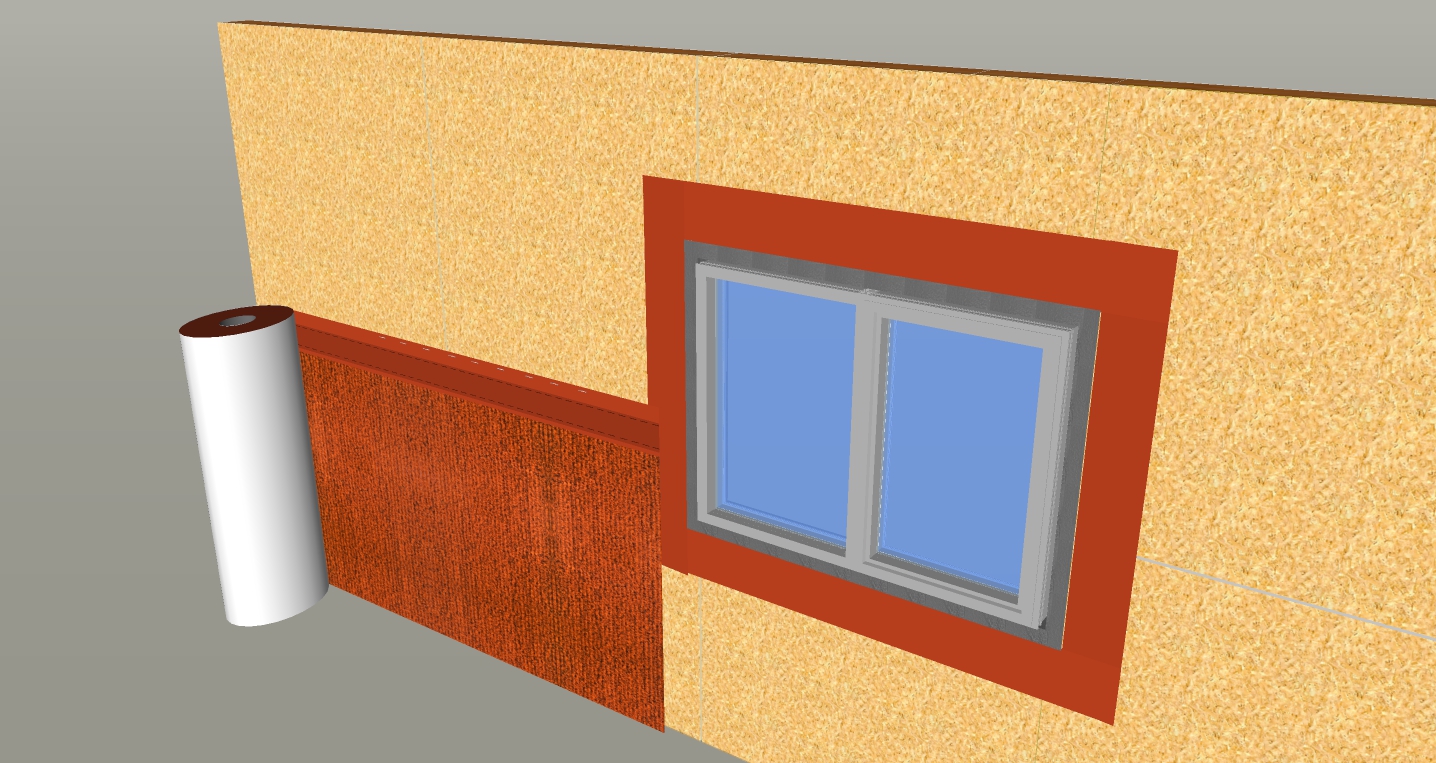
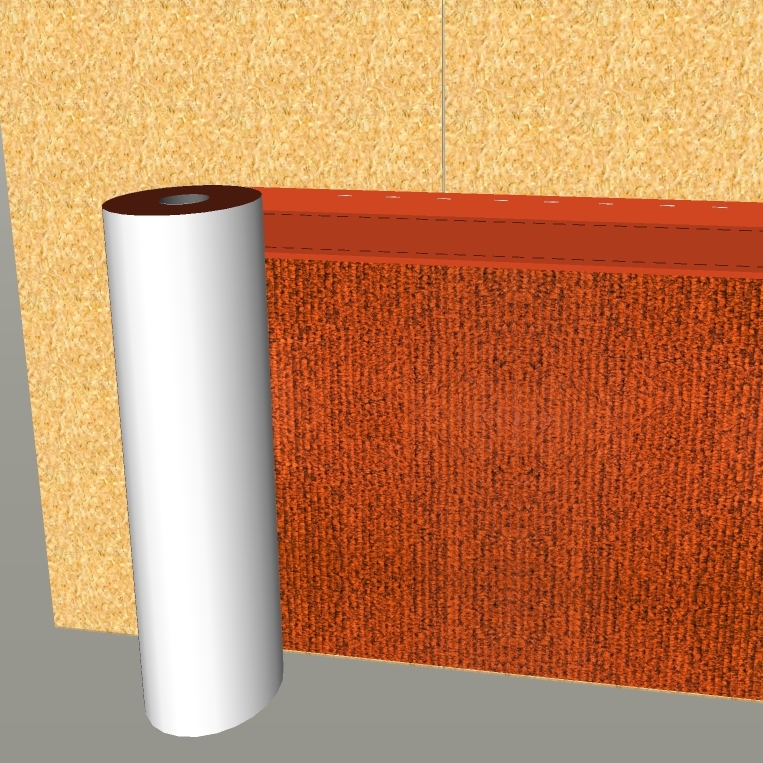
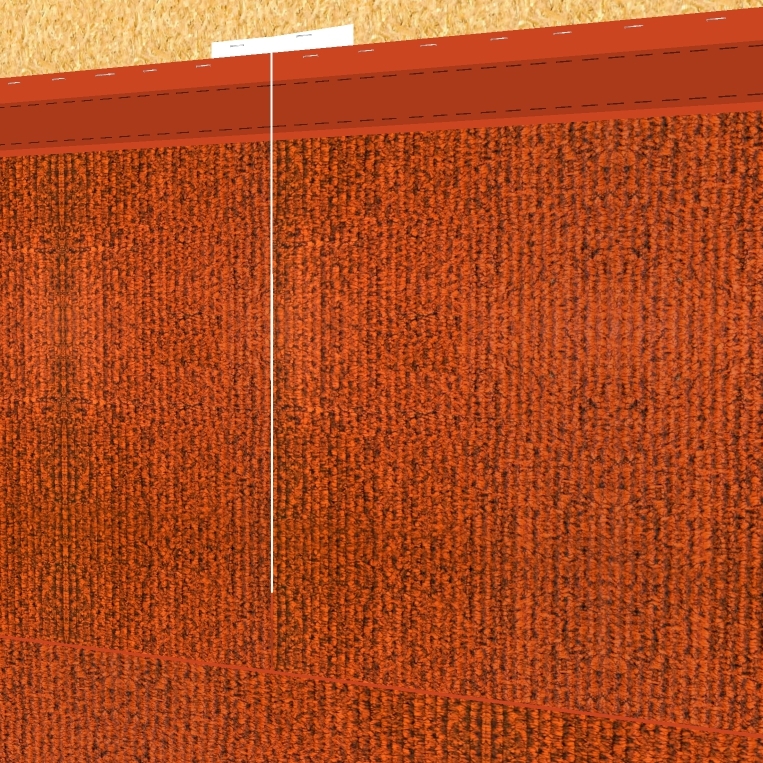
- Always install WrapShield RS Rain Screen horizontally, in a “weatherboard or shingle fashion” with the upper courses lapped on top of the courses below. Horizontal overlaps must be 6” in order to properly seal the integrated tape joint; dotted line provided.
- Building layout should be planned prior to installation to minimize waste and ensure all interfaces and penetrations are identified and correctly detailed to protect against water and air infiltration.
- WrapShield RS Rain Screen must be correctly shingled with all openings, penetrations and flashings to deflect liquid water to the main drainage plain and ultimately to the exterior of the building.
- Proper sequencing is critical. Protect rough openings with VaproLiqui-Flash System prior to installing WrapShield RS Rain Screen. Refer to Details Page for further information.
- Use stainless steel (SS) staples in the top 2” above the horizontal integrated tape to affix material to sheathing substrate.
- Inside and outside corners should be wrapped continuously with field membrane or treated as a vertical joint.
- Maximum exposure prior to cladding installation is 6 months (180 days).
Vertical Joints - Installation
Do NOT overlap or double the drainage matrix in order to maintain a level plane for cladding installation.
Vertical Joint Installation
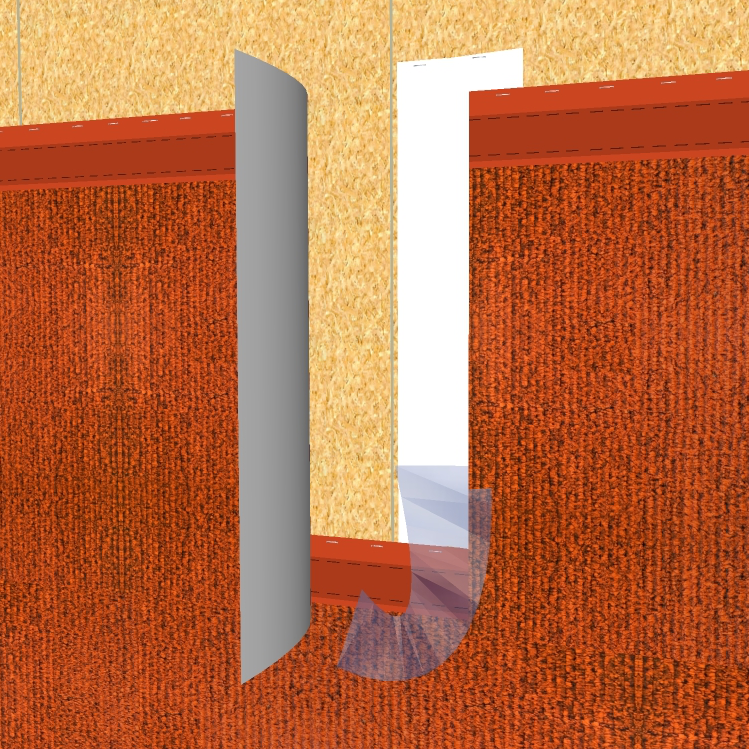
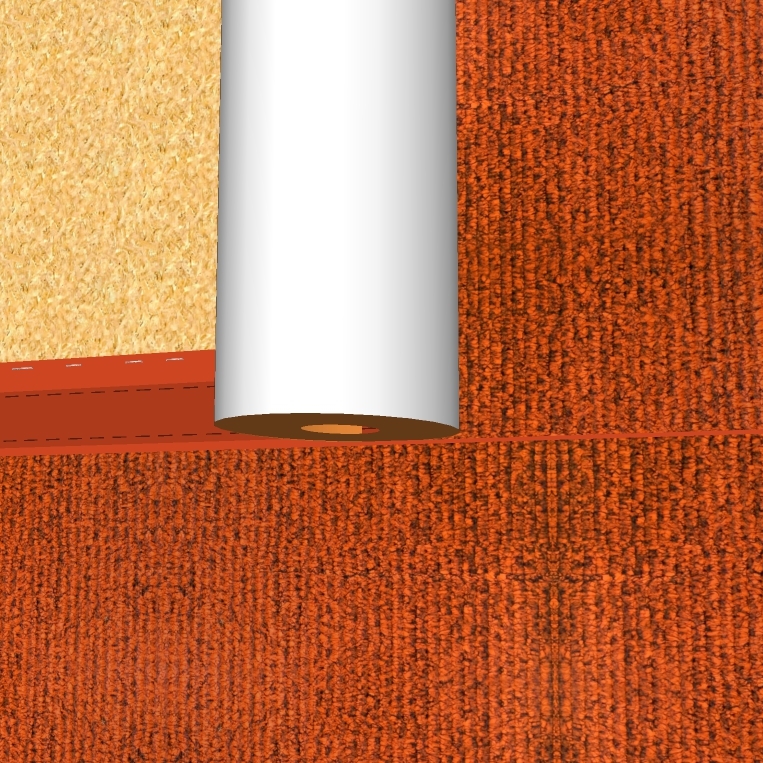
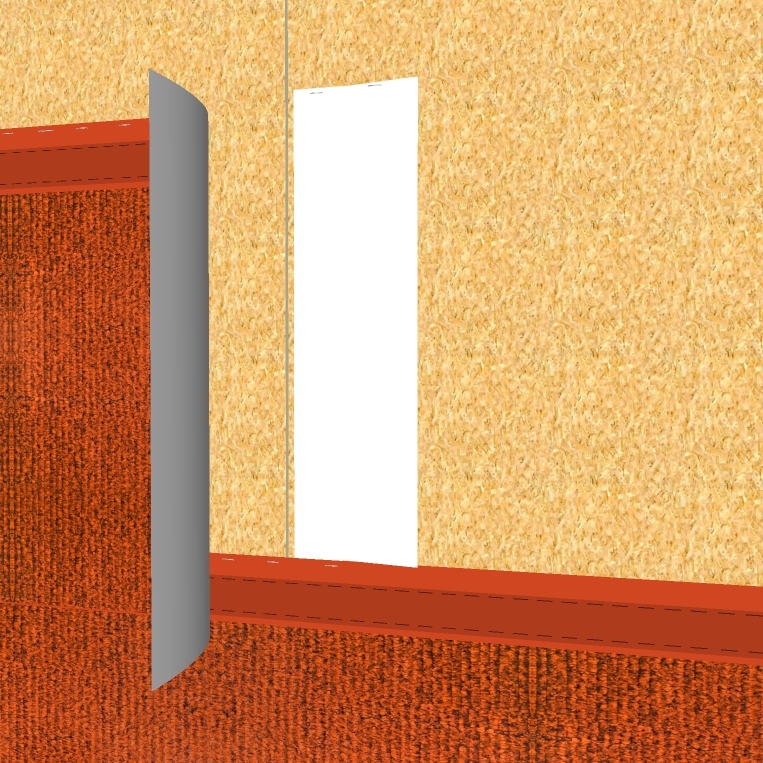
- Staple 11 ¾” WrapFlashing SA Self-Adhered (white side out) centered behind vertical joint location.
- Lap over lower course, half way onto tape joint (approx. 3.5”, 89 mm).
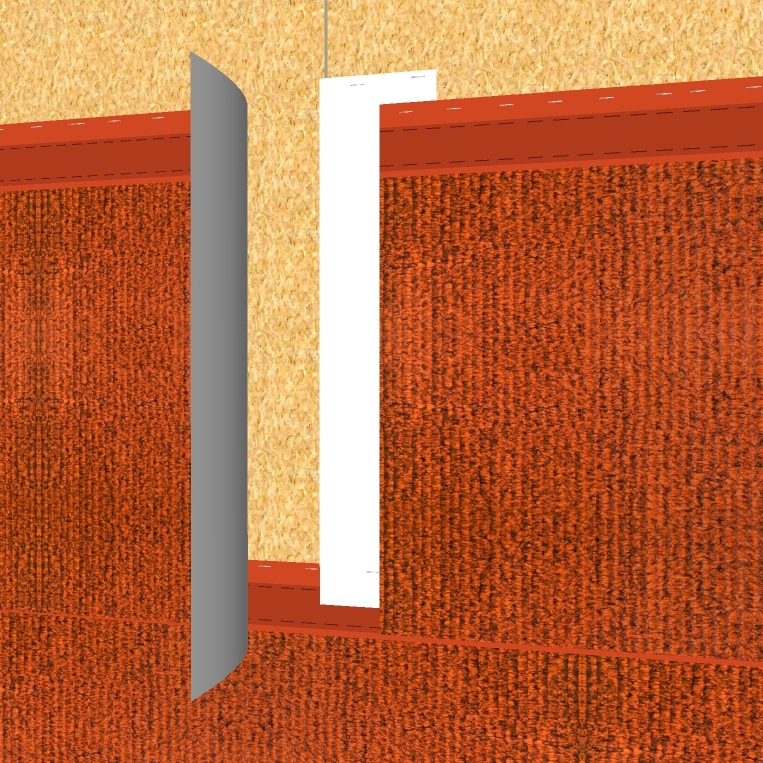
- Place butted joint of WrapShield RS at the middle of the WrapFlashing SA, see illustration to right.
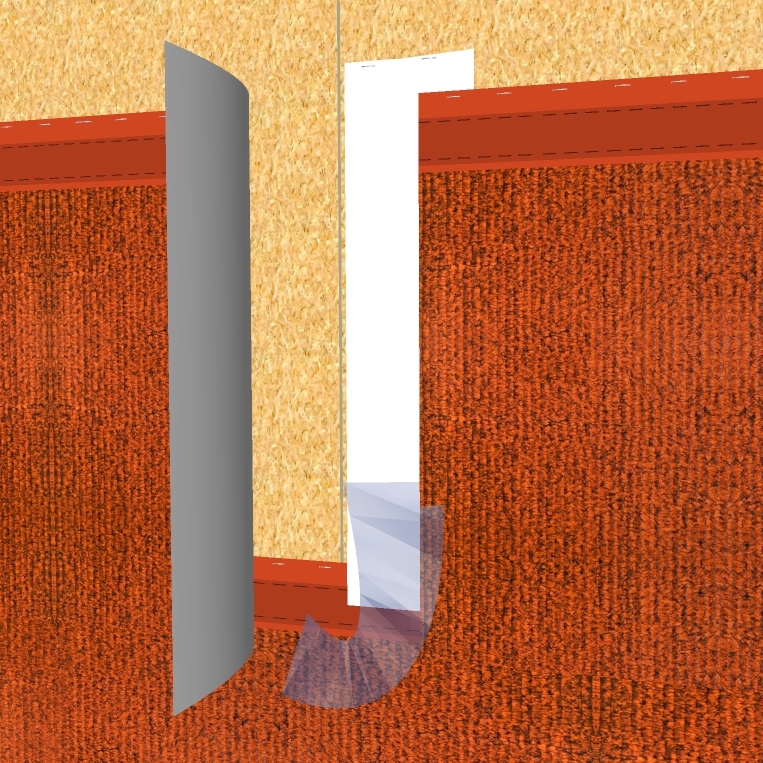
- Remove the release film from WrapFlashing SA, see illustration to right.
- Note: WrapFlashing, mechanically attached may be used in lieu of WrapFlashing SA, with a 3/8” bead of VaproBond adhesive sealant, blind sealing behind each flap.
- See below for illustrations and step-by-step instructions.
Substrate Information
WrapShield RS Rain Screen can be installed over multiple substrates including: Plywood, OSB and Rigid Insulation.
NOTE: For Exterior Gypsum Sheathing or Concrete Substrates, VaproShield recommends installing WrapShield SA Self-Adhered and adding VaproMat™ 3mm or 7mm depth. Please see WrapShield SA Self-Adhered and VaproMat pages for more information.
WrapShield RS Rain Screen is not recommended for open joint rain screen applications. Refer RevealShield IT Integrated Tape and RevealShield SA Self-Adhered pages for appropriate open joint membranes.
WrapShield RS Rain Screen can be installed over wet substrates to limit further water intrusion and to allow the substrate to dry during the construction period, provided the following procedures are implemented:
- The roof of the structure must be completely dried-in by either temporary measures or permanent installation, in order to prevent water intrusion throughout the remainder of construction.
- Window and door rough openings should be protected against water intrusion by temporary or permanent measures throughout the remainder of construction.
- Proper means and methods of drying the entire structure sufficiently prior to closing up the building enclosure is the responsibility of the General Contractor.
Fastening Guidelines For Plywood and OSB Substrates:
Use stainless steel staples ONLY in the top 2” above the horizontal integrated tape to adhere material to sheathing substrate. This area will be covered by the next course of WrapShield RS Rain Screen material.
Exposed fasteners should be avoided, if needed, use gasketed nails or gasketed wafer head screws as shown below. Do not use VaproCaps.
Cladding attachment components are to be considered as part of the permanent overall attachment requirements.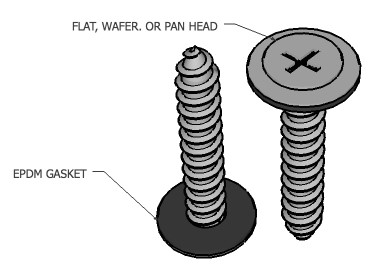
Quantity and placement of recommended fasteners will vary depending on the following factors and are the responsibility of the installer:
- Length of time the installed WrapShield RS membrane will be exposed prior to cladding material installation
- Spacing between the cladding attachments (i.e. 16”, 24”, 32” o.c., etc.)
- Type and material chosen for exterior cladding
- Local weather conditions, taking forecasted wind events into consideration.
DO NOT place fasteners in the integrated tape overlap area PRIOR to removing the release papers and sealing. Fasteners placed in the tape area can tear the release paper during removal, resulting in a poor seal. Fasteners should be placed in the overlap area only after the release papers have been removed and the horizontal joint is sealed.
Contact VaproShield Technical Team if you have additional questions.
Best Practice Installation Sequence for WrapShield RS Rain Screen
 |
|
| 1. Flash all window and door rough openings with Vapro-Liqui-Flash and WrapFlashing prior to WrapShield RS Rain Screen field material installation. Refer to the following documents: - VaproLiqui-Flash Installation Instructions and Details - WrapShield RS Window to Wall Interface Detail |
|
 |
 |
| 2. At the base of the wall, begin installation with SS staples in the top 2” above the tape. Snap a line for guidance. Do not staple in the tape area. | 3. Line up the bottom of the upper course of material with the dotted line, creating a 6” overlap, progressing in a shingle fashion up the wall. |
 |
 |
| 4. Staple 11 3⁄4” Vapro-Flashing SA Self-Adhered, centered behind vertical joint location, with white adhesive side out. Lap over lower course, halfway onto tape joint [approx. 3.5”], as shown. Place butted joint at middle of WrapFlashing SA Self-Adhered. | 5. Remove release film of WrapFlashing SA Self- Adhered. Note: mechanically attached WrapFlashing may be used in lieu of WrapFlashing SA, with a 3/8” bead of VaproBond adhesive sealant, blind sealing behind each flap. |
 |
 |
| 6. Install WrapShield RS abutting piece with joint centered on WrapFlashing SA. Use hand pressure to engage the pressure sensitive adhesive. | 7. Lay original flap of WrapShield RS onto adhesive area of WrapFlashing SA to complete the joint. Place min. 2 staples in top 2” of each flap above tape line. |
 |
 |
| 8. Carefully begin removing release film behind the horizontal lap, where the face of the lower and back of the upper course of material meet. | 9. Line up both release papers together so they can be pulled down the wall with one hand. |
 |
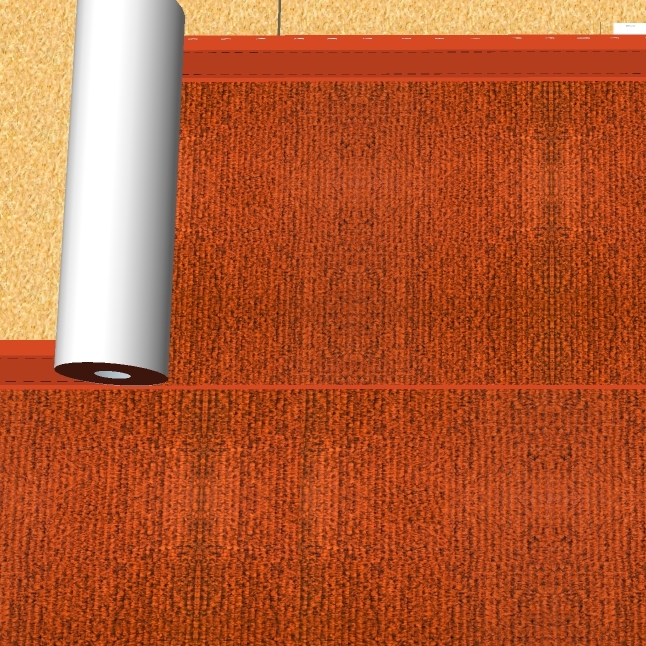 |
| 10. Use the opposite hand to apply hand pressure, engaging the contact adhesive. | 11. Secure material to substrate using only recommended gasketed fasteners in the field area of WrapShield RS, as previously noted in this document. Continue up the wall in shingle fashion. Repeat as needed. |