
Installation Instructions (PDF)
Tools and Accessories
 |
 |
 |
 |
 |
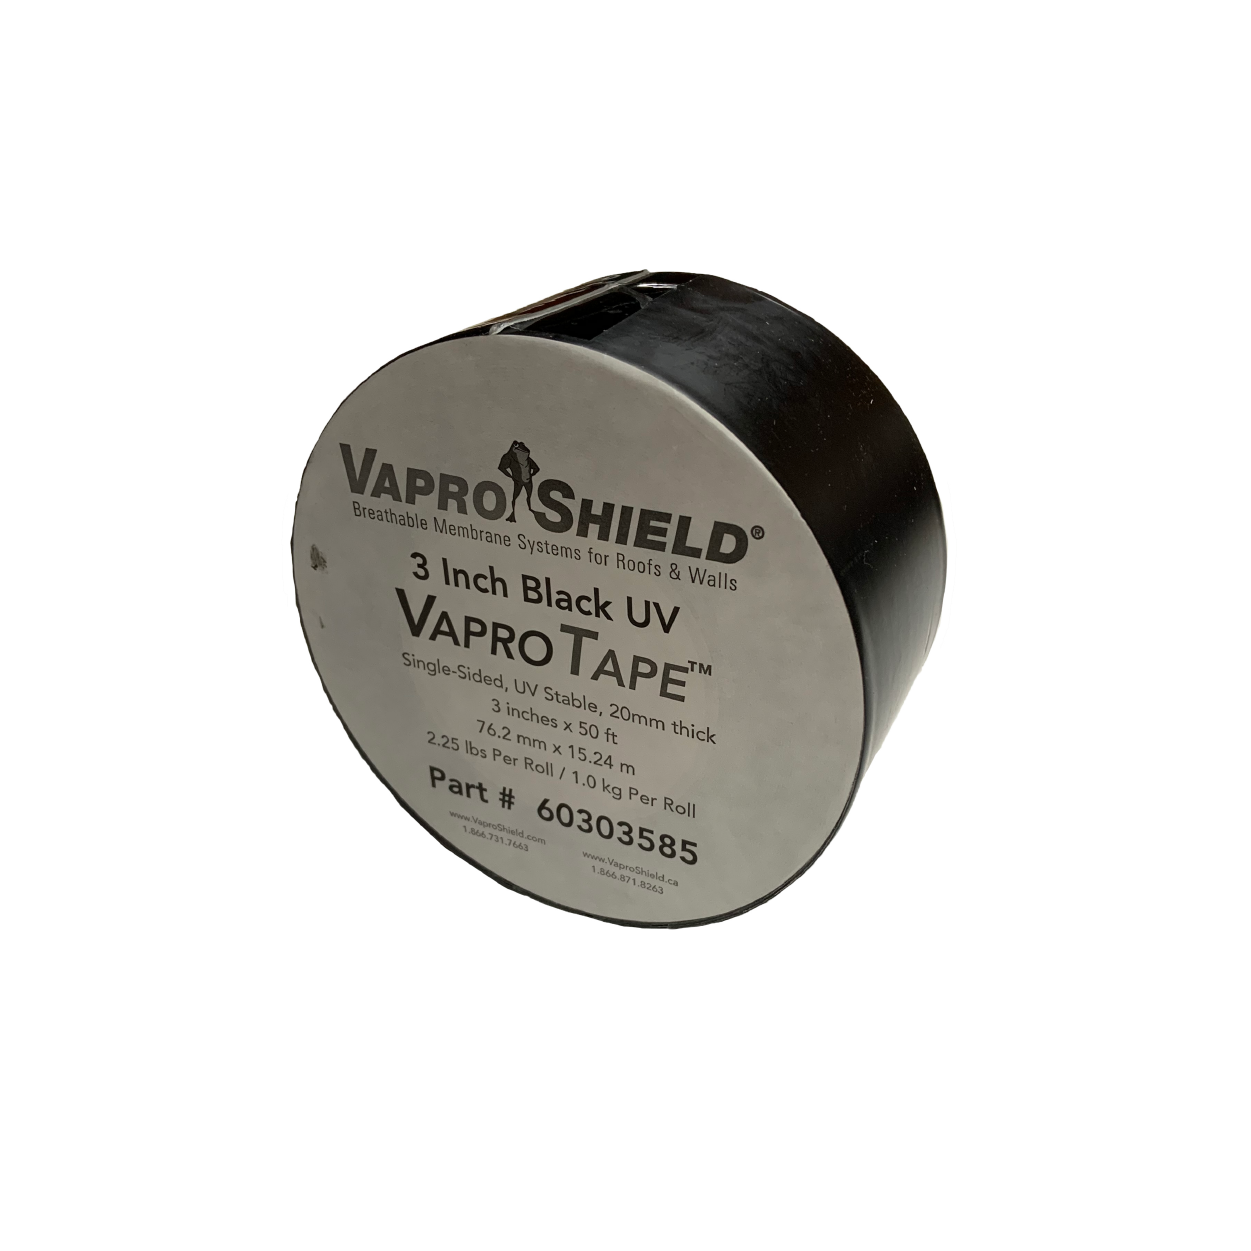 |
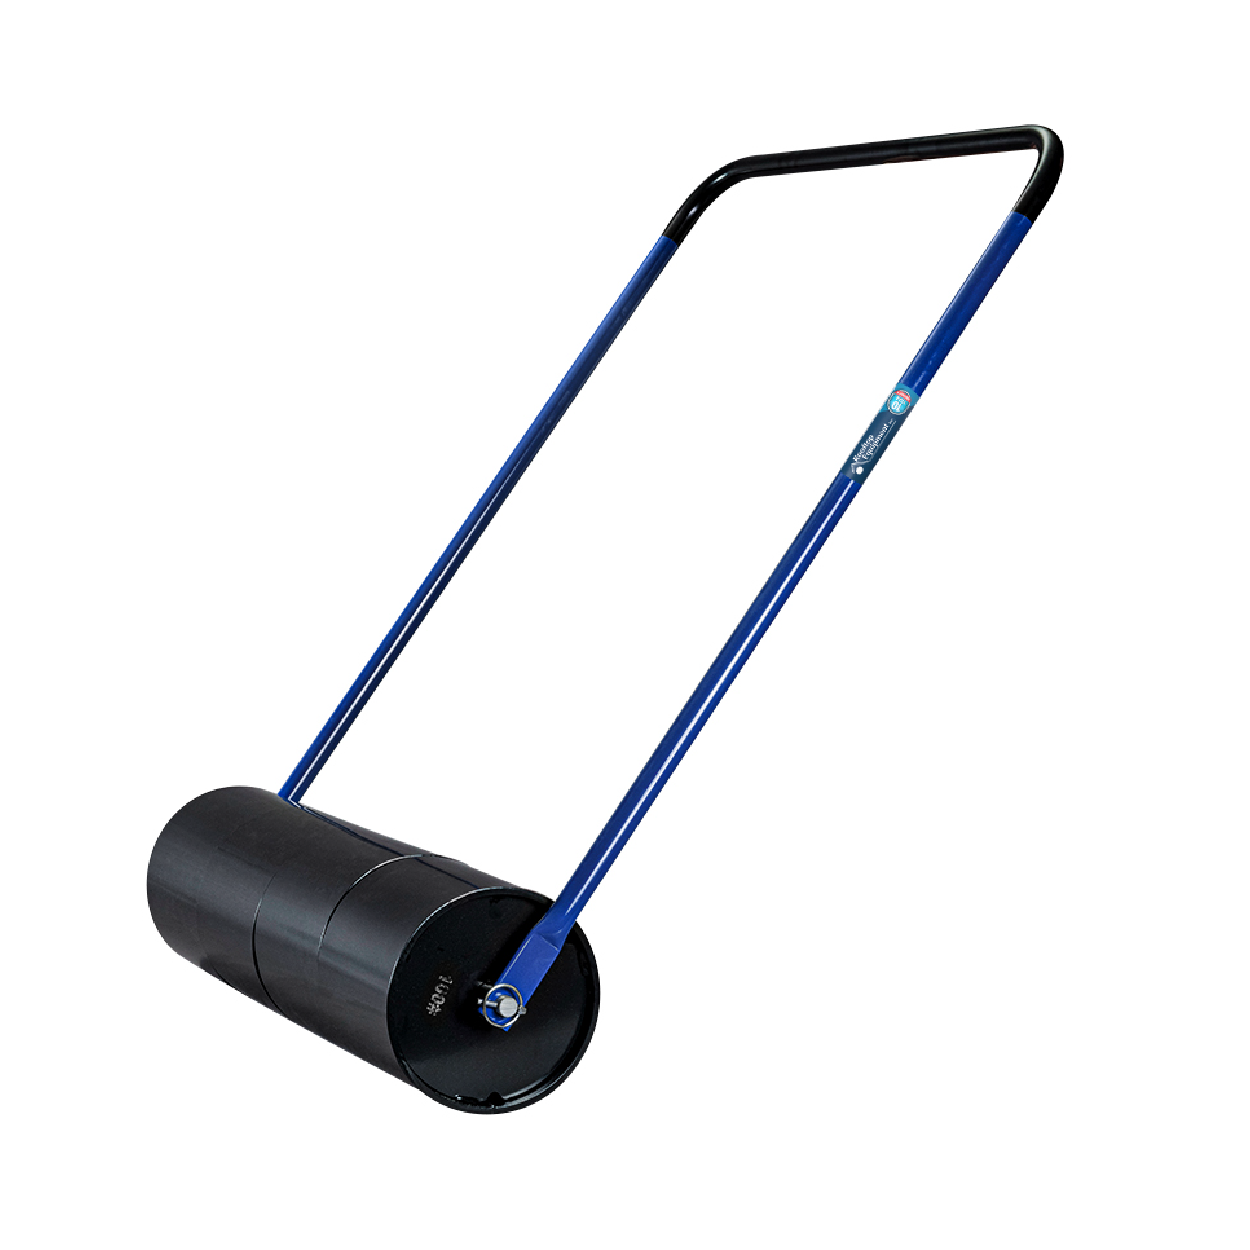
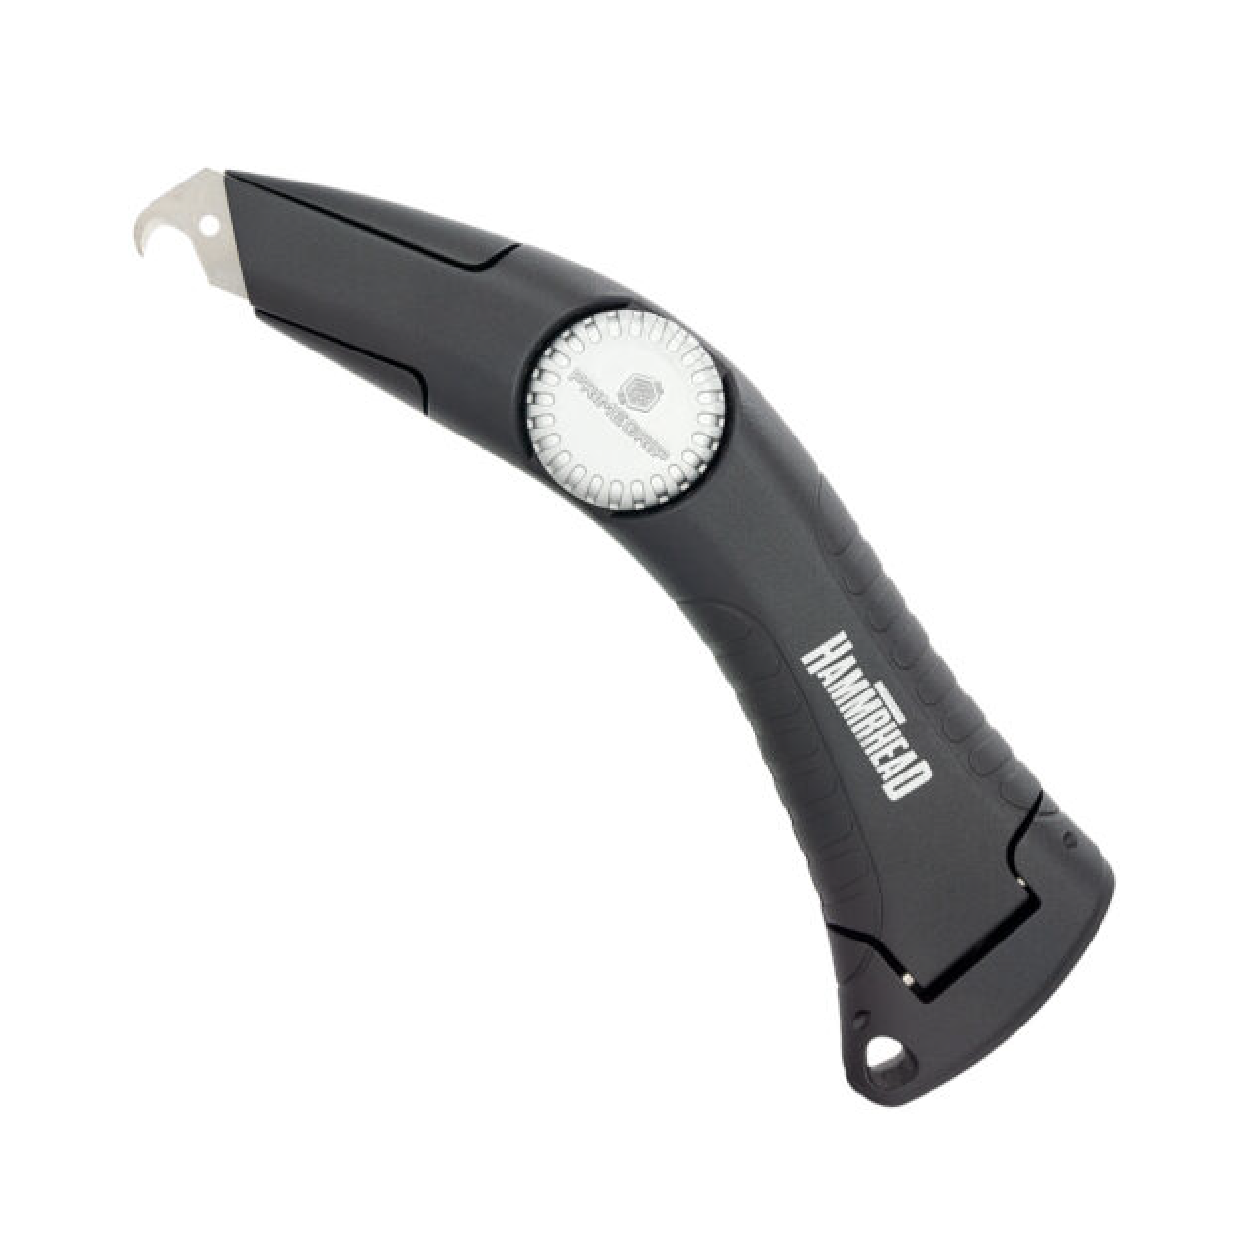
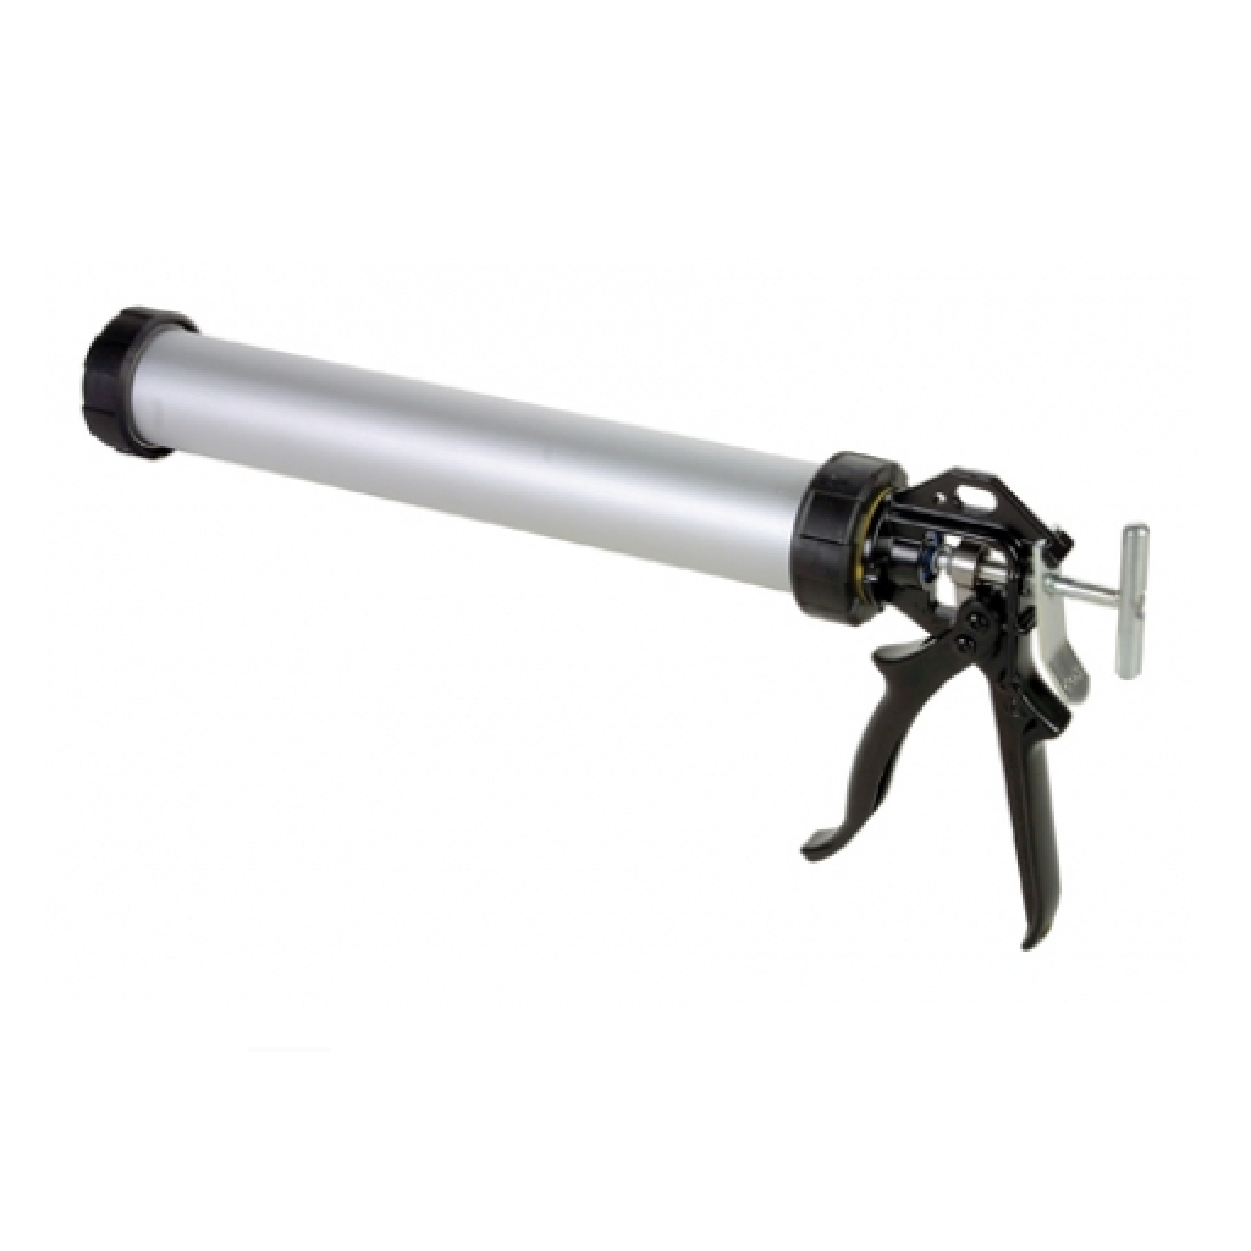
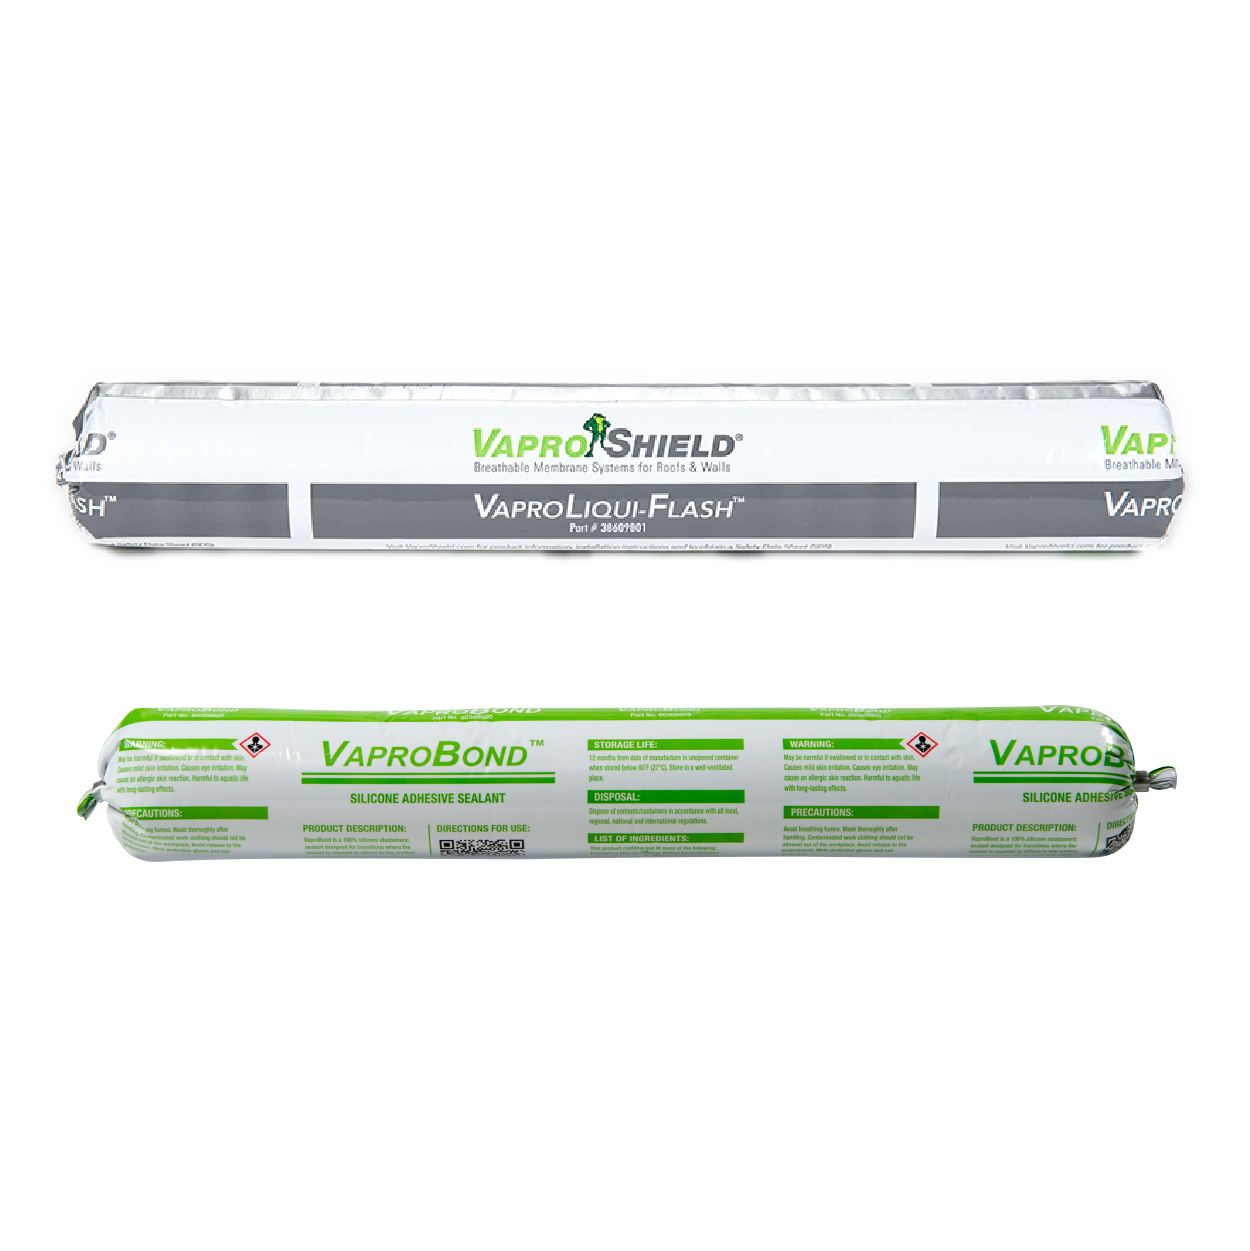
| Weighted Roller min 70lbs (linoleum or steel) | Roofers knife | Gloves | Sausage Gun | Flashing Accessories | VaproTape |
Compatible Substrates
|
|
Delivery, Packaging And Storage
- Store materials in original packaging at temperautres between 40°F and 120°F (4°C - 49°C).
- Protect materials from direct sunlight and inclement weather until ready for use.
Substrate Preparation
- Ensure the substrate is clean, dry and free from dust, dirt, and debris.
- Steel surfaces must be clear of any oil residue and moisture.
- Ensure substrate fasteners are flush with surface and fastened into solid backing.
- Ensure newly poured concrete surfaces must be finished by forming, wood float, steel or power trowel, or broom finished to meet a CSP of 2-4, in accordance with the IRCI Technical Guideline No. 310.2R-2013.
| Do's | Don't's |
|
|
*Contact VaproShield Technical
Safety
- Persons who access any roofs, involved with roof construction, repair or maintenance shall use appropriate personal protective equipment including, but not limited to, hard hats, eye protection, and leather gloves and must be trained on safe practices relevant to their work.
- Where the use of ladders, scaffolds, platforms, or temporary floors are utilized, safety lines and safety harnesses shall be used. Please access the OSHA Web site at www.osha.gov, contact your local OSHA office, or visit the local federal bookstore to obtain the most current information on OSHA 29 CFR 1926.
- Caution: Release liners are slippery. To prevent injury, liner should be removed from under foot as soon as membrane is installed and disposed of properly.
Technical Guidelines
 |
 |
|
IMPORTANT INSTALLATION NOTE EXPOSURE TIME |
LOW LYING AREAS, DRAINS Note: VaproLiqui-Flash (min. 30 wet mil.) can be used as an alternative to VaproTape for sealing seams in damp environments. Refer to VaproLiqui-Flash installation instructions. |
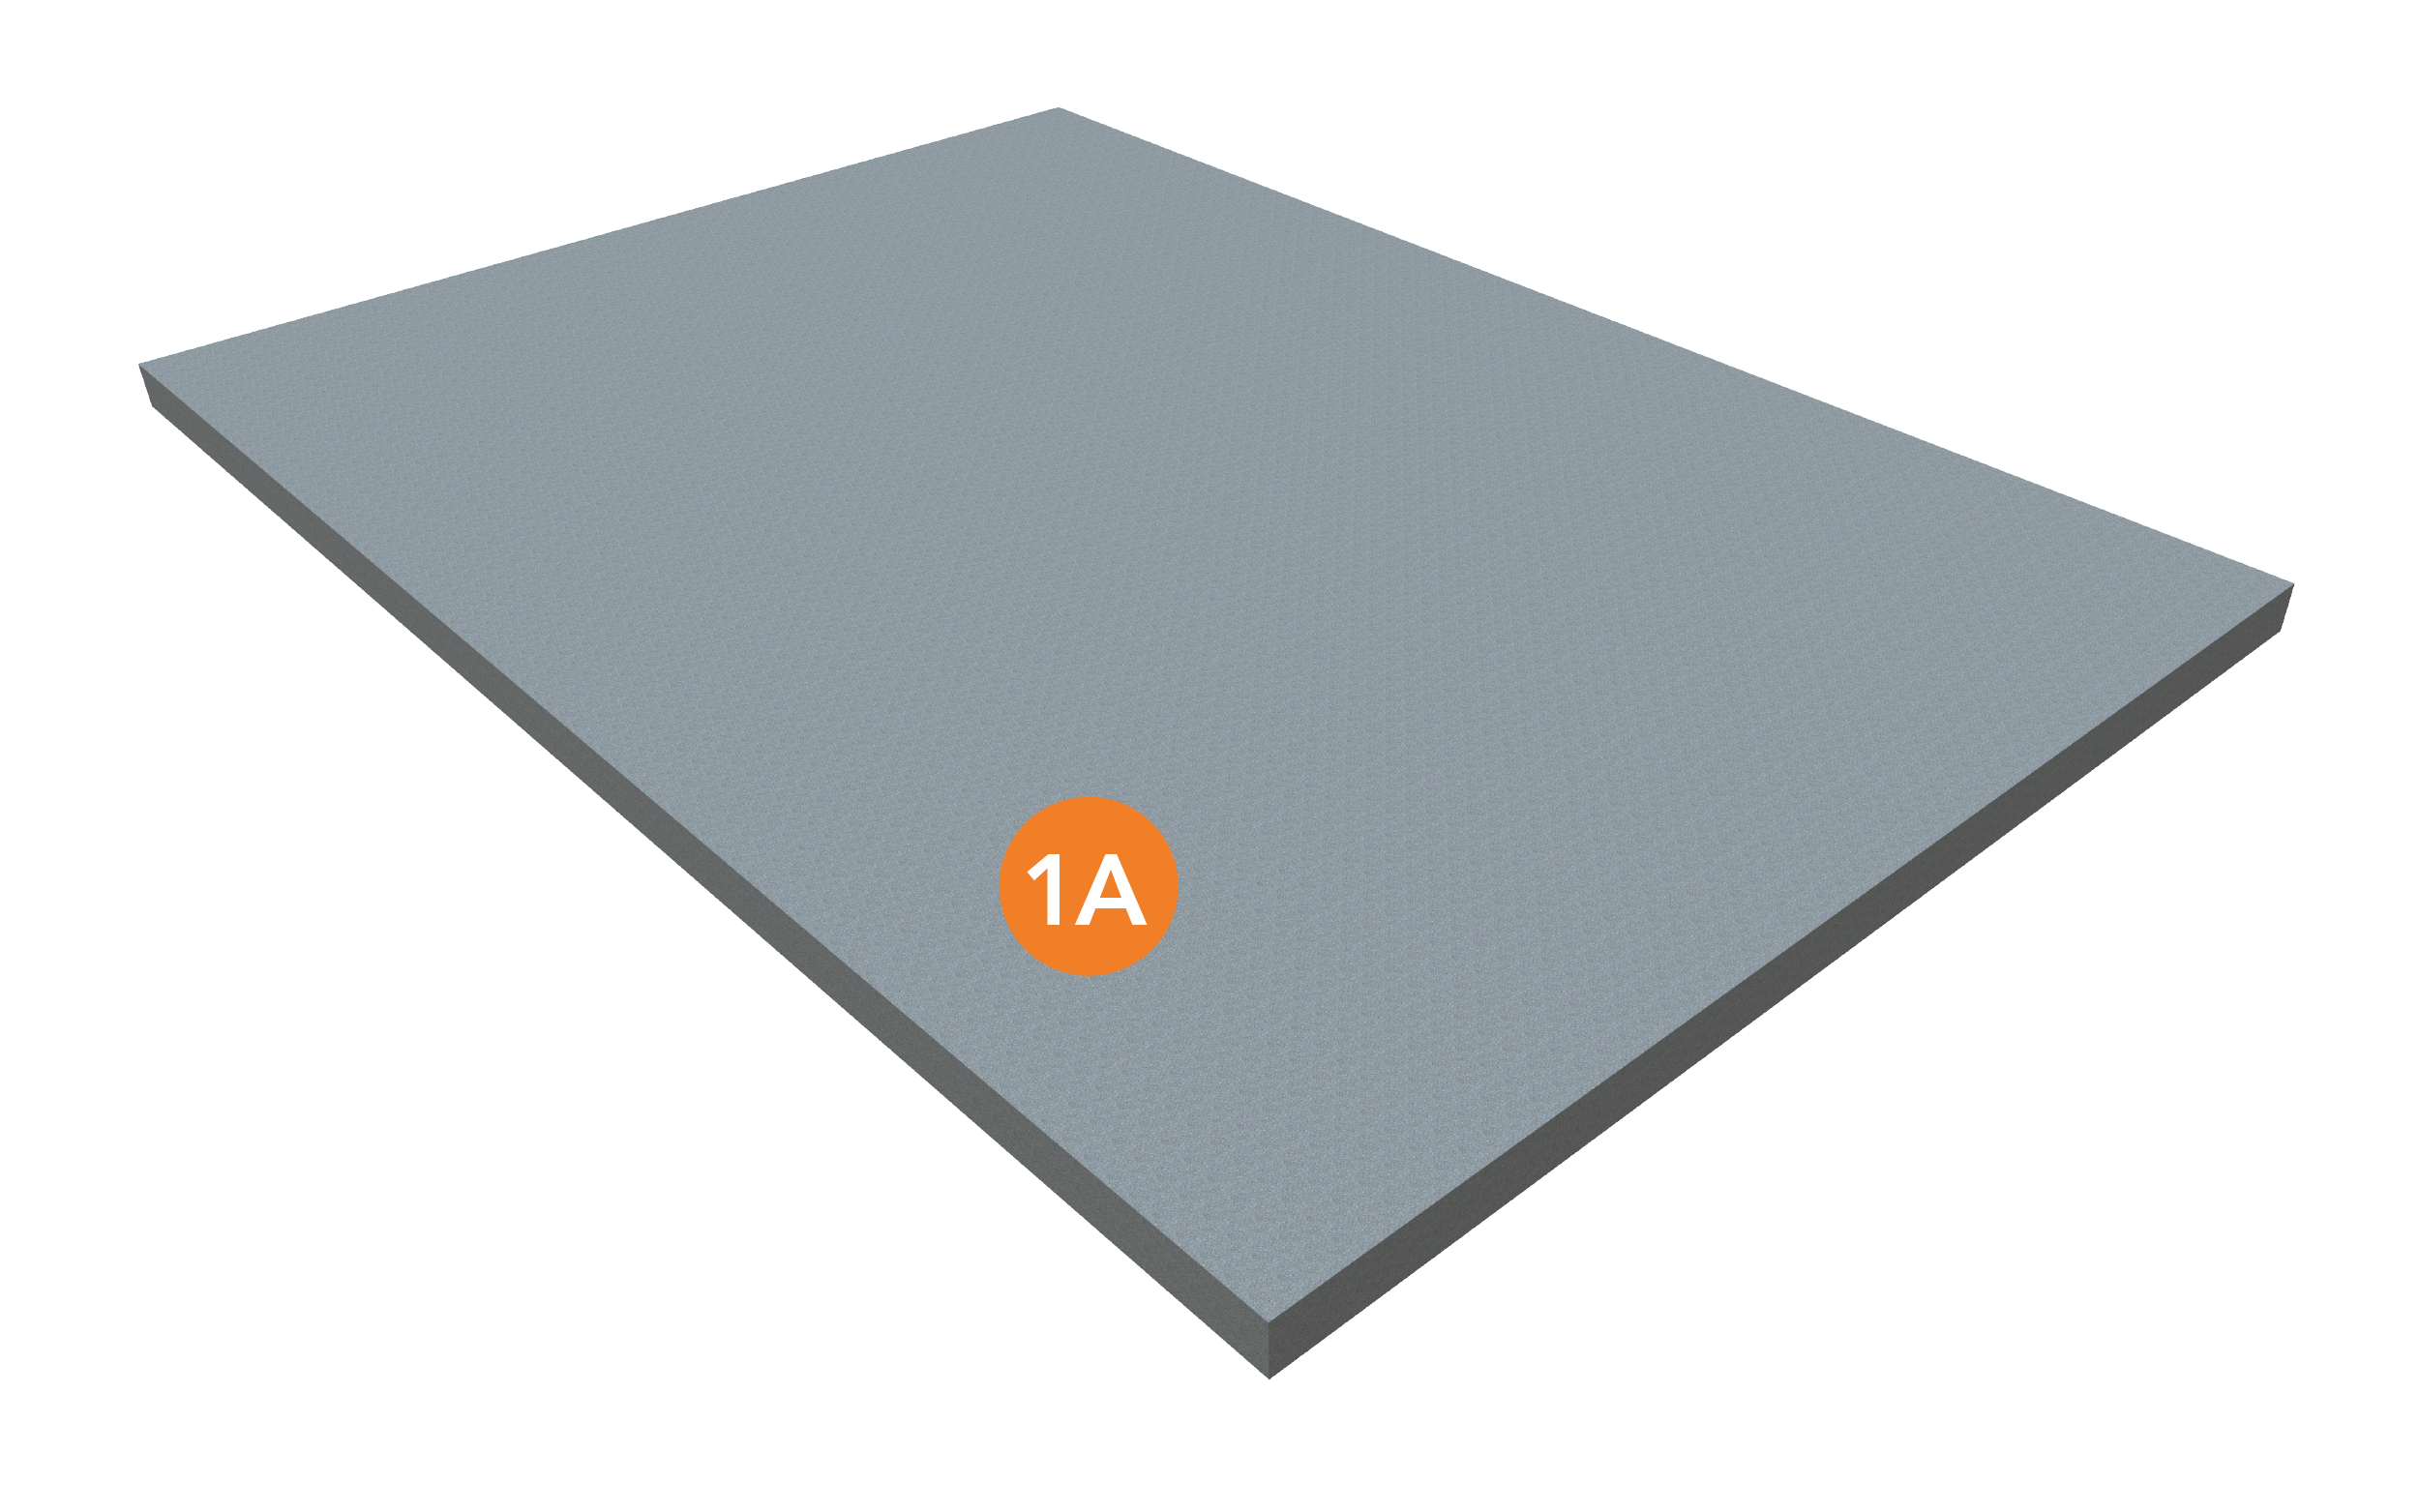
Standard Installation Instructions: Insulation and Coverboard Substrates (Wood, Gypsum, Lightweight Concrete)
 |
 |
|
Step 1 |
Step 2 |
CAUTION: Release liners are slippery. To prevent injury, liner should be removed from under foot as soon as membrane is installed and disposed of properly.
 |
STEP 3 |
Standard Installation Practice: Steel Deck
|
|
 |
|
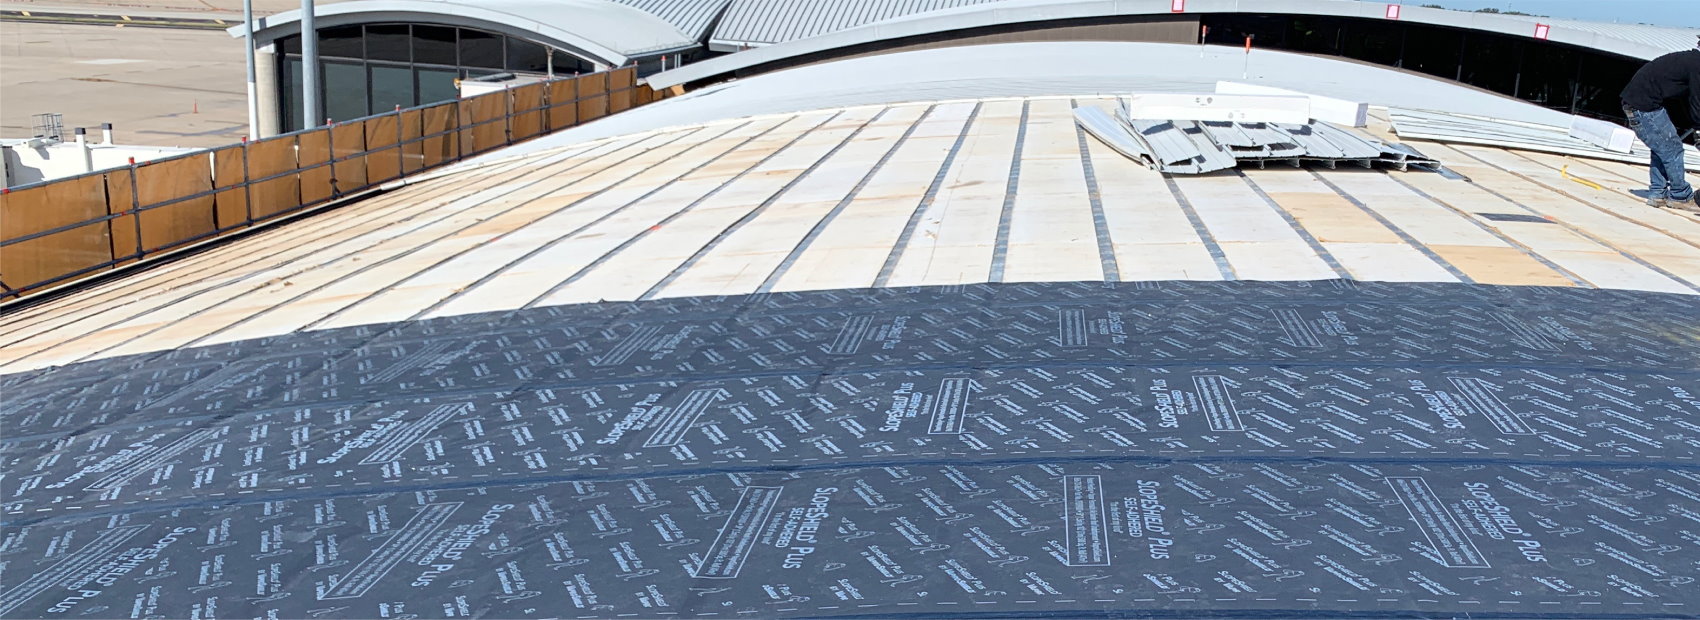
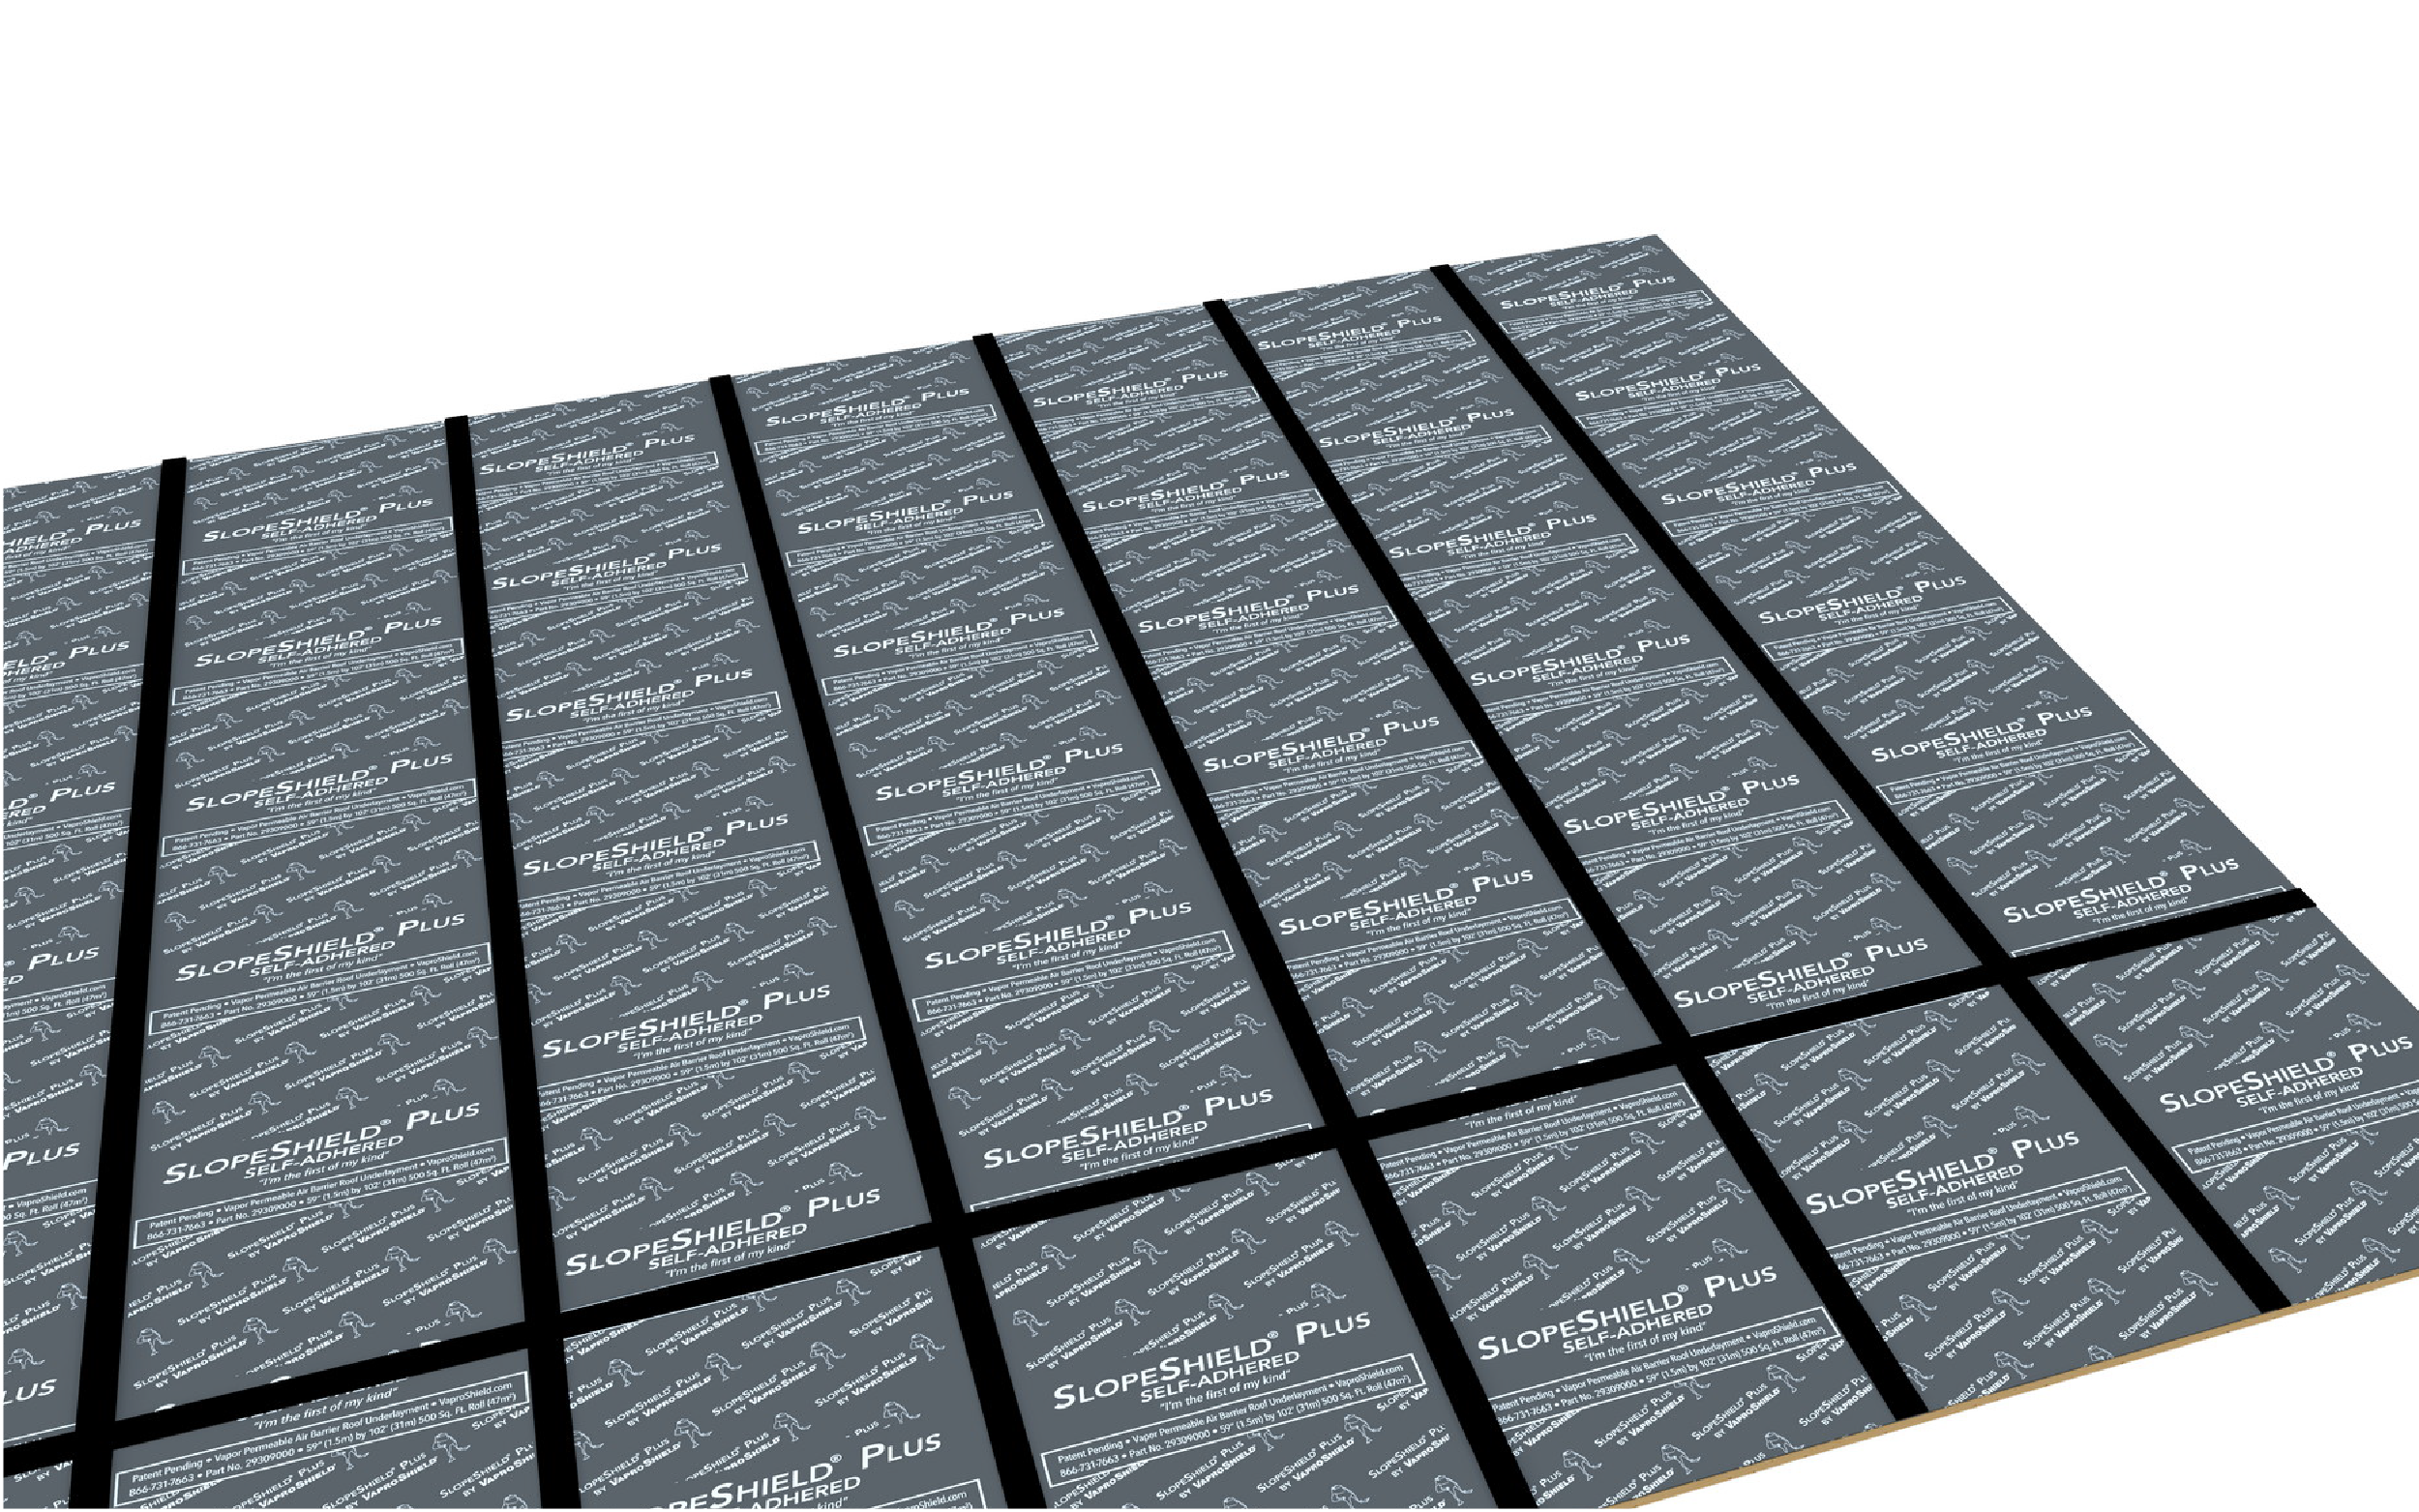
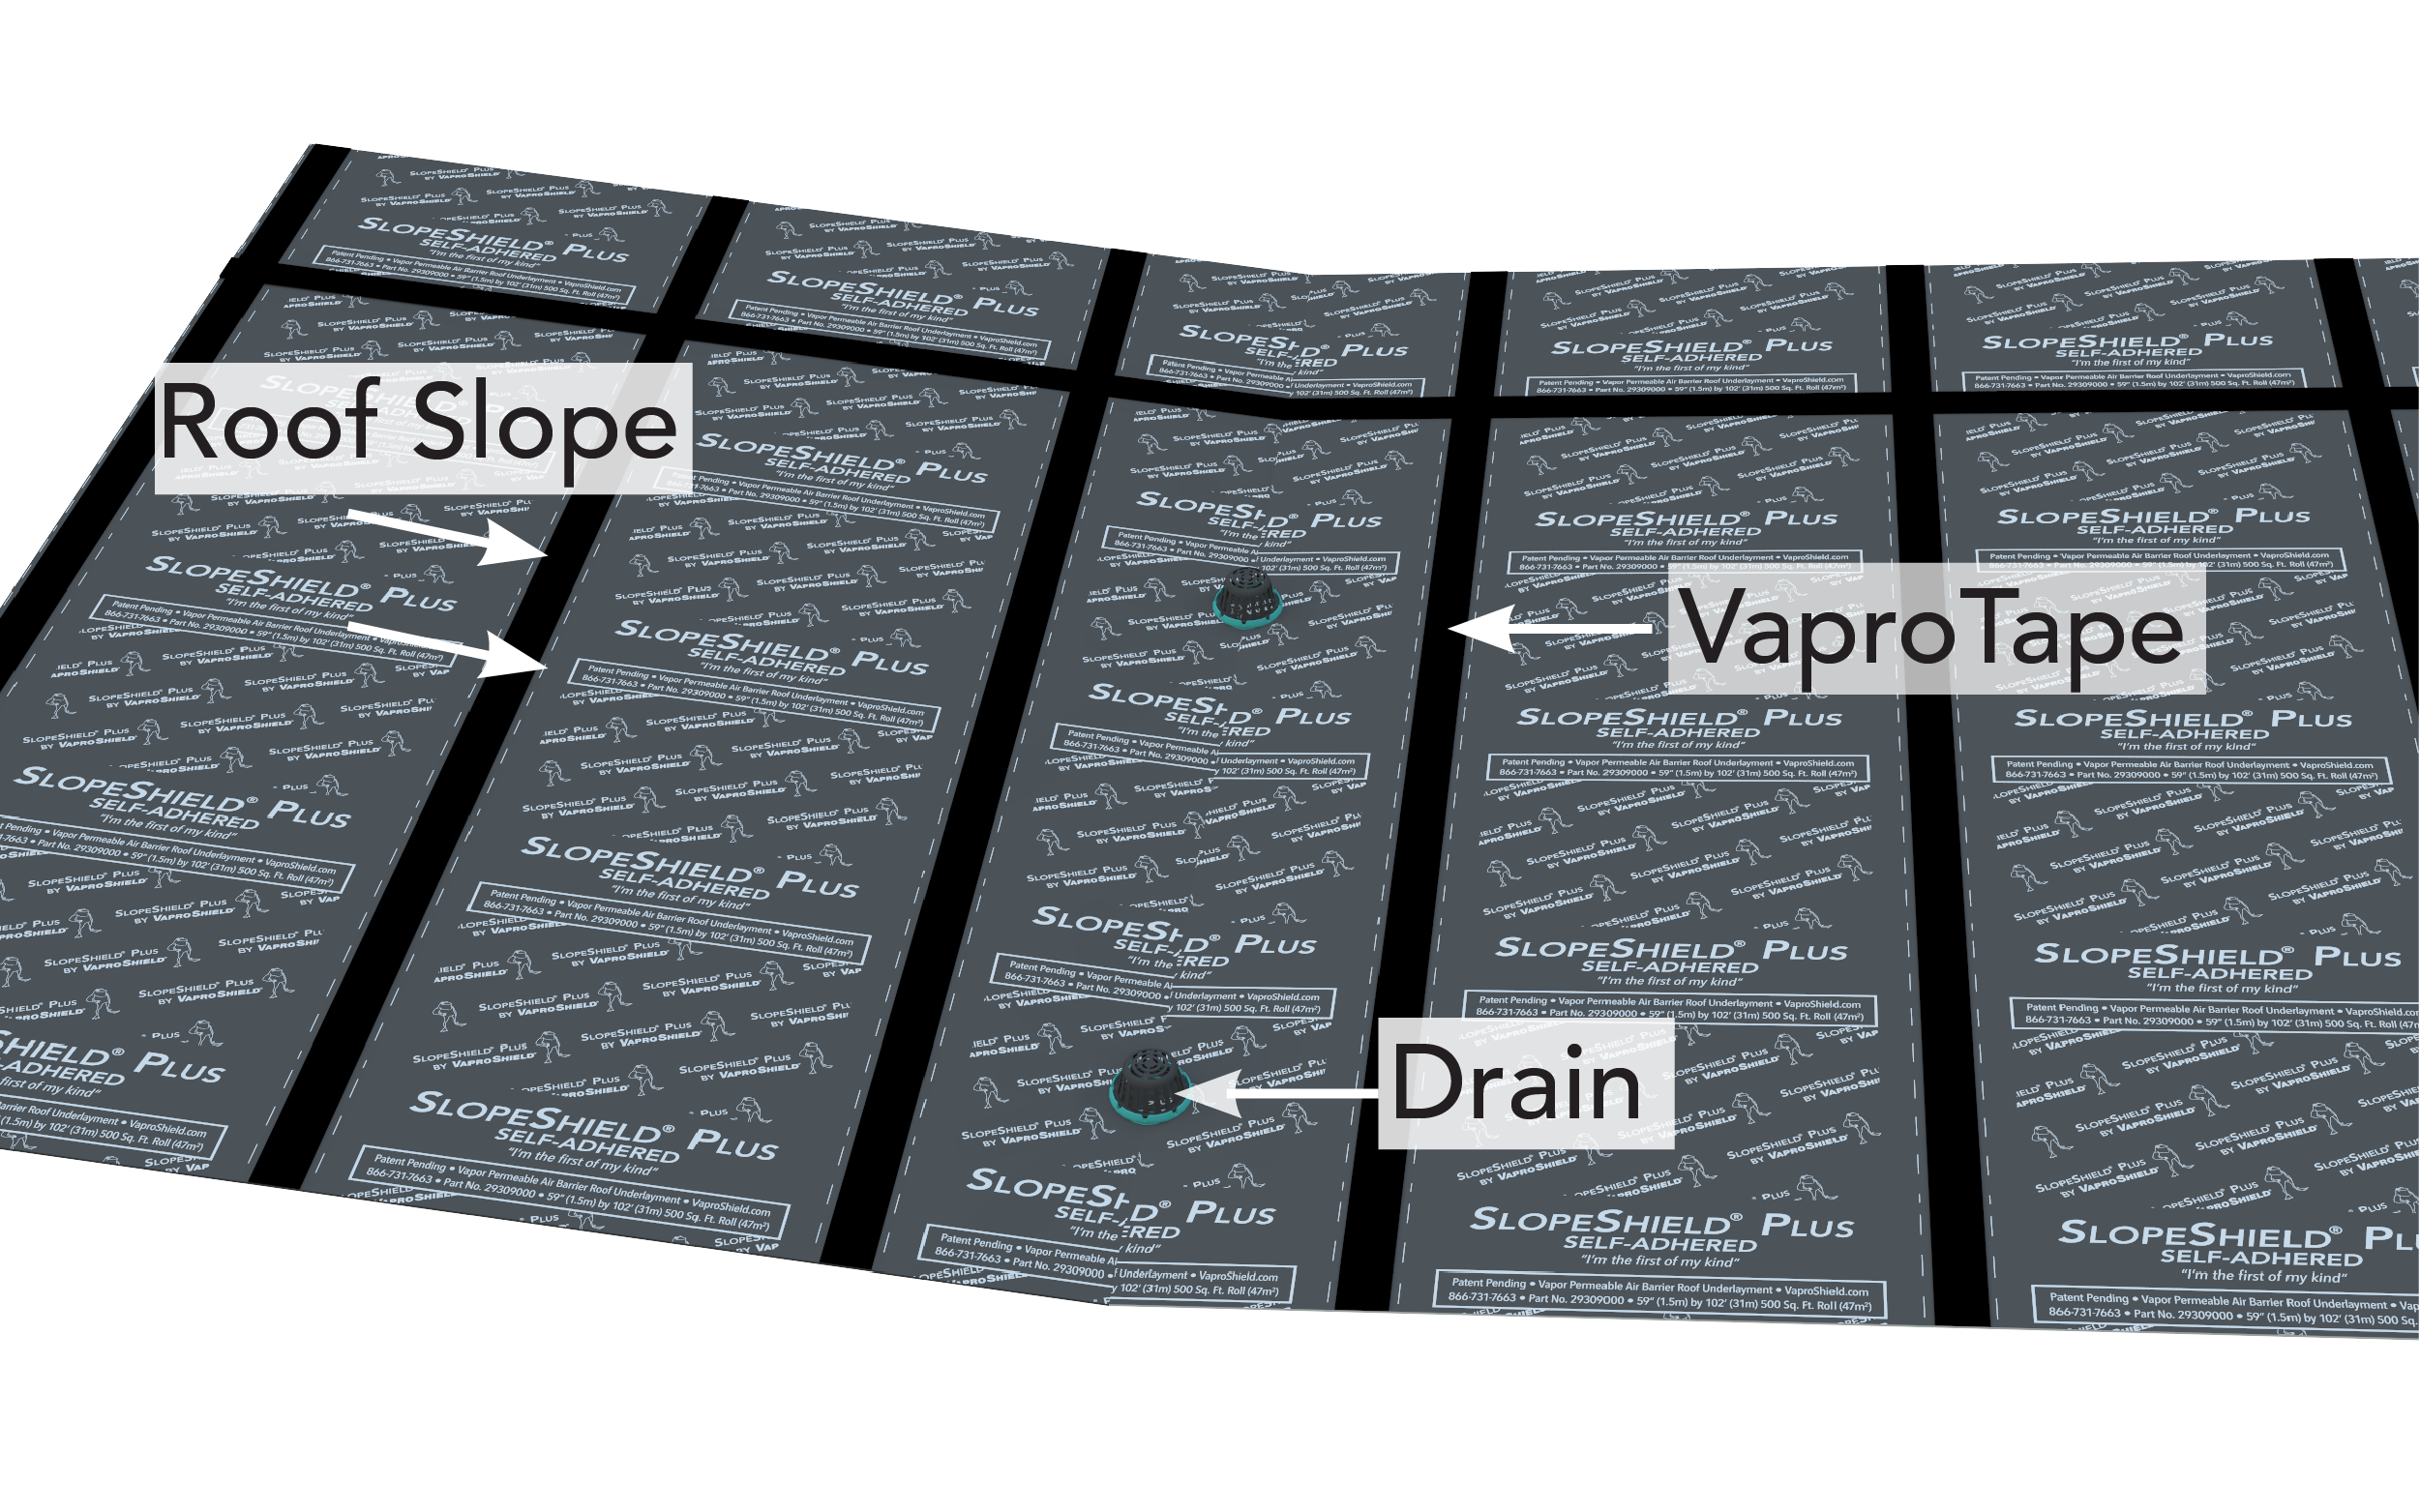
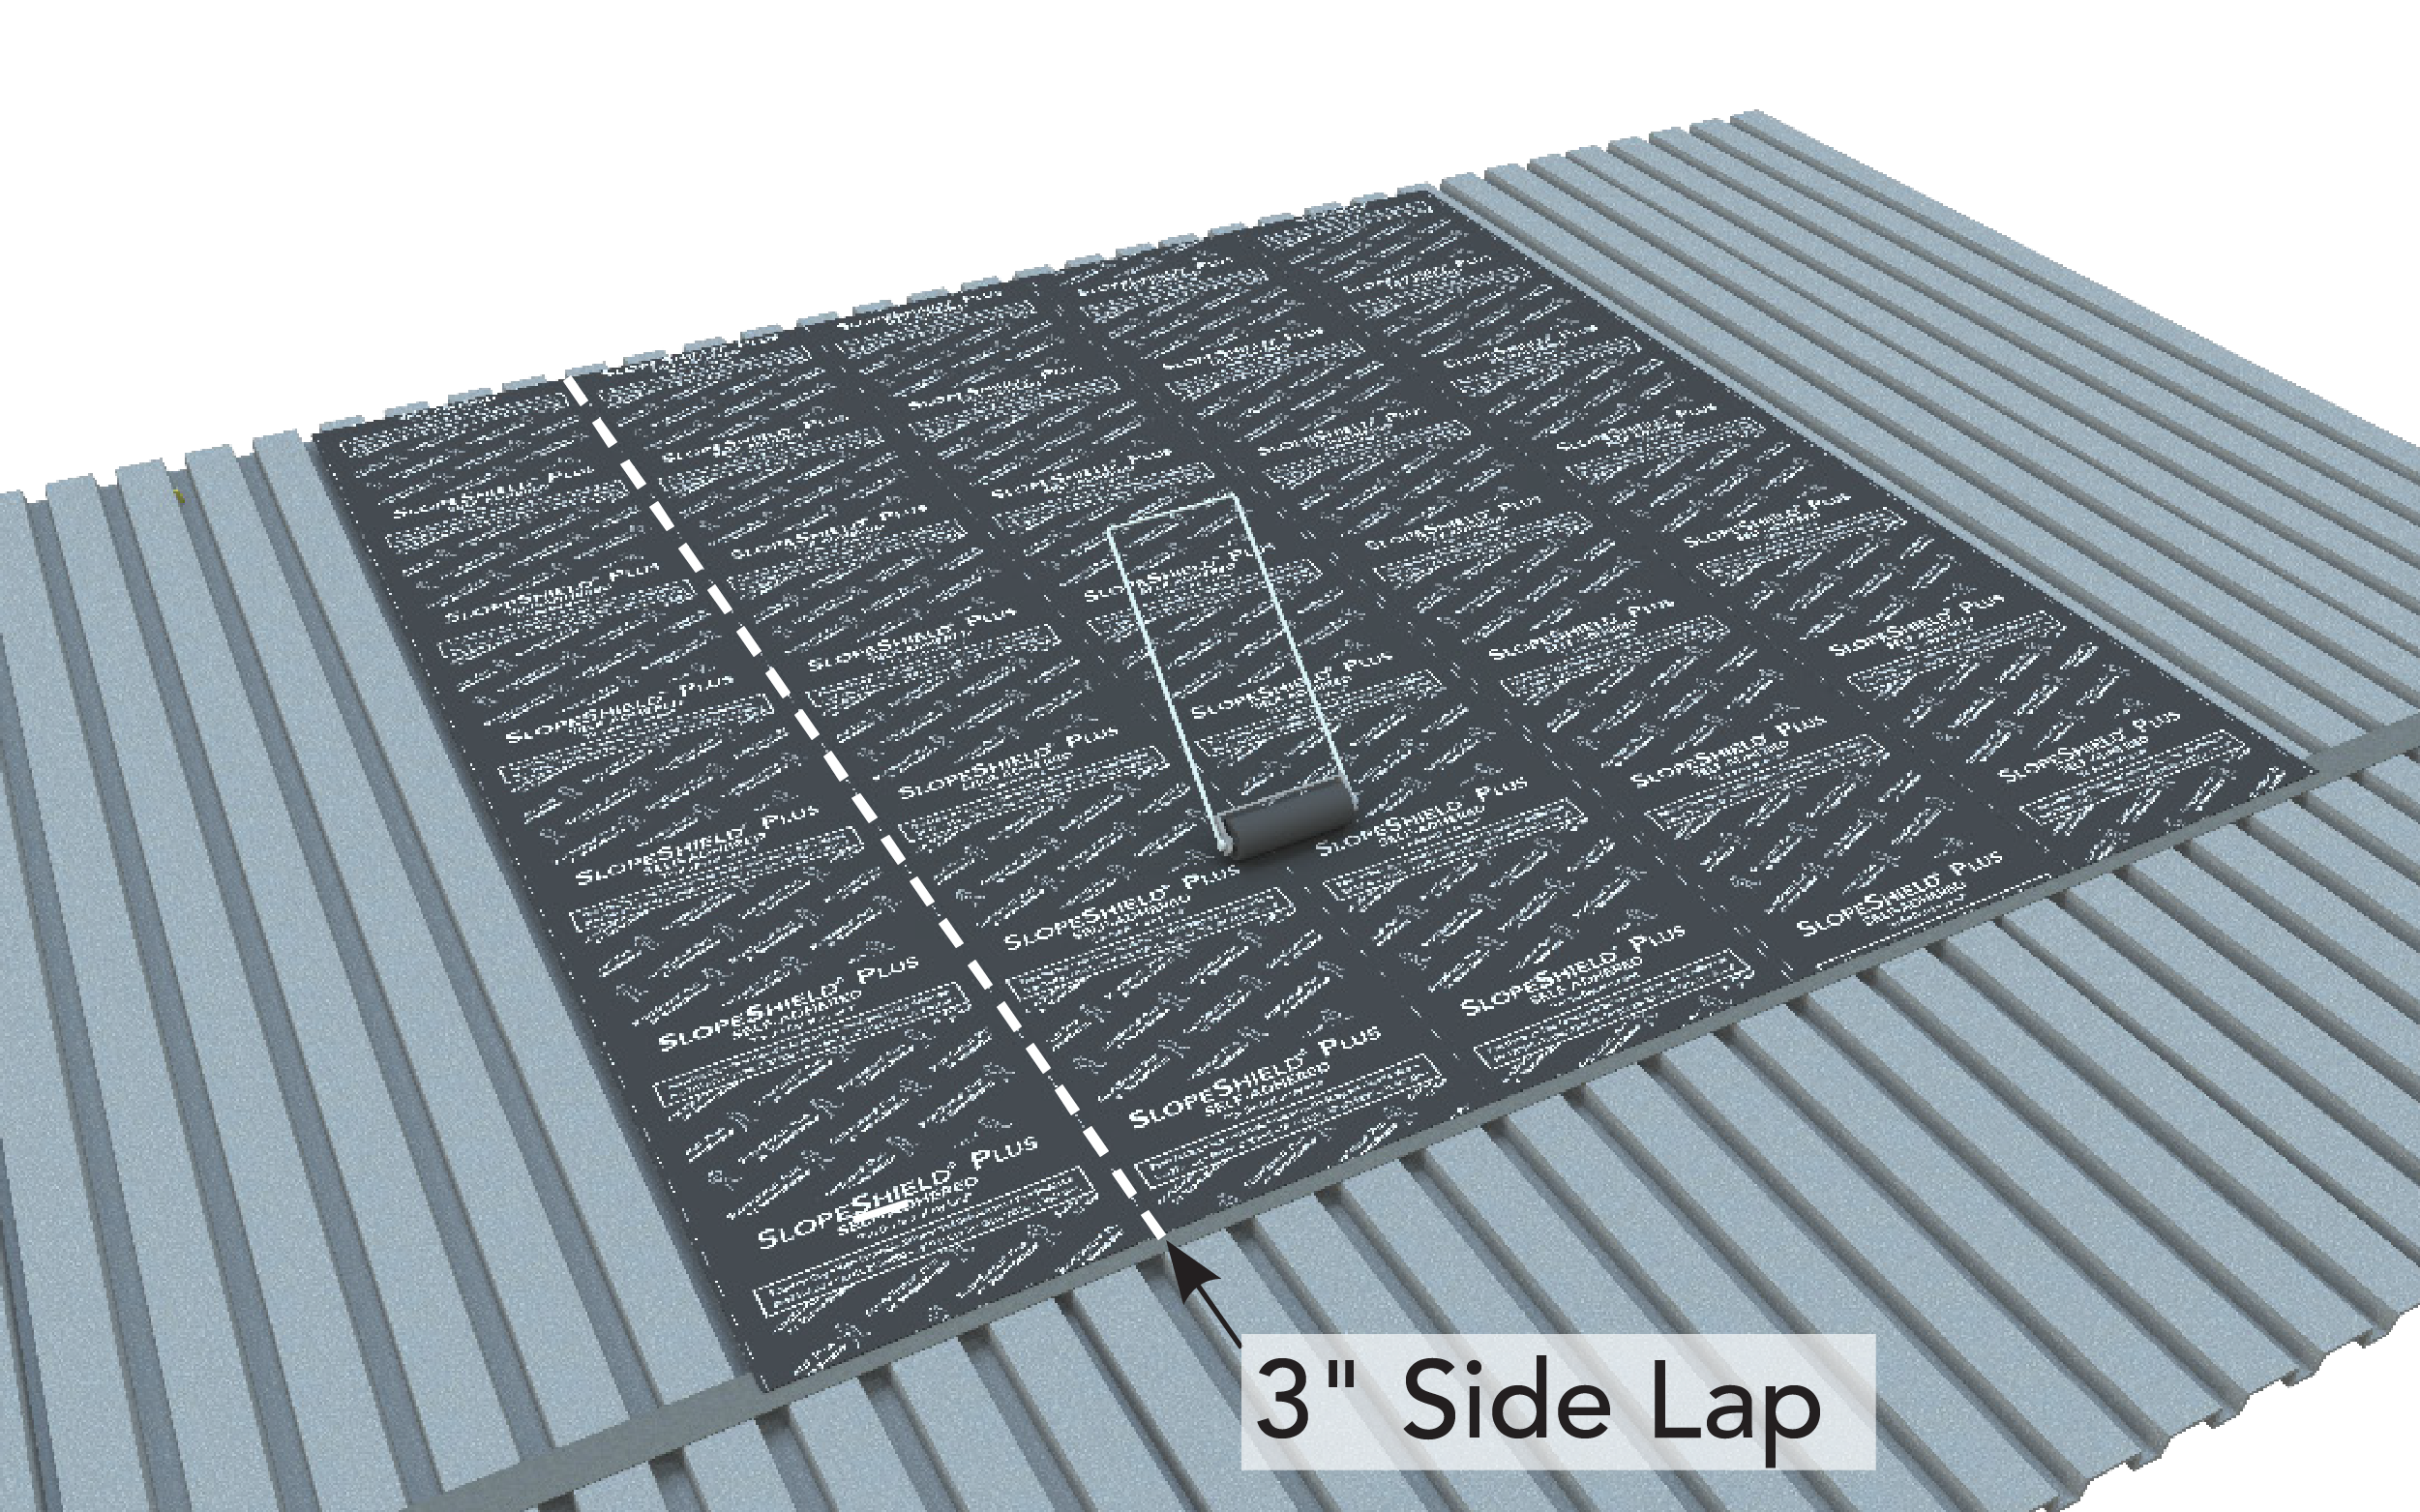
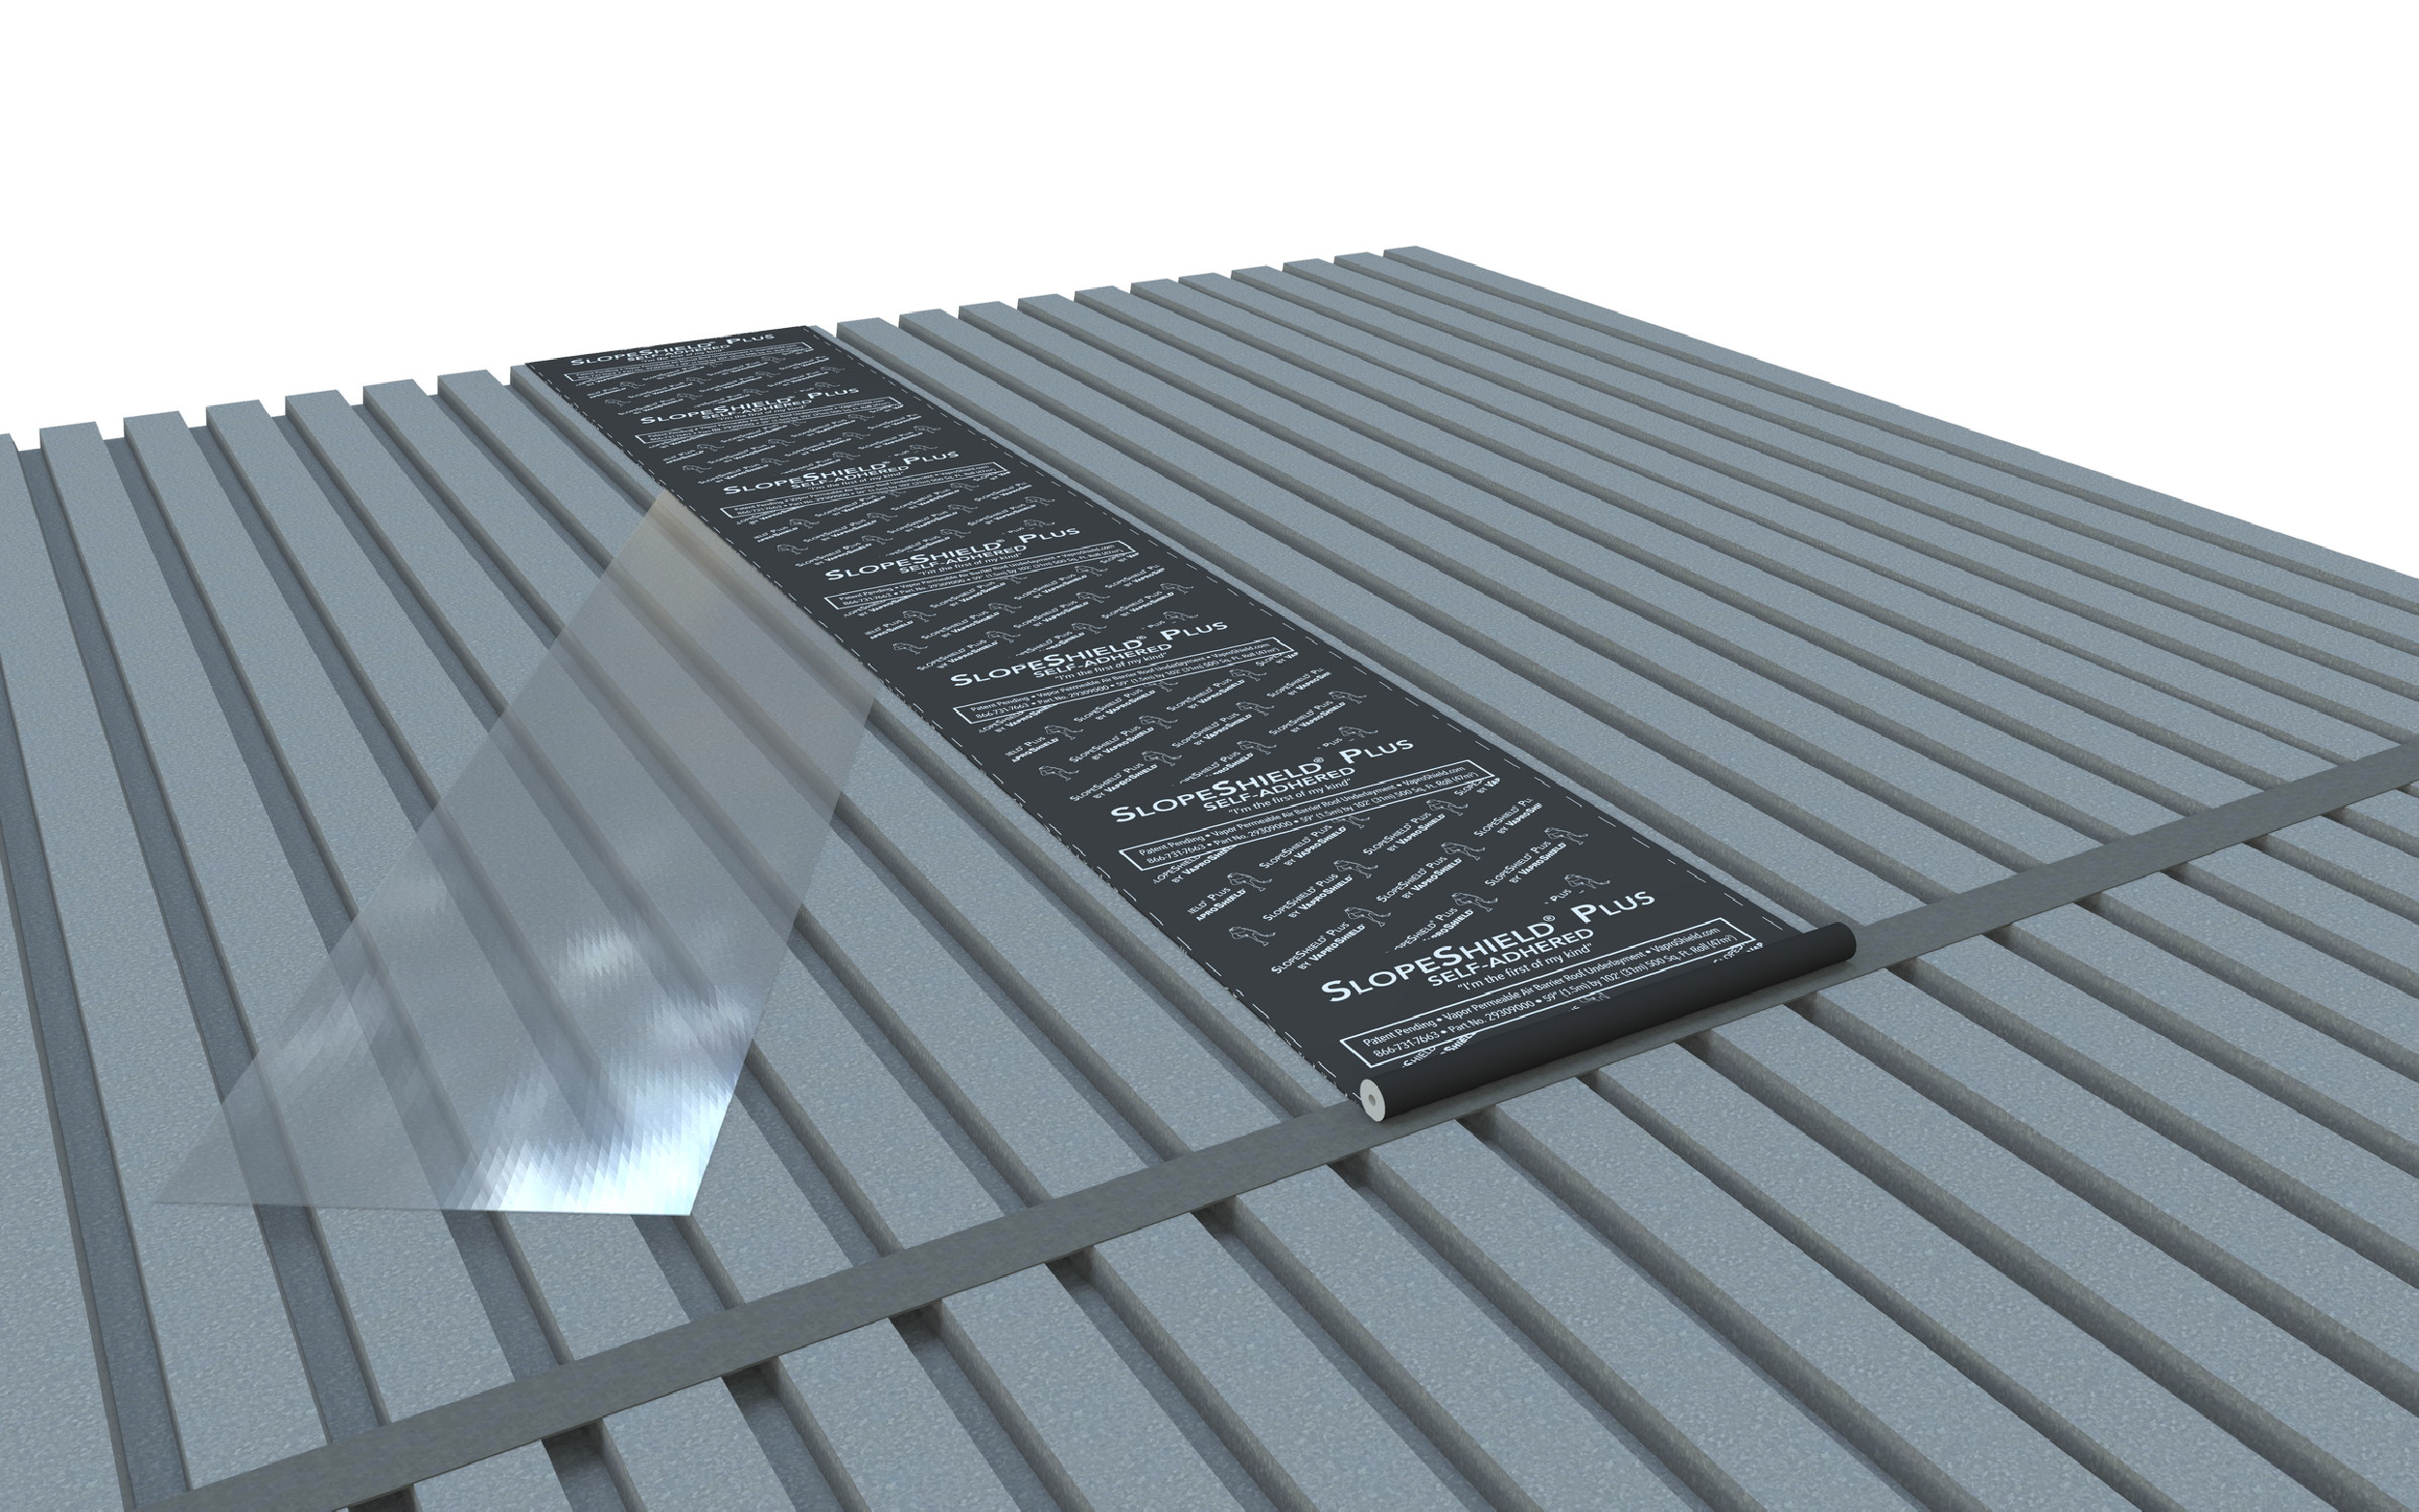
STEP 1 Starting at the low point of the roof, unroll SlopeShield Plus SA onto the clean, dry substrate. |
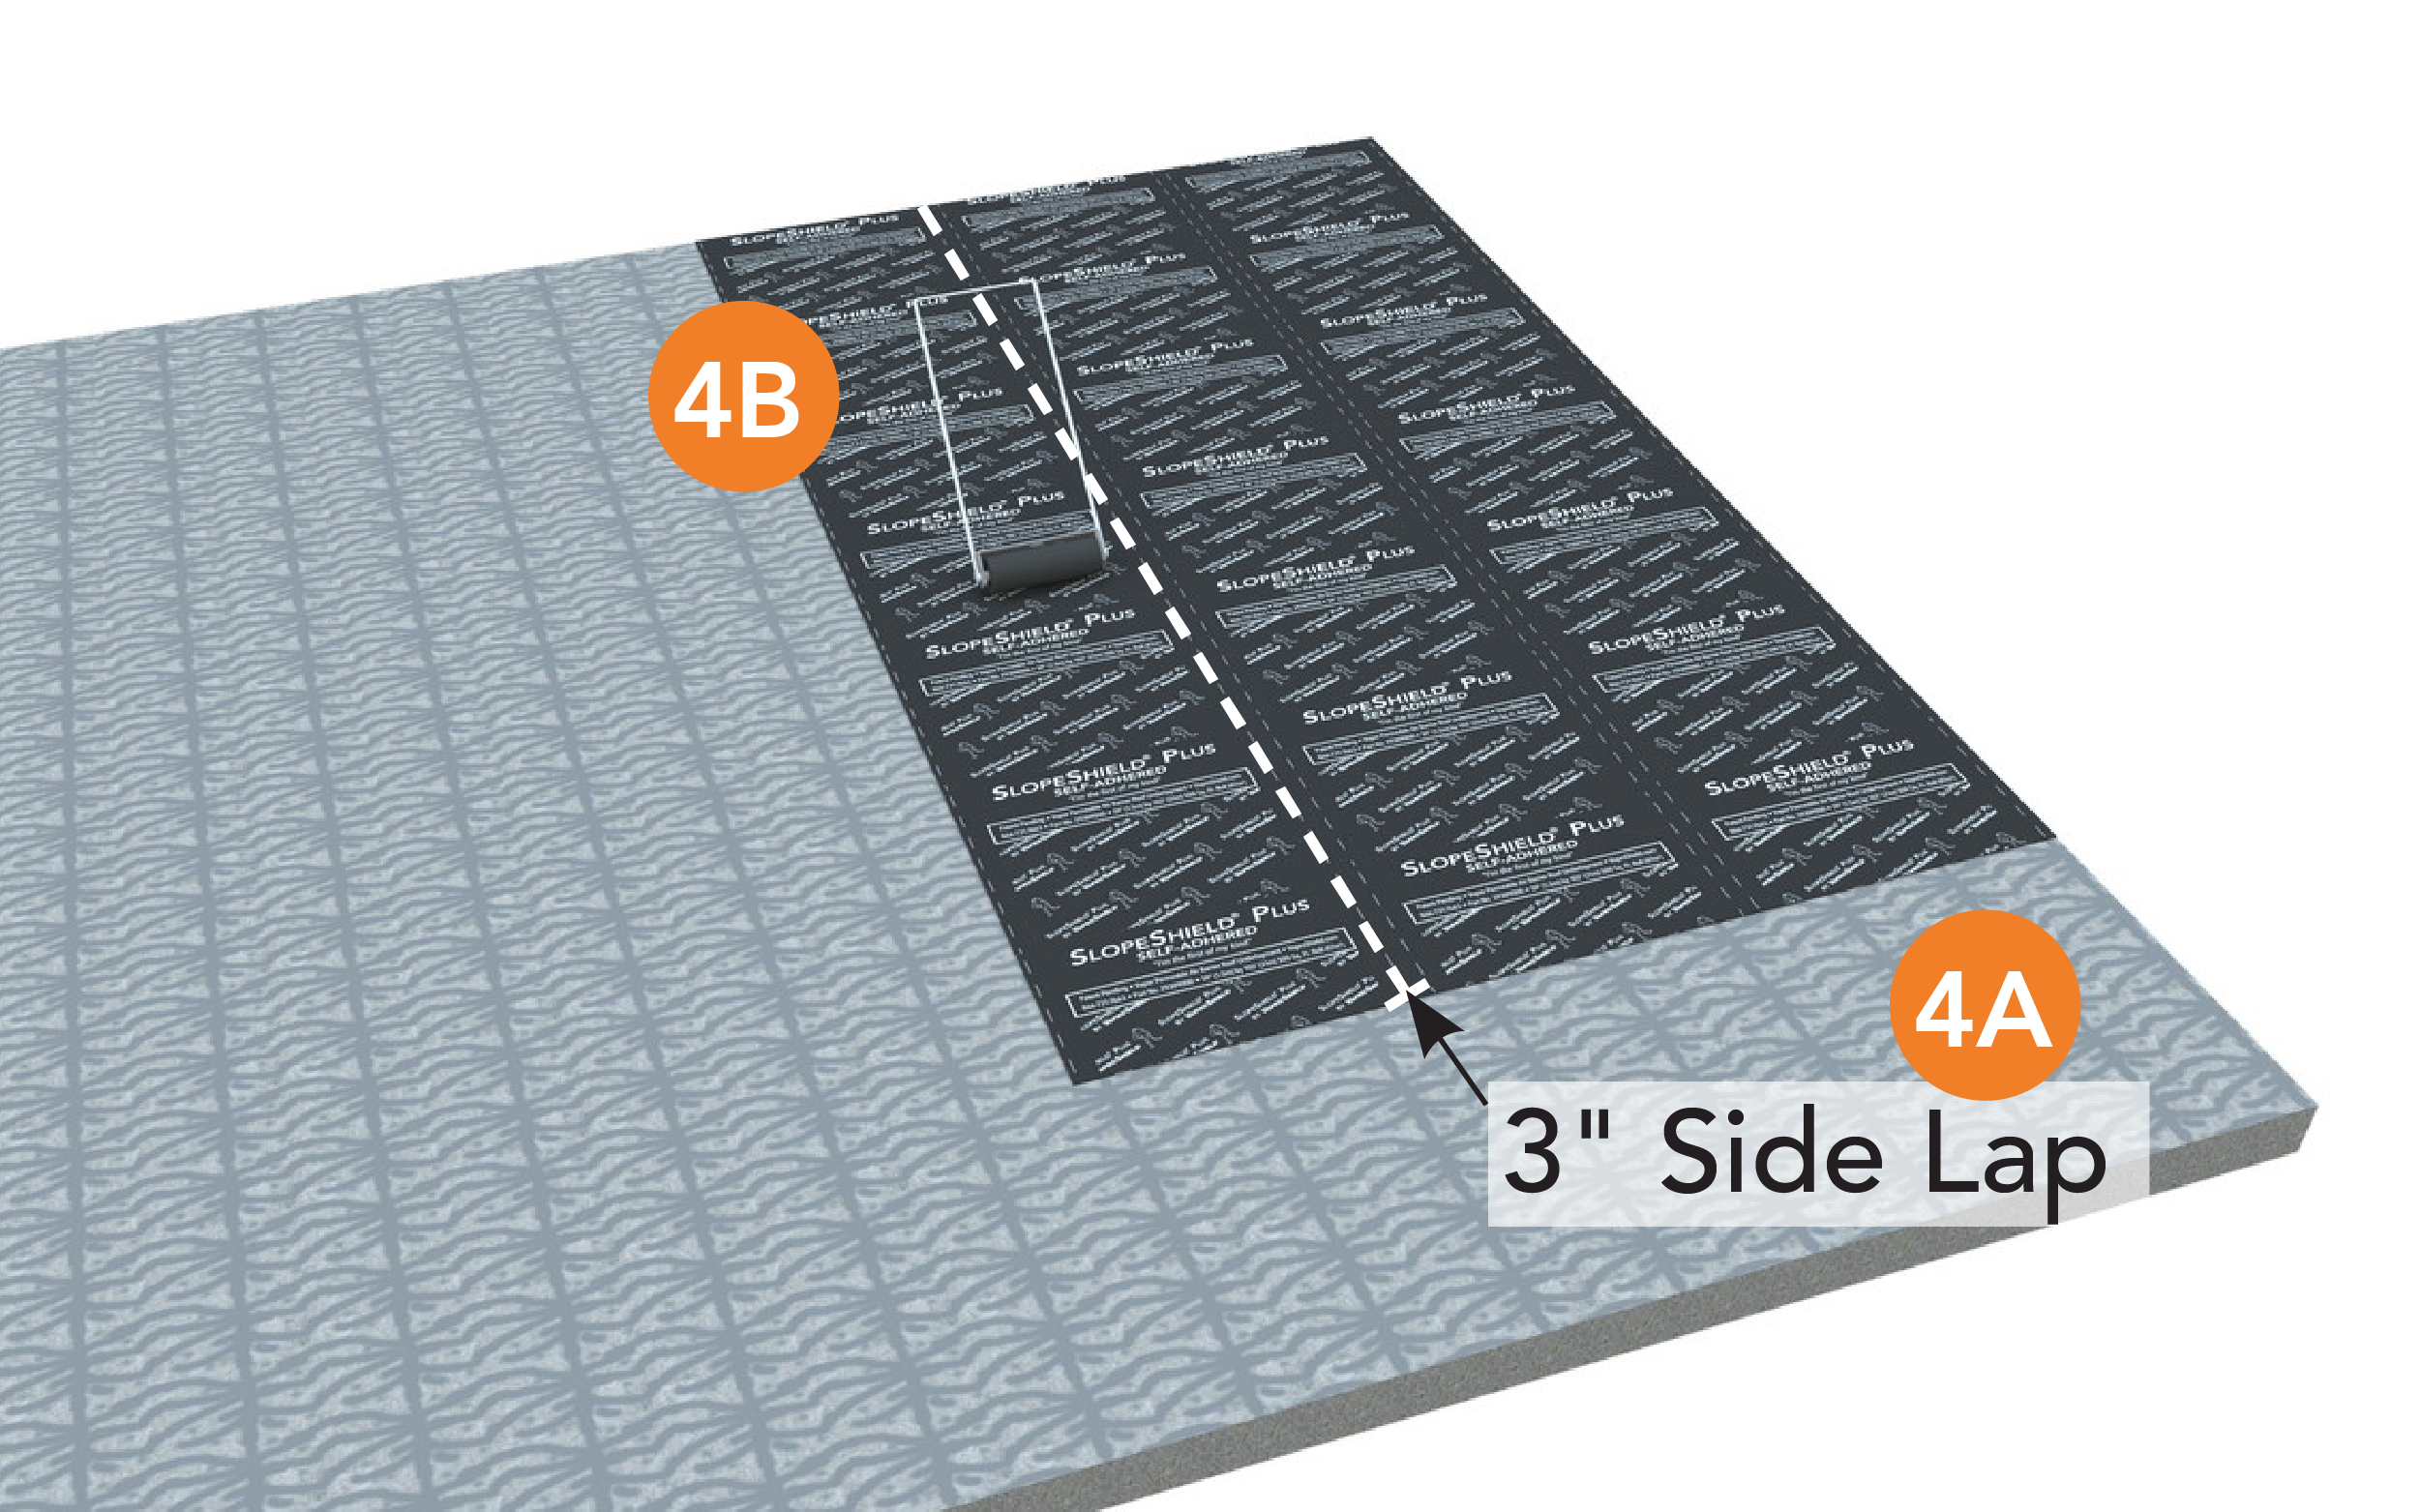
STEP 2 When installing subsequent rolls of SlopeShield Plus SA ensure 3” (7.5 cm) side laps are maintained. |
| CAUTION: Release liners are slippery. To prevent injury, liner should be removed from under foot as soon as membrane is installed and disposed of properly. | |
 |
|
| STEP 3 At the head lap a min. 4” metal sheet is required to support the membrane head lap between the flutes. Ensure 3" (7.5 cm) head laps are maintained on metal sheet plate for each course. |
|
 |
STEP 4 |
Standard Installation Practice: Structural Concrete
|
|
 |
|
STEP 1 |
STEP 2 |
 |
 |
|
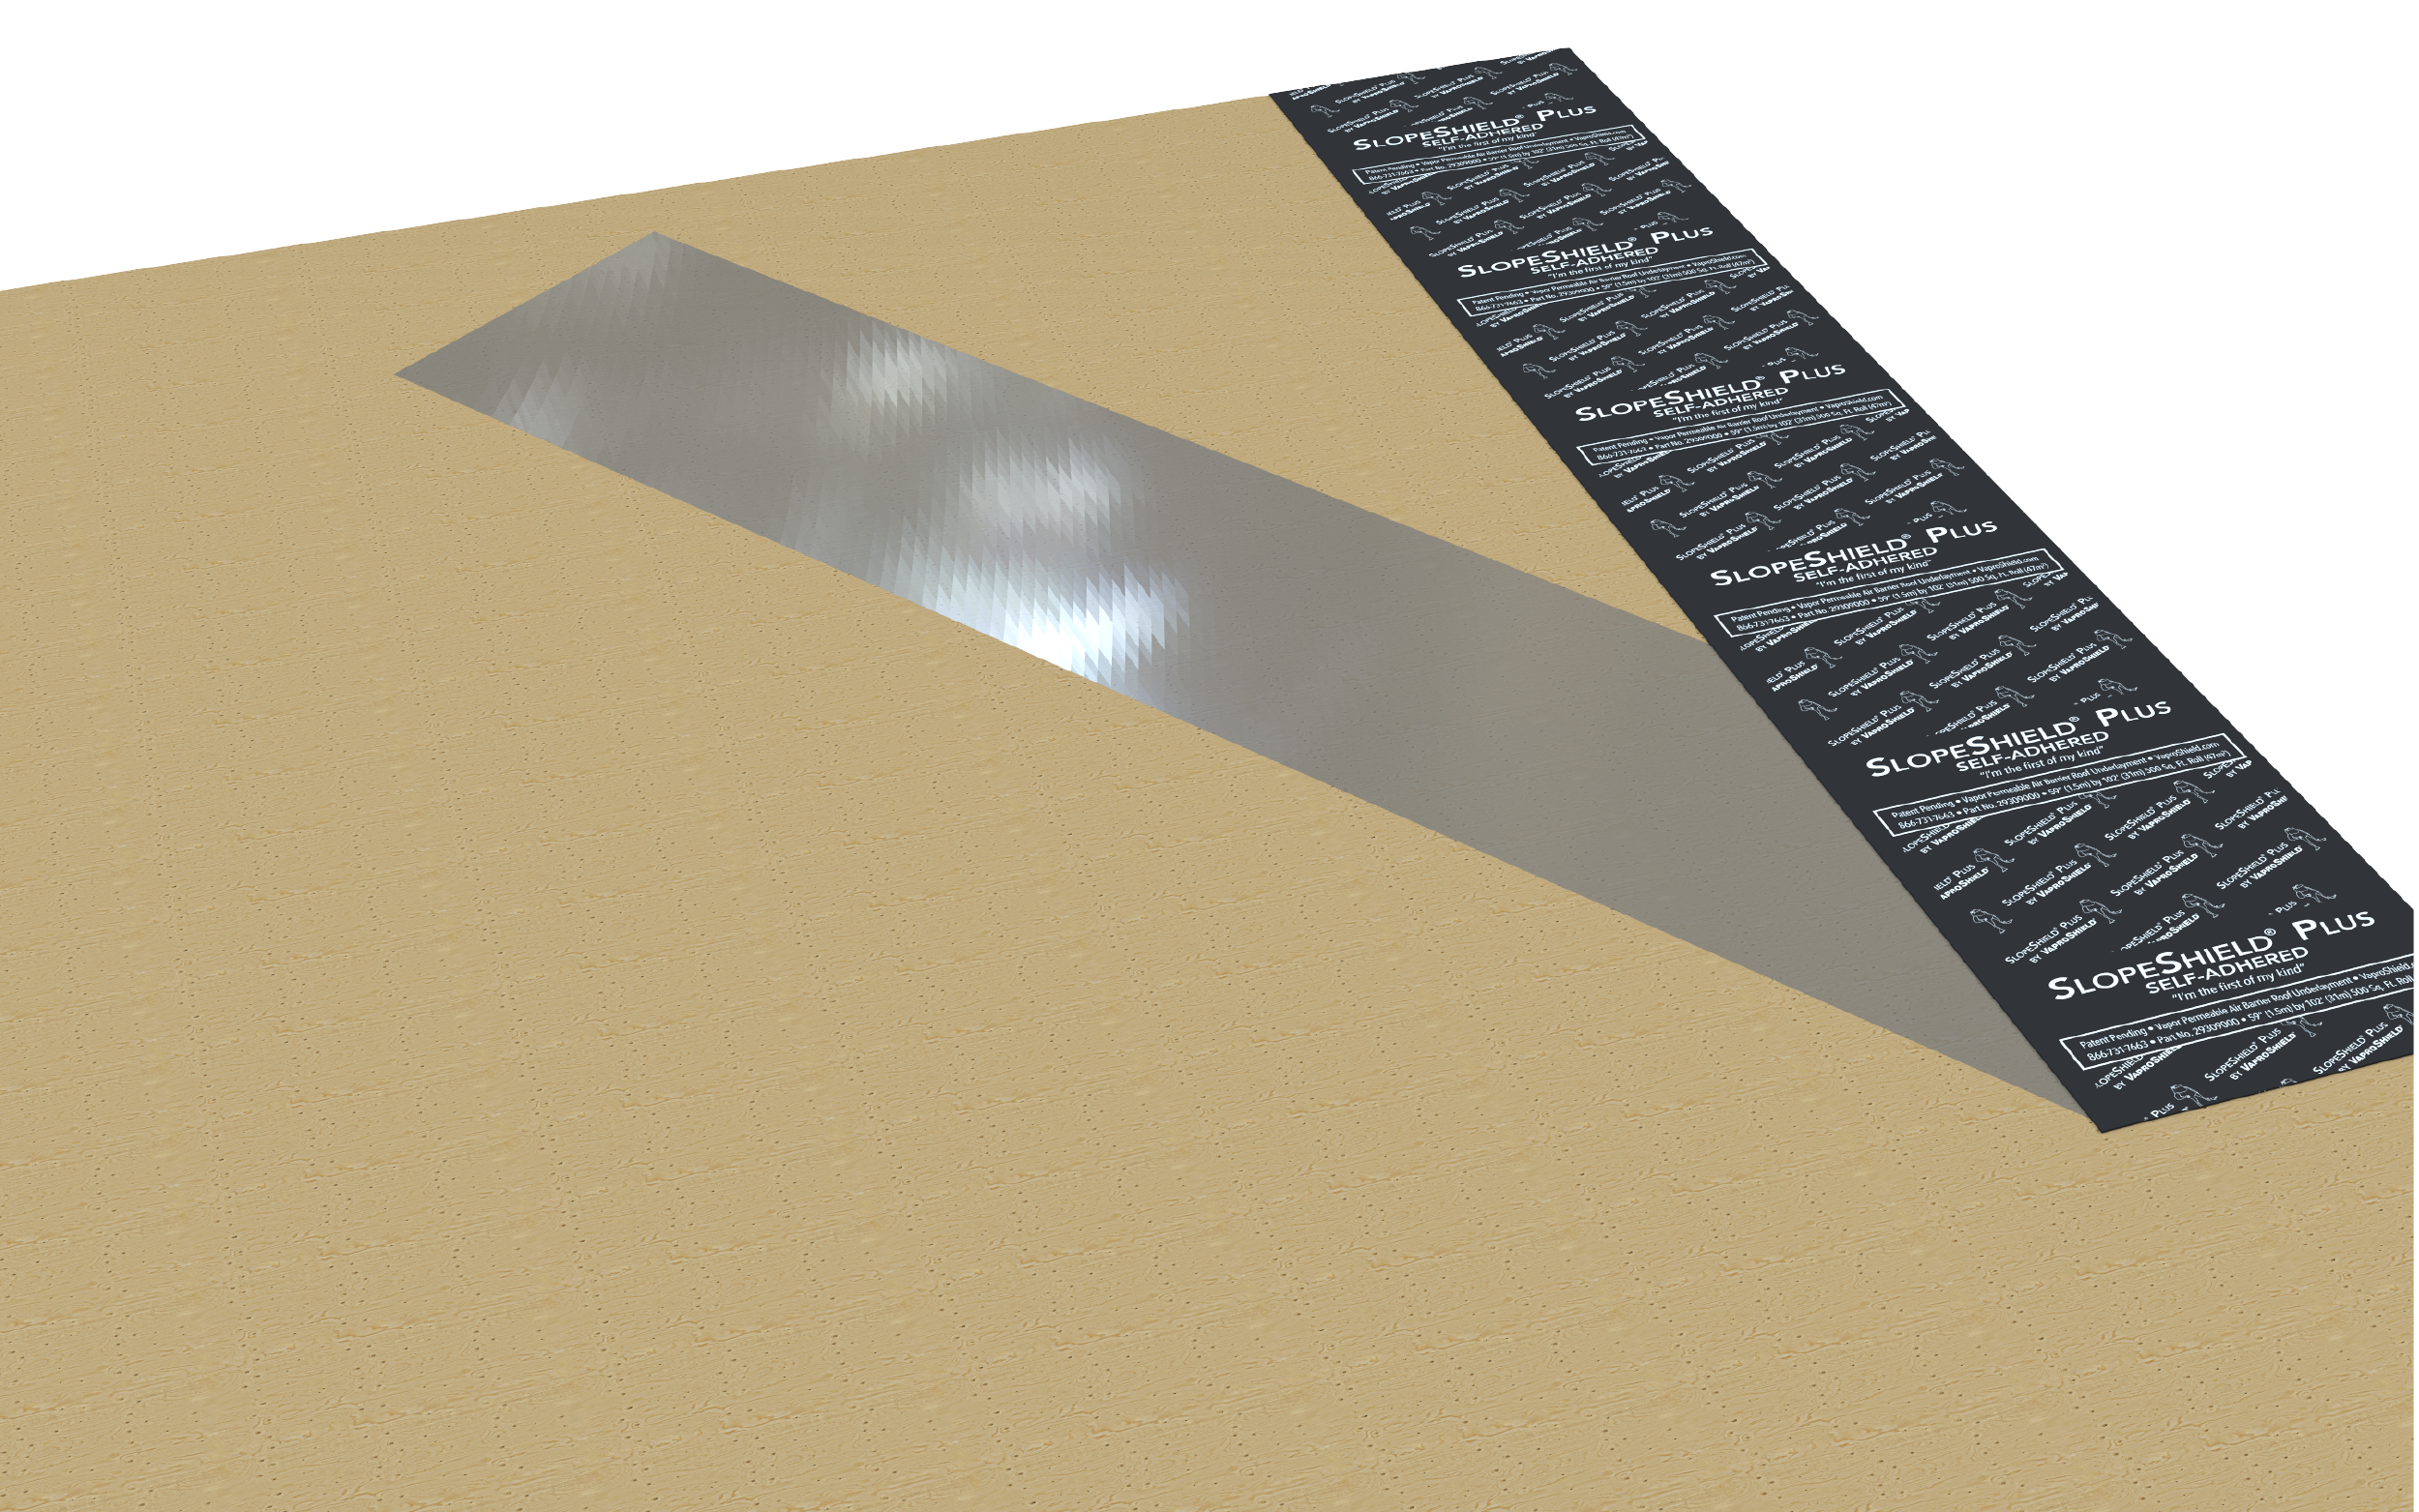
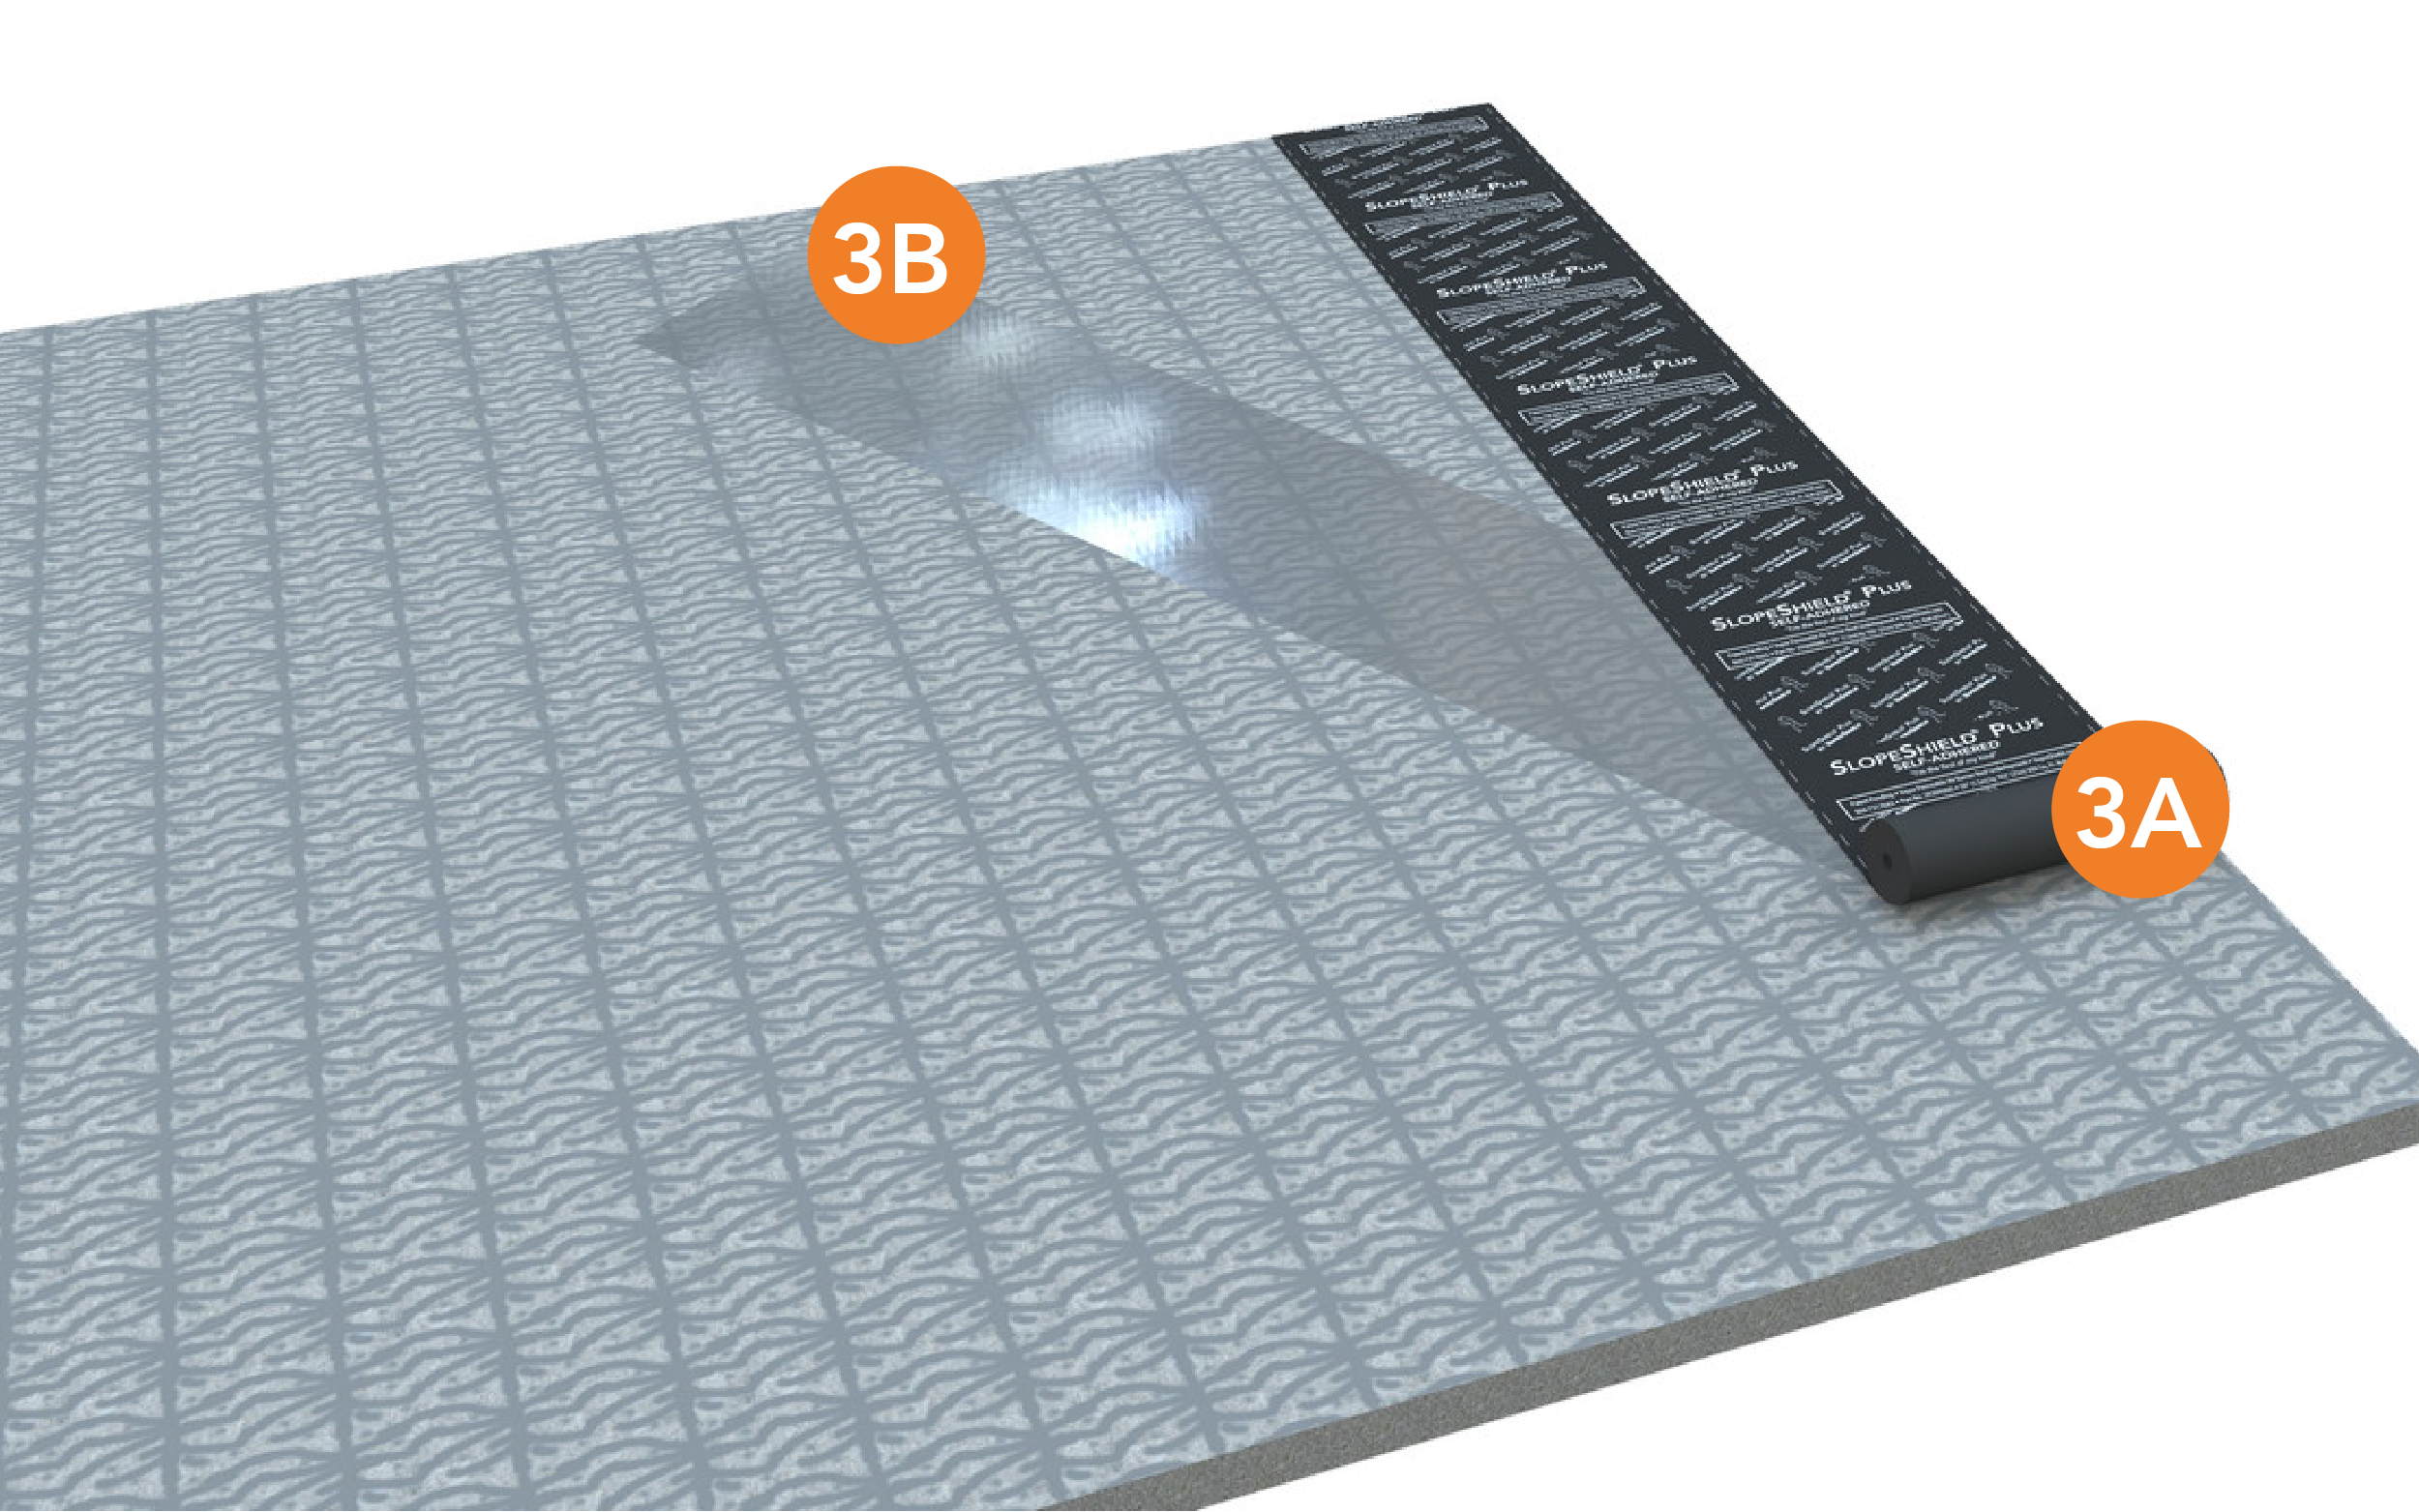
STEP 3 3B. Once placed, while holding the sheet tight, remove the silicone release paper. Remove release paper from under foot. |
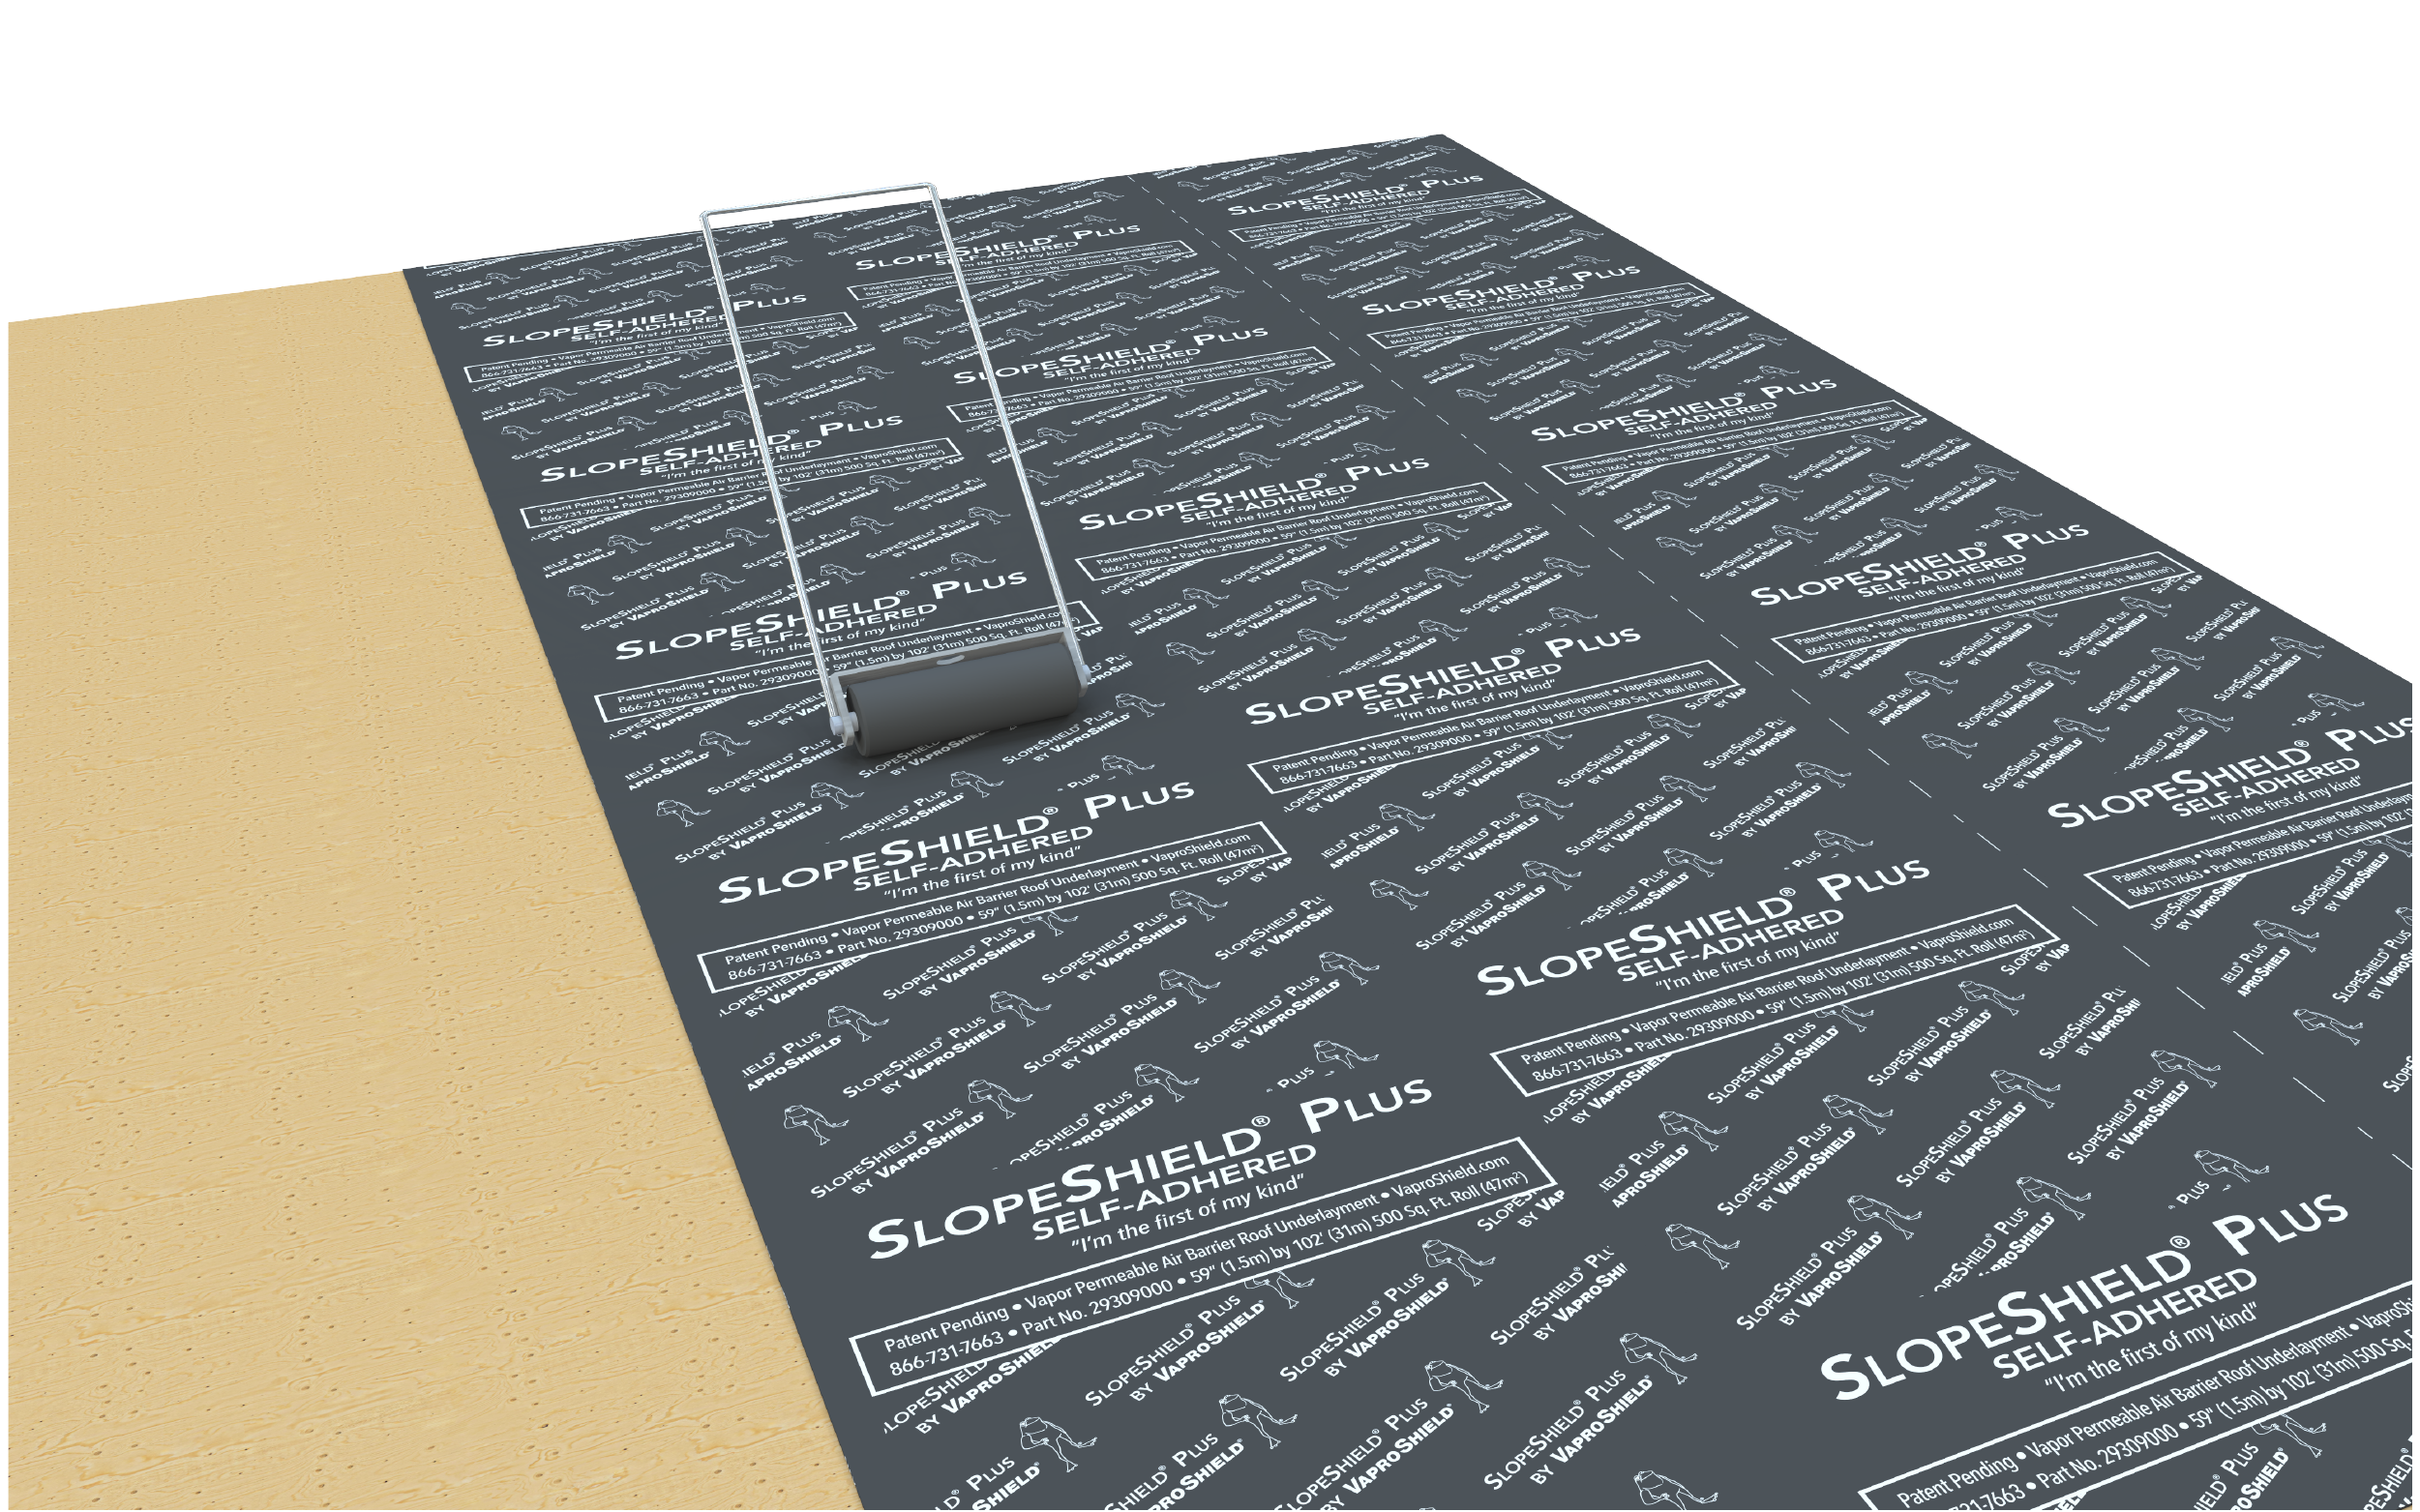
STEP 4 4B. After multiple rolls are installed, roll the entire section of installed membrane with a weighted roller, min. 70 lbs. |
| CAUTION: Release liners are slippery. To prevent injury, liner should be removed from under foot as soon as membrane is installed and disposed of properly. | |
 |
|
| STEP 5 5A. At the end of each roll, ensure 3" (7.5 cm) head laps are maintained. |
|