


pdf Printer Friendly PDF (5.54 MB)
Overview
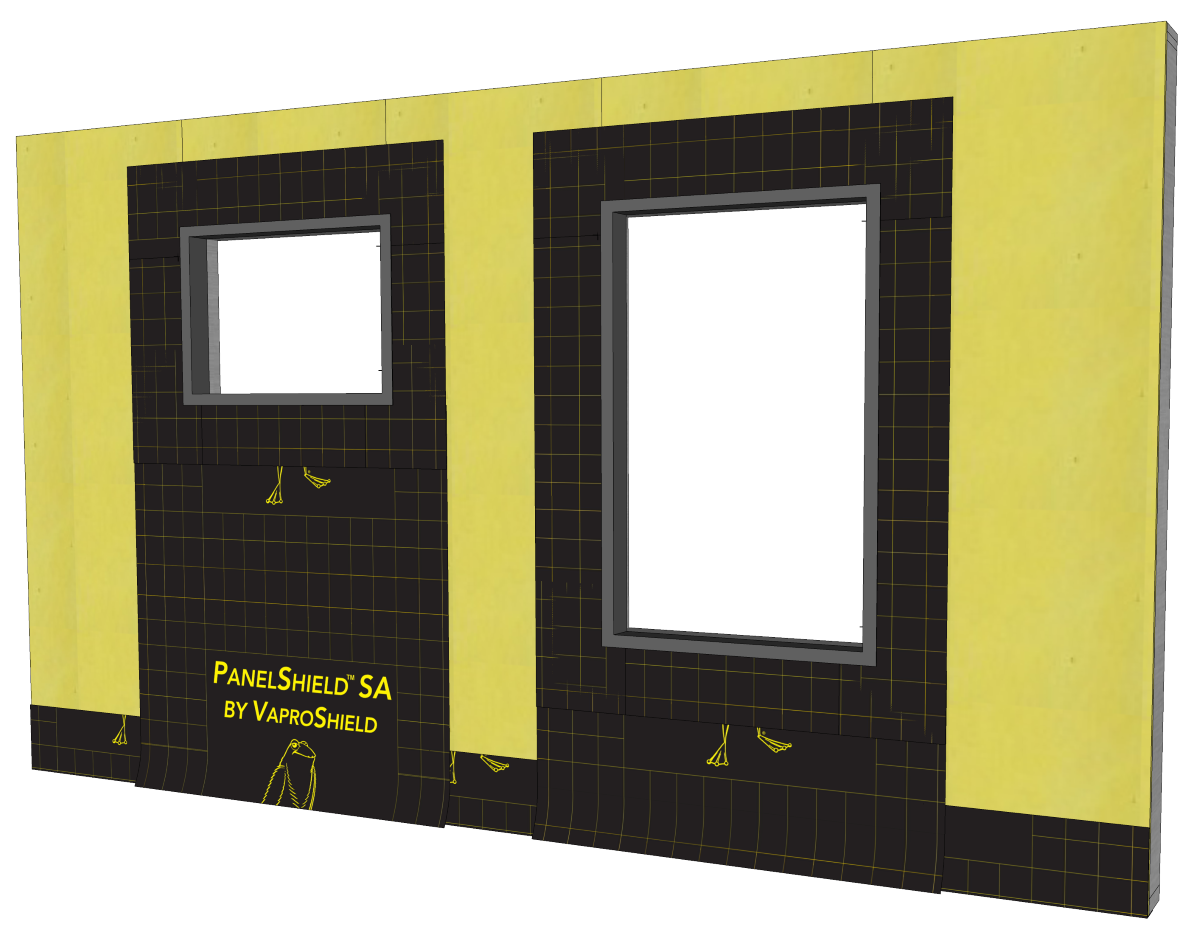
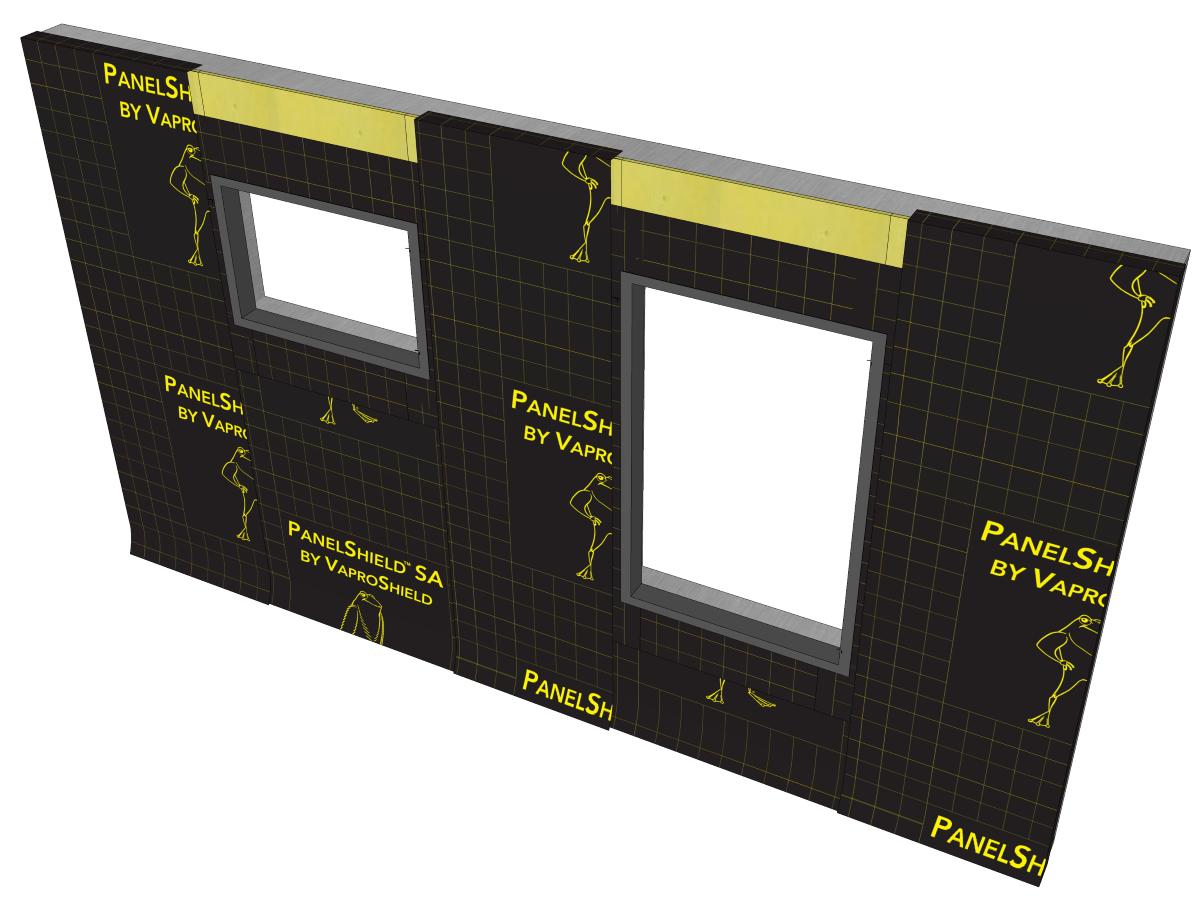
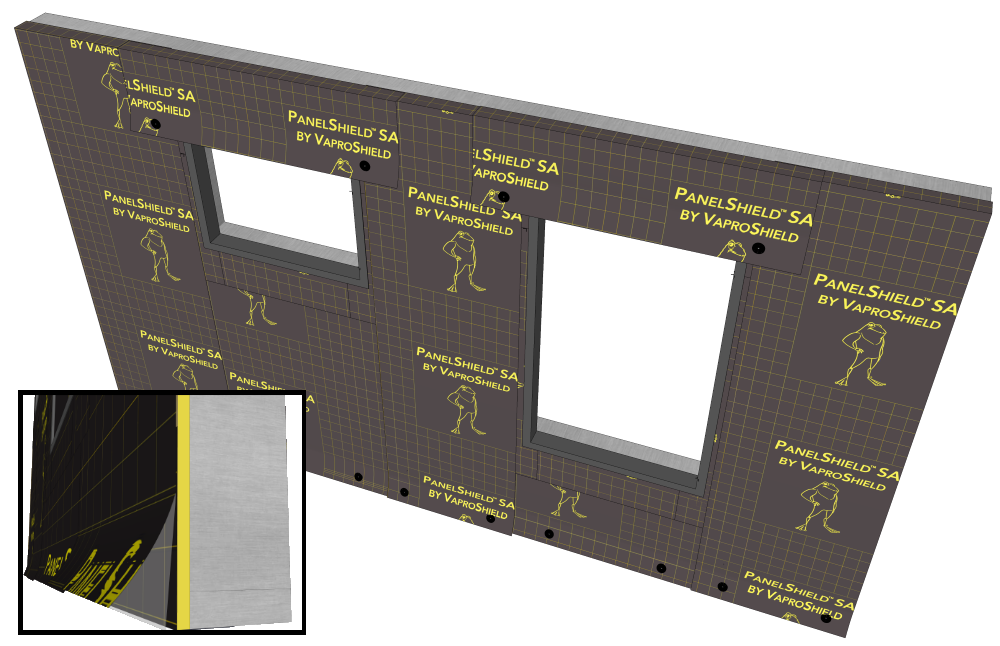
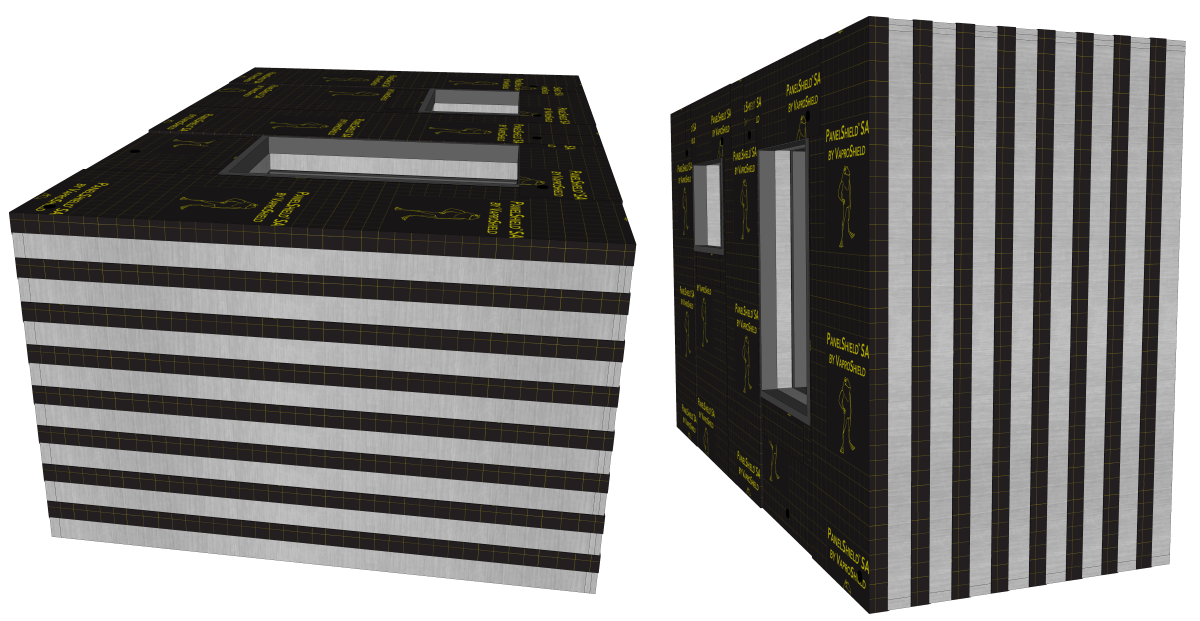
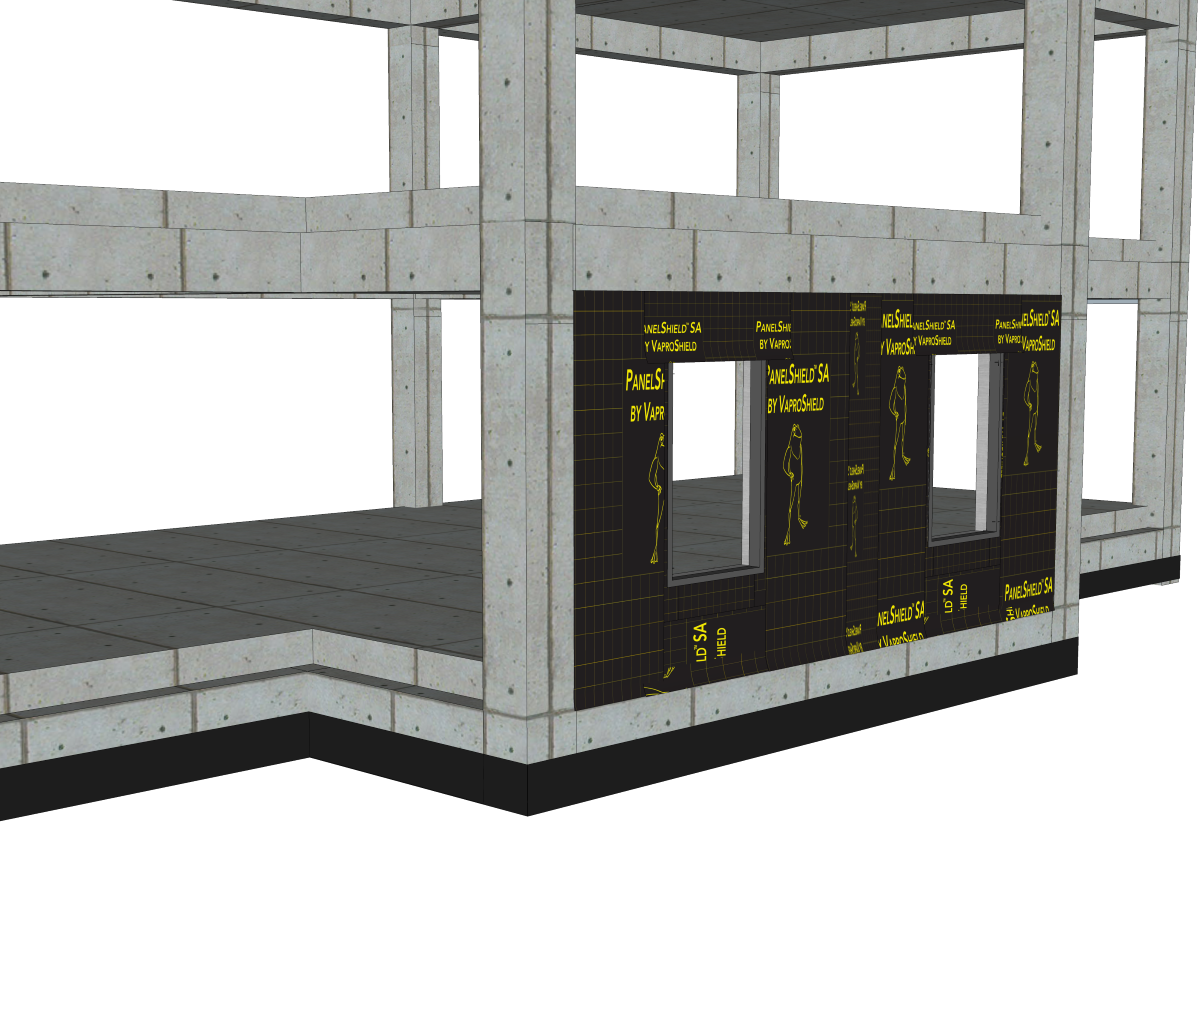
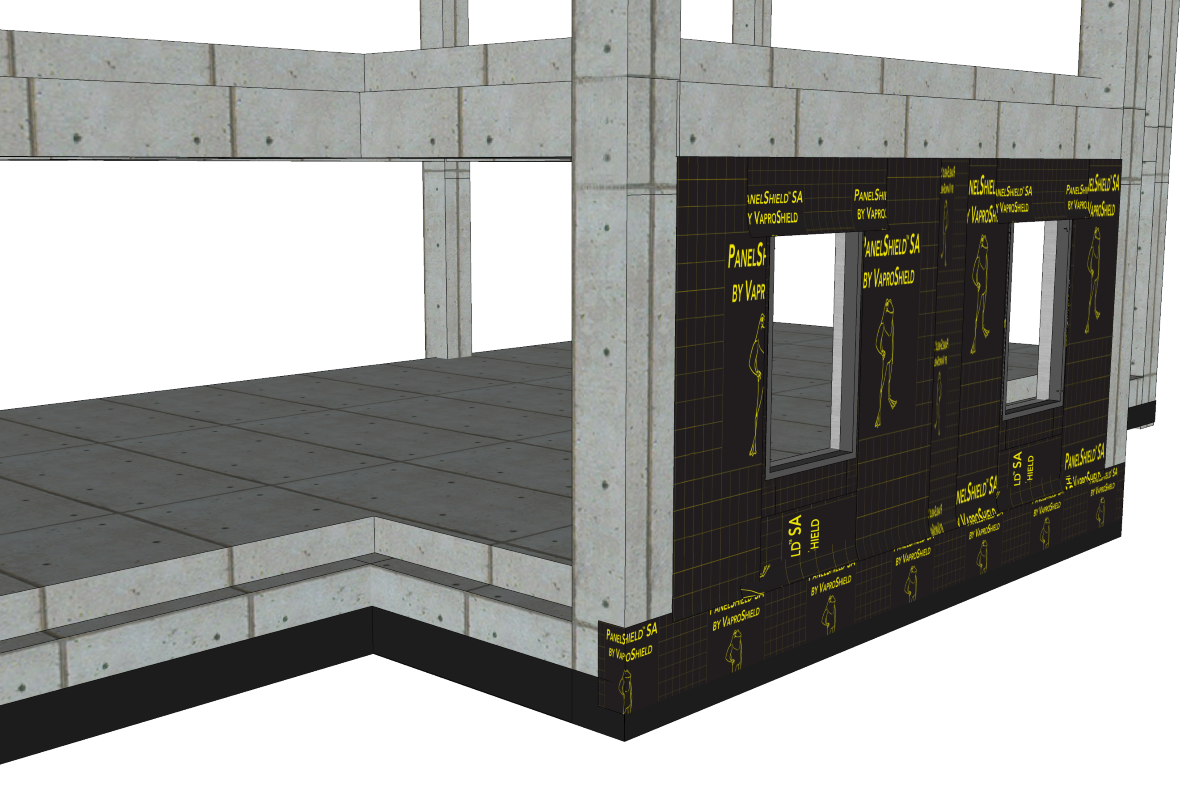
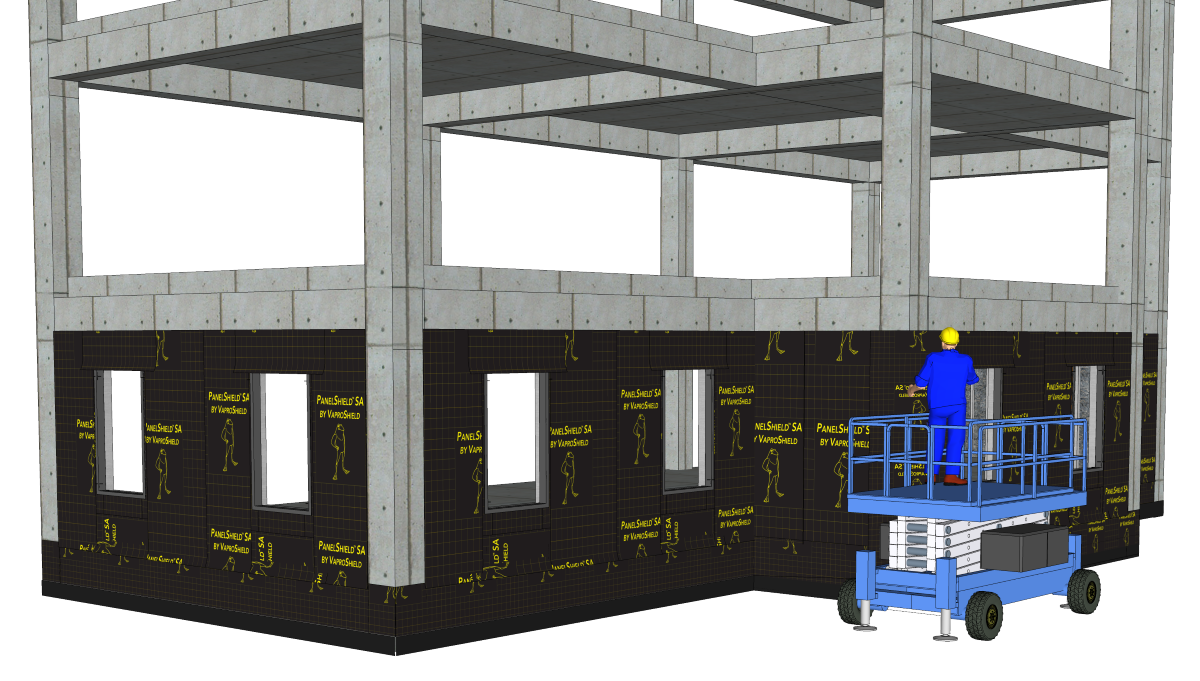
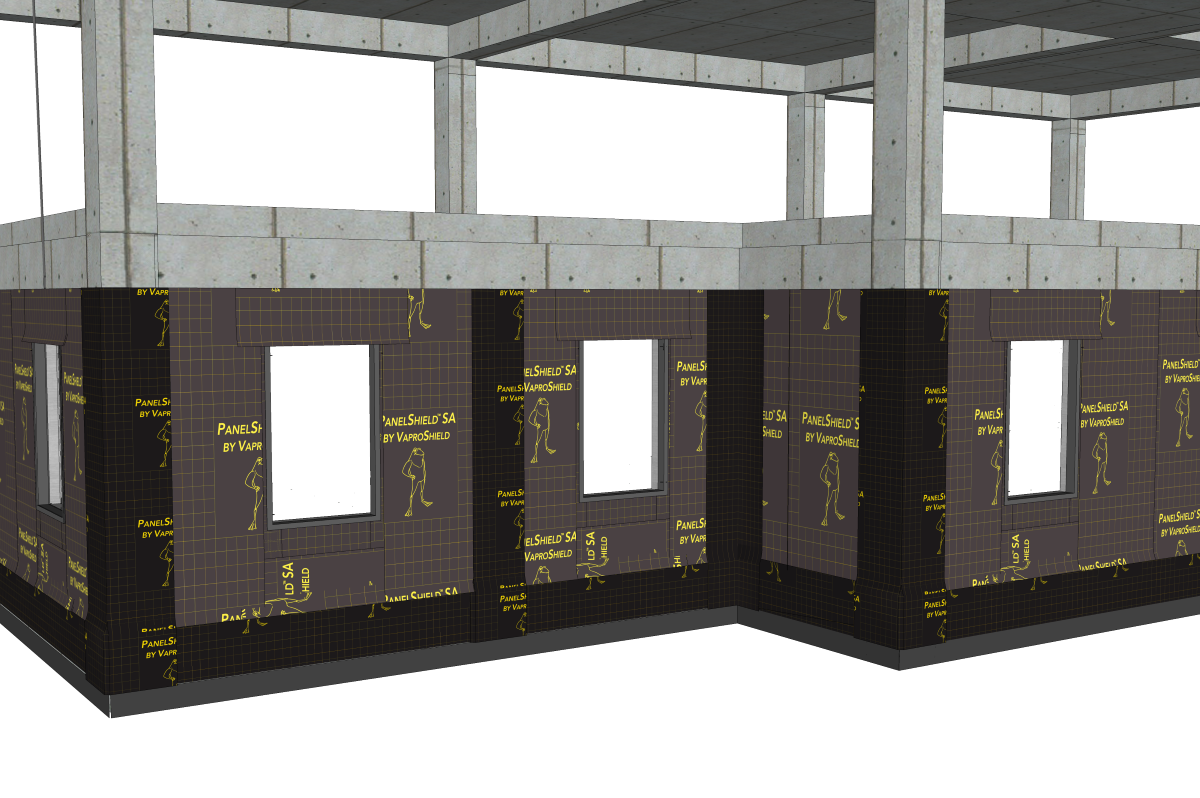
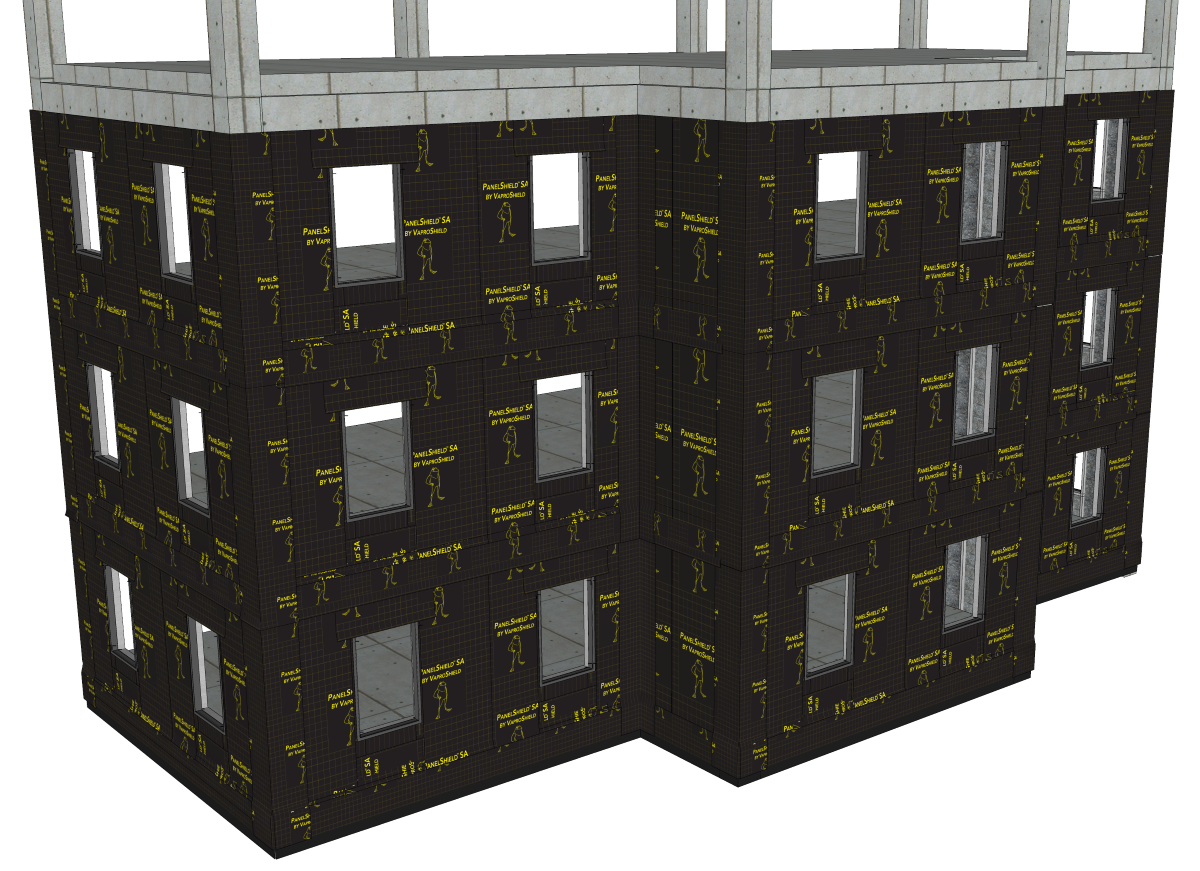
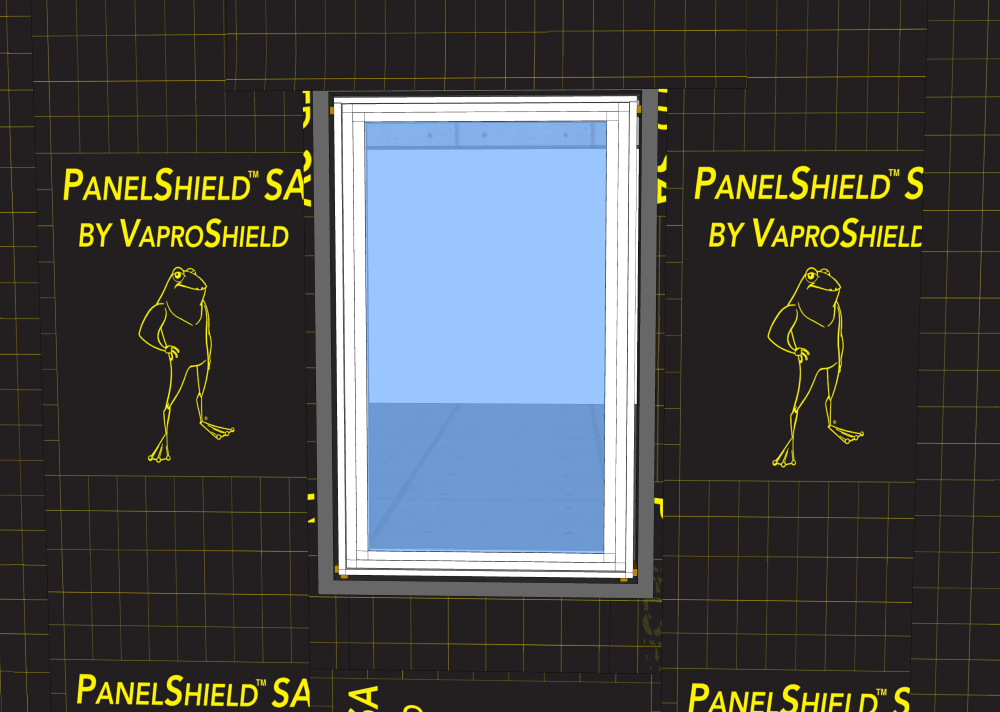
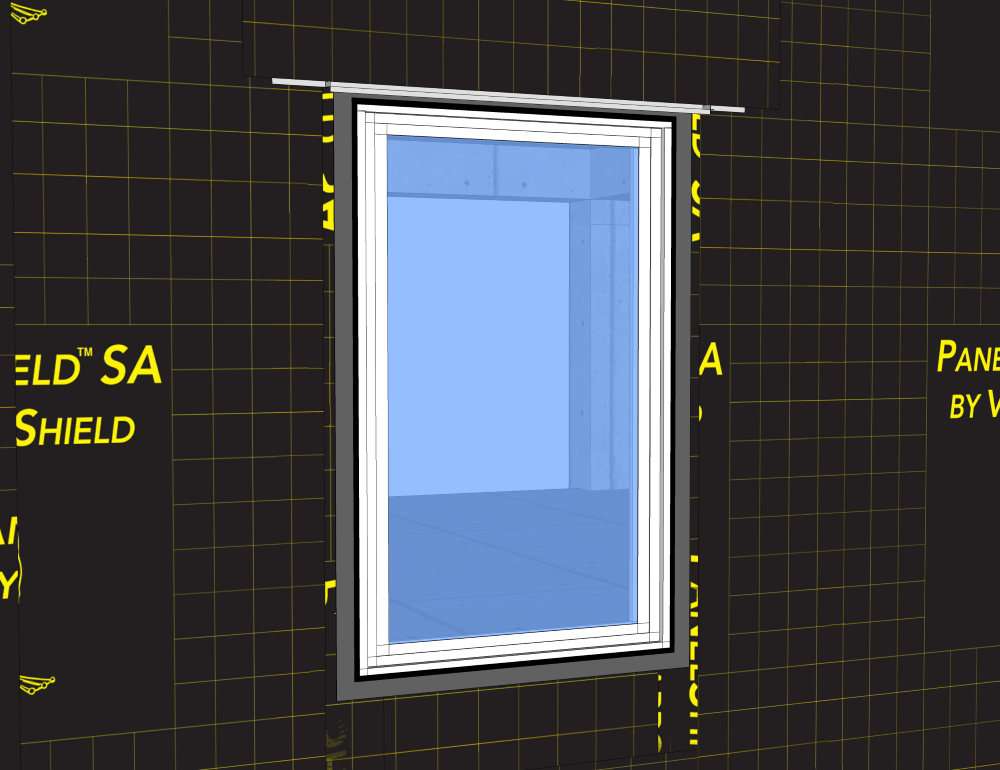
- PanelShield SA is a permeable polyester air barrier WRB membrane designed for use in panelization/modular and commercial construction.
- It is designed for use behind closed-joint rainscreen cladding assemblies.
Installation Best Practices
- Always install in a “weatherboard or shingle fashion” with the upper courses lapped over the lower courses.
- Install in a vertical or horizontal direction
- Cut to size with basic hand tools
- Install all penetrations including windows and doors in proper sequence to ensure a “weatherboard or shingle fashion” end result
- Roll membrane with two-handed roller to ensure proper adhesion to substrate
- If desired adhesion is not attained between membranes due to site conditions, VaproShield recommends applying a bead of VaproBond as an additional solution to pressure rolling.
- Sustains a maximum 12 months UV and climate exposure prior to cladding installation
- During field installation PanelShield SA must be protected at the leading edge to ensure liquid water does not travel behind the membrane
- Apply VaproCaps™ to secure membrane during shipping and storage
- Important note: VaproShield recognizes there are many acceptable ways to install an air and water resistive barrier based on installer experience. Best practices require continuity in the installed assembly for both air and water resistance. This includes correct sequencing for shingle fashion method of installation. The following factory/field installation sequence demonstrates best practices to establish a successful continuous air and water resistive barrier installation. Any deviations from the best practice sequence must be approved by the architect or building envelope consultant of record, prior to installation. VaproShield highly recommends all cladding systems use rainscreen design practices.
Substrate Information
Substrates must be clean and free of any contaminants.
Substrate surface must be dry to the touch with the ambient temperature above 20°F (-6°C).
PRIMER IS NOT RECOMMENDED OR REQUIRED
Substrates
- Exterior Gypsum Sheathing
- Brick
- Rigid Insulation
- Plywood
- OSB
- Metal (Steel, Aluminum)
- Fiberglass Window and Door Frames
Storage
Store material rolls on end in original packaging. Protect rolls from direct sunlight and inclement weather until ready for use.
Adhesive Curing Time
Full adhesion will vary depending on job site weather conditions. Pressure with roller is required.
Insert image of roller again
Floor Line Movement
View details for floor line and seismic joints.
Penetrations
Window and door penetrations can be detailed pre or post-installation of the field membrane.
Always ensure shingle fashion result is achieved.
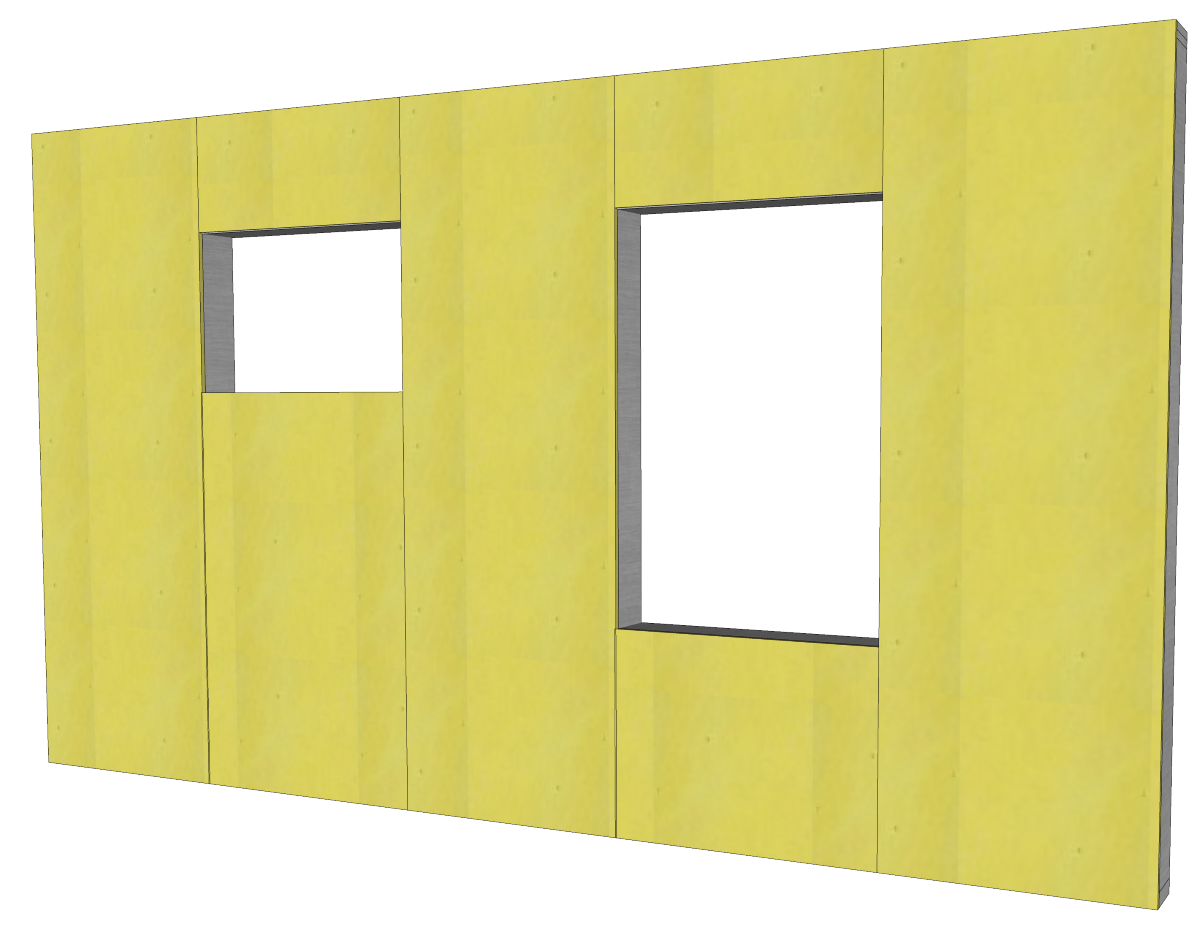
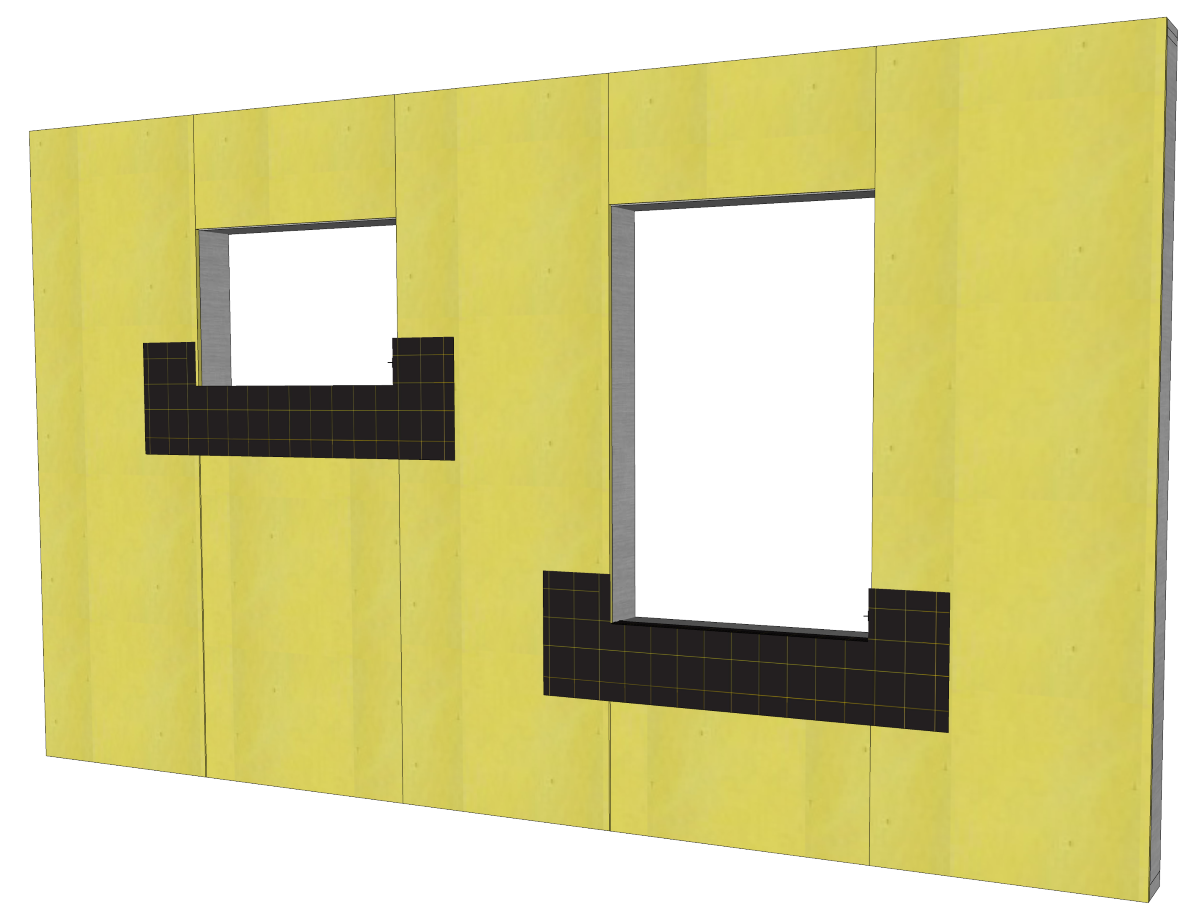
Best Practice Sequence for Factory Installation
 |
 |
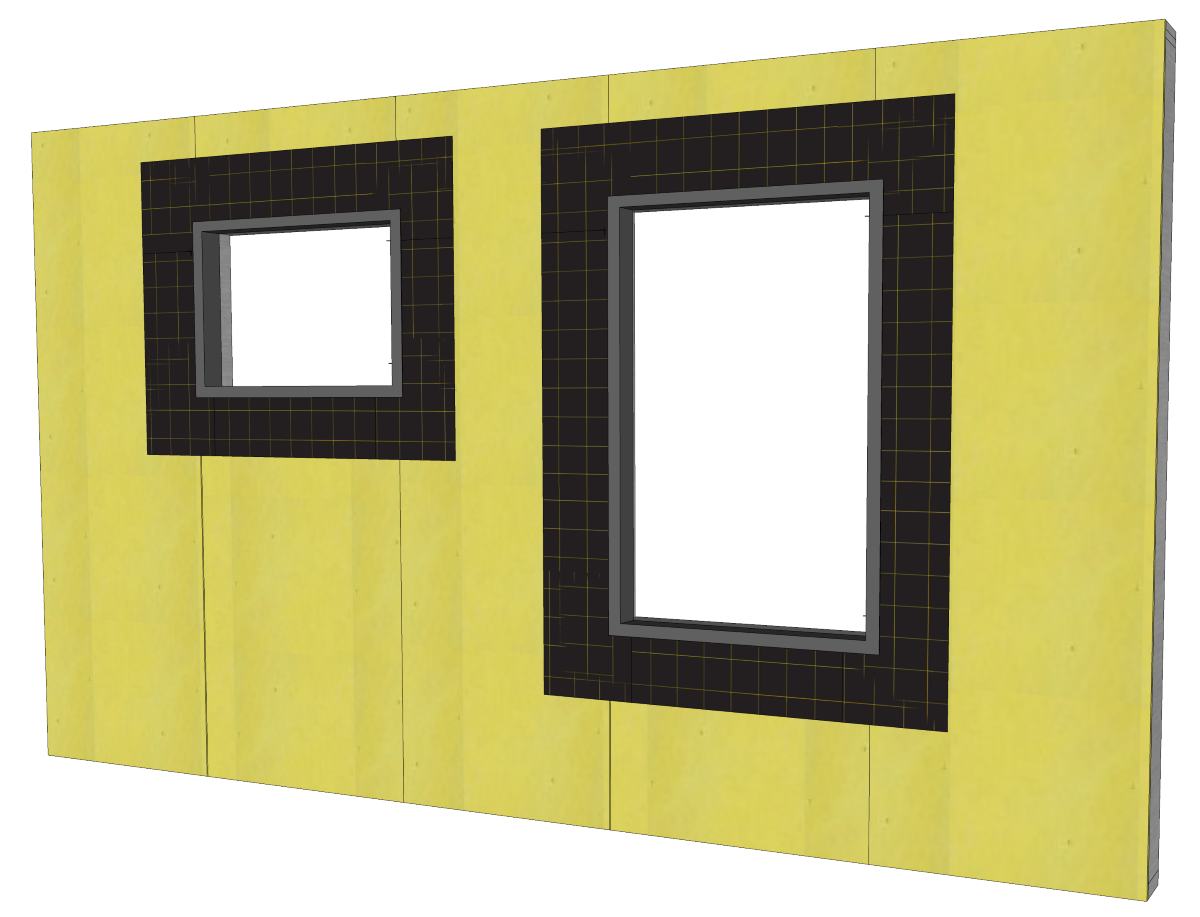
| 1. Panel must be clean, dust-free with window penetrations trimmed flush with framing | 2. Install sill flashing as shown, leaving release paper on for proper shingling. |
 |
 |
| 3. Install jamb flashings as shown, fully adhering them to the wall and sill flashing |
4. Install head flashing as shown, fully adhered to substrate, fold into rough opening as shown |
 |
 |
|
5. Install flashing material per specification. Options are VaproLiqui-Flash, VaproBond, or Vapro-SS Flashing |
6. Install base of wall flashing as shown, lapping 2 ¾” onto bottom plate of framing |
 |
 |
| 7. Install field material as shown, directly below window flashing, leaving release paper on the bottom 6” of field material |
8. Install additional field material as shown in vertical orientation, lapping 2 ¾” onto top plate of framing, leaving 6” of release paper attached at base of wall |
 |
 |
|
9. Install window head pieces as shown, leaving release paper on bottom 6” to allow for window installation and head flashing. VaproCaps installed for transport and storage |
10. Apply VaproCaps to membrane to secure during shipping and storage. When stacking panels, protect membrane from damage. |
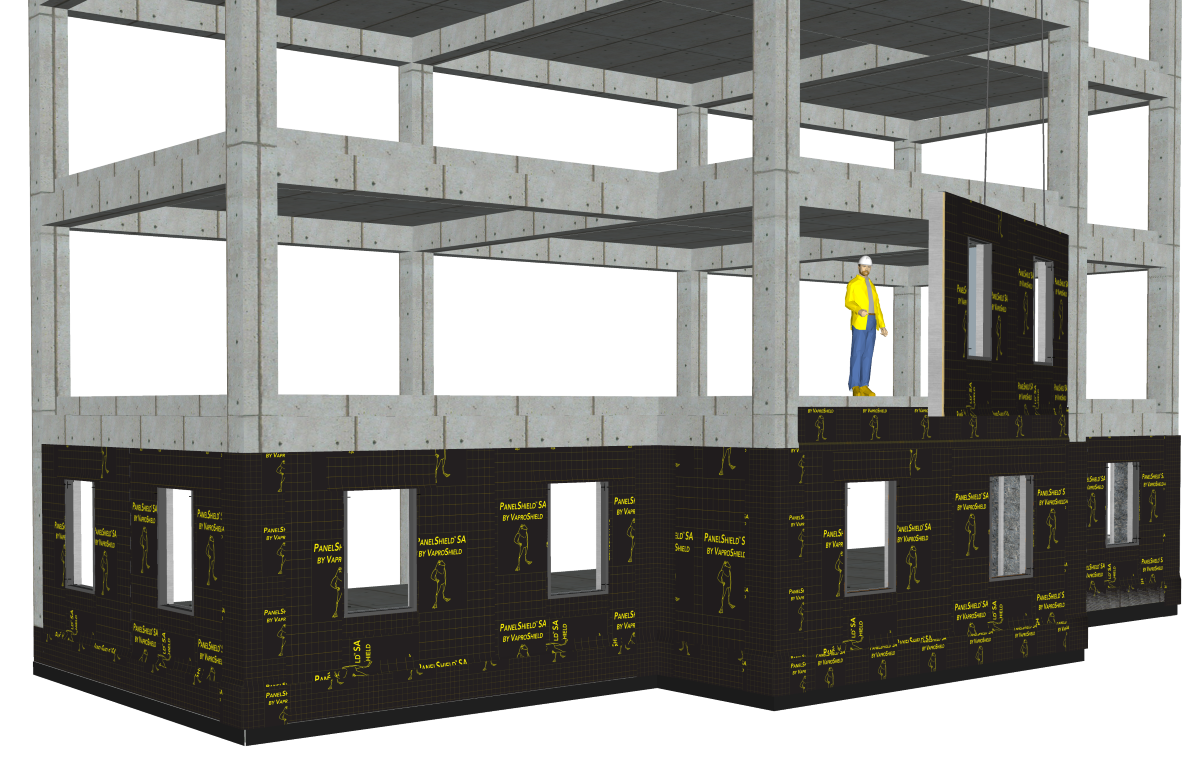
Best Practice Sequence for Field Assembly
 |
 |
|
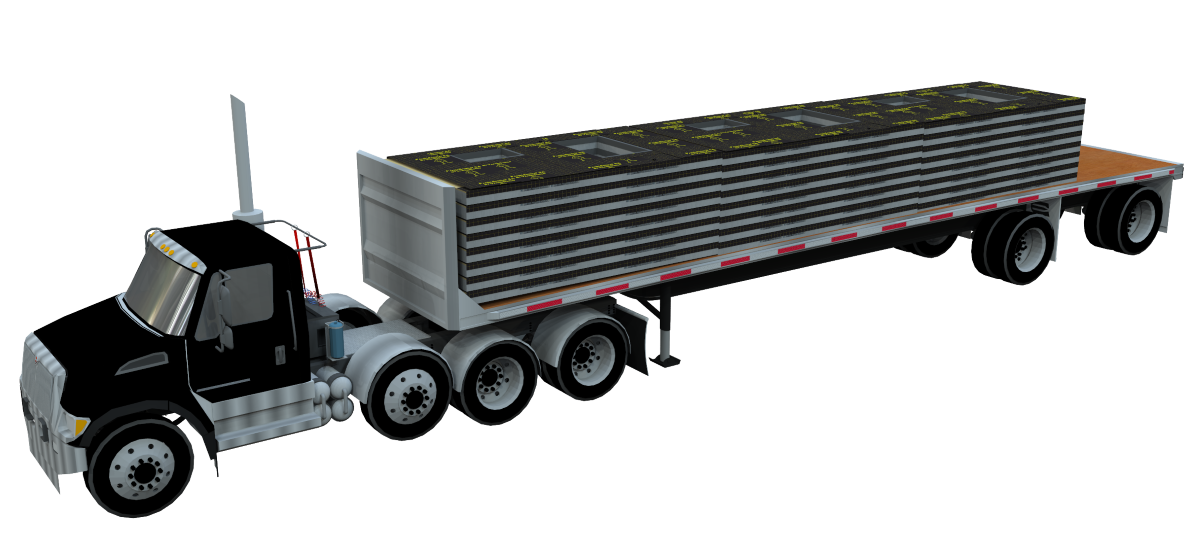
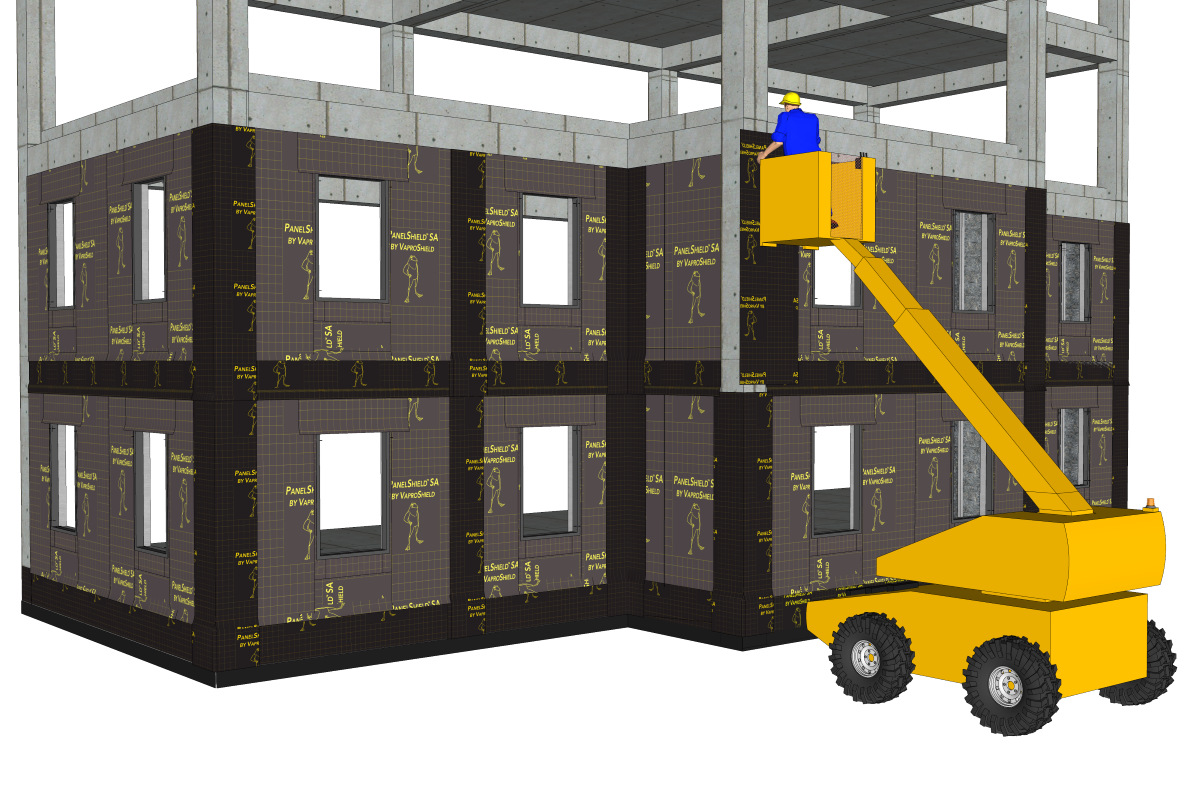
1. Panels are trucked to the job site. During both loading and unloading care MUST BE TAKEN TO NOT DAMAGE THE PANELSHIELD MATERIAL! |
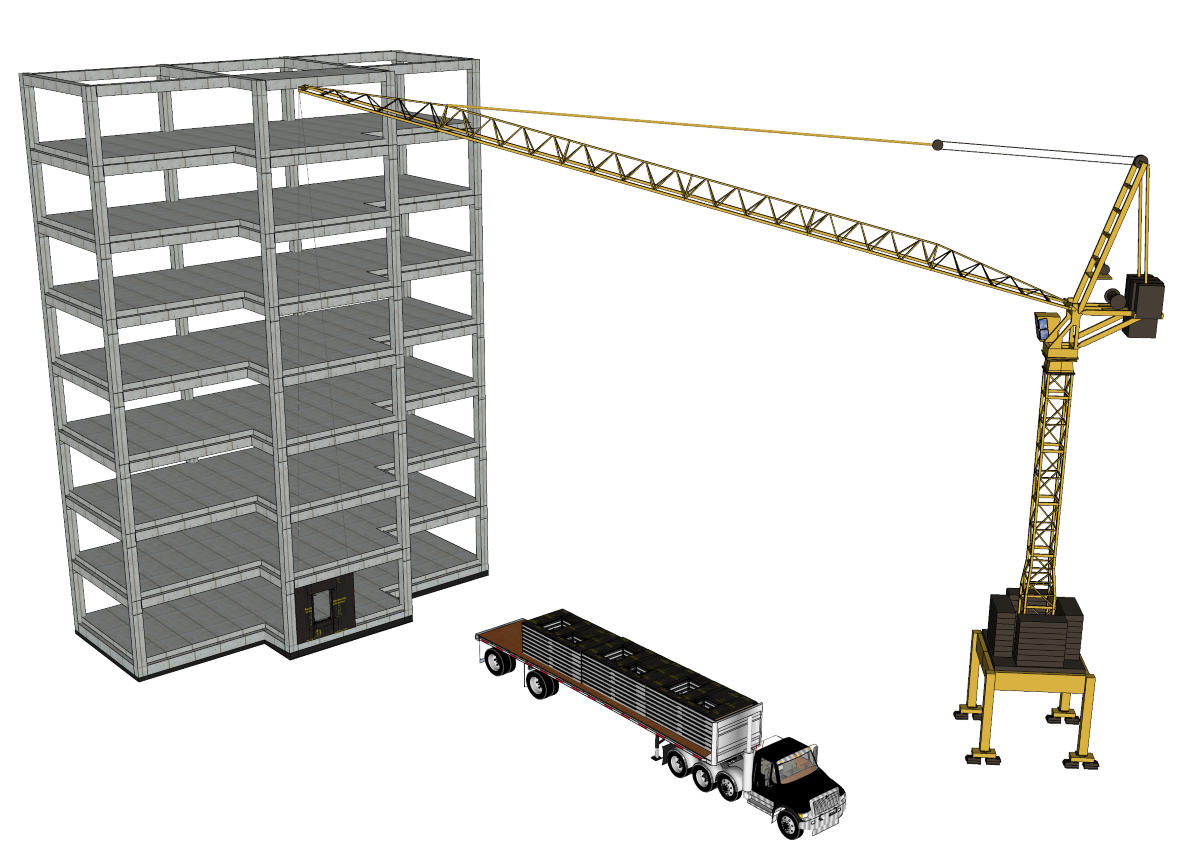
2. Panels are easily installed to all floors with a crane |
 |
 |
| 3. Place fully wrapped panel into place | 4. PanelFlashing SA installs under material left unattached at bottom of panel |
 |
 |
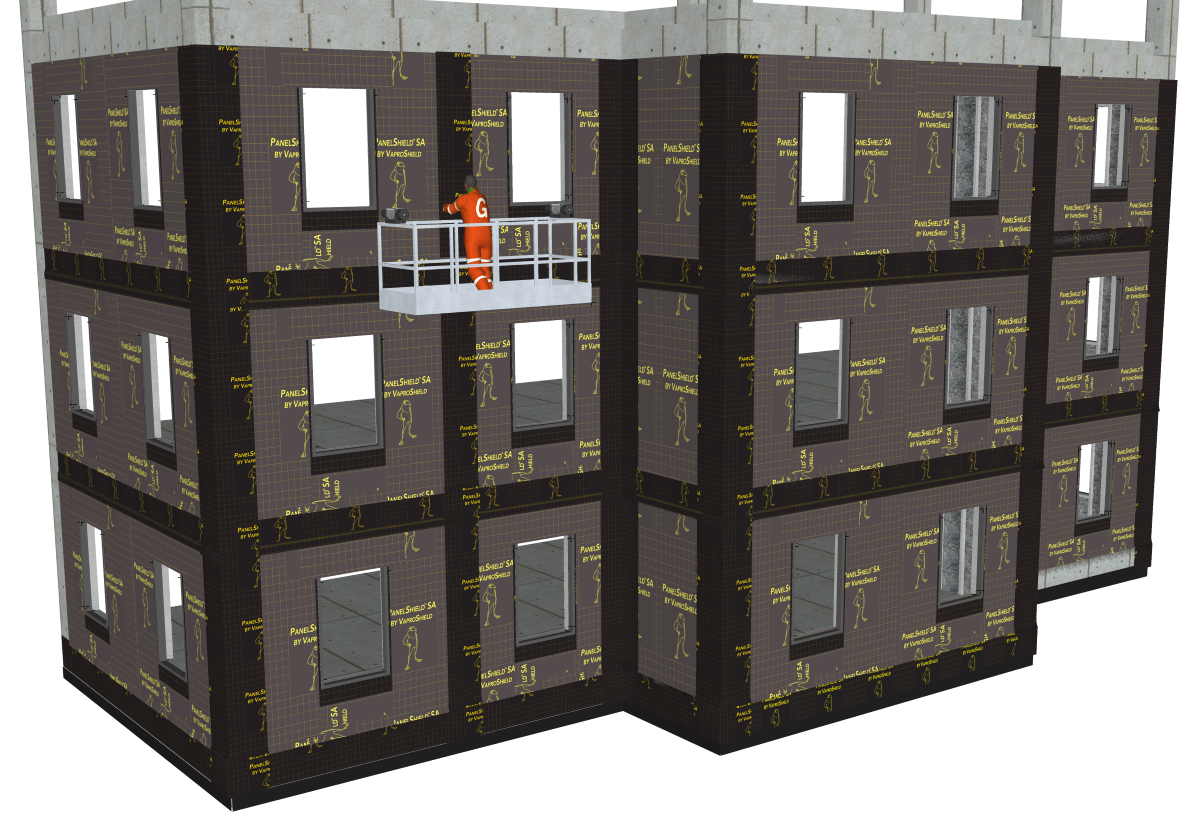
| 5. Fill in bottom floor with panels, installing PanelFlashing SA around entire base of building | 6. Cover inside and outside corners and ALL vertical seams with PanelFlashing SA, which spans corners and seams, and can be installed by one person |
 |
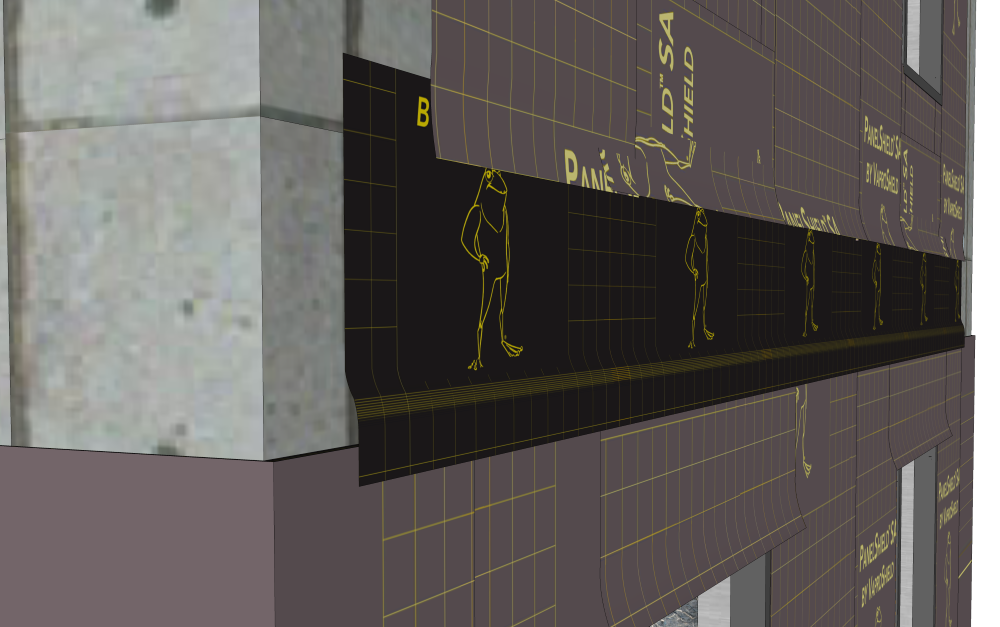 |
| 7. Install 2nd floor panels, then install PanelFlashing SA underneath upper course and shingled over lower course to create shingle effect | |
 |
 |
| 8. Install PanelFlashing SA at all vertical seams. |
9. Continue filling in above floors, using PanelFlashing SA to shingle between floors |
 |
|
Best Practice Sequence for Window Integration
 |
 |
|
1. Place windows into rough opening |
2. Install head flashing and shingle over with detached field membrane |
 |
|
| 3. Fill in gap around window with VaproBond sealant | |